
Baked on September 29, 2018
If I were Oprah and had my own Weight Watchers commercial, I don’t think I would yell, “I… LOVE… BREAD!” …. I would most definitely yell “I… LOVE… PRETZELS!” Now yes, I understand that pretzels are really just a type of bread. But to me, the texture of the dough and crust combined with the super salty exterior make the perfect combination of textures and tastes. My love of pretzels has truly been life long. I remember taking a trip to Germany with my family when I was 8 years old. In Munich there were food carts everywhere, with huge 1.5 foot diameter pretzels hanging from wooden rods. My parents indulged me… to an extent, but if I had it my way, I would have had a pretzel every day I was in Germany.

No plot “twist” here! You know what’s coming next. Let’s start making some pretzels before I “as-salt” you with more puns!
The first step of course was to make the dough. I first mixed the flour and dry active yeast together in one bowl, and the water, butter, salt and malt syrup in the mixing bowl. I then added the flour/yeast mixture to the water mixture and started beating slowly with the dough hook attachment. I quickly discovered that the amount of dough I was making (enough for 12 pretzels) was too much for my mixer to handle. Once I felt like the dough was mostly combined, I split it in two for its remaining timing beating with the dough hook. These two rounds, covered loosely with plastic wrap, proofed on the c0untertop for about 30 minutes. The recipe called for about 15 minutes or until roughly doubled in size. I suspect my kitchen was a tad cold and the rounds needed the extra time to grow.

Before proofing

After proofing
Next the rounds needed to be cut into 12 equal pieces, about 160 grams each. In order to be somewhat precise I used my scale. It was a good thing because my skills at eyeballing were terrible! I achieved about eight pieces that are of only one cut, and the remaining four peices, in order to make twelve all together, were made up of chunks of dough pressed back together. Though you do want to avoid piecing chunks of dough back together, I was able, in the next step, to do so successfully and I didn’t notice anything different about the end result.


Next these twelve equal pieces needed to be pre-shaped into oblongs before rolled into thin rods. You may notice in the photo of the chunks of dough that there are sharp edges where the rounded and proofed dough was sliced into pieces. These cuts broke the internal structure of gluten strands that had been built up through kneading, exposing the pockets of air that had been captured during proofing. Because this dough will again undergo a second round of proofing, the external protective structure of gluten strands needed to be recreated through pre-shaping.
The first step to pre-shape the dough, is to the line up the long end of the piece a dough to be parallel with the edge of the countertop. I then folded the dough in half along this long edge and used the heal of my hand to close the seam.


Next I rotated the dough 90 degrees and folded if over along its short edge. Again, I used the heal of my hand to seal the seam.

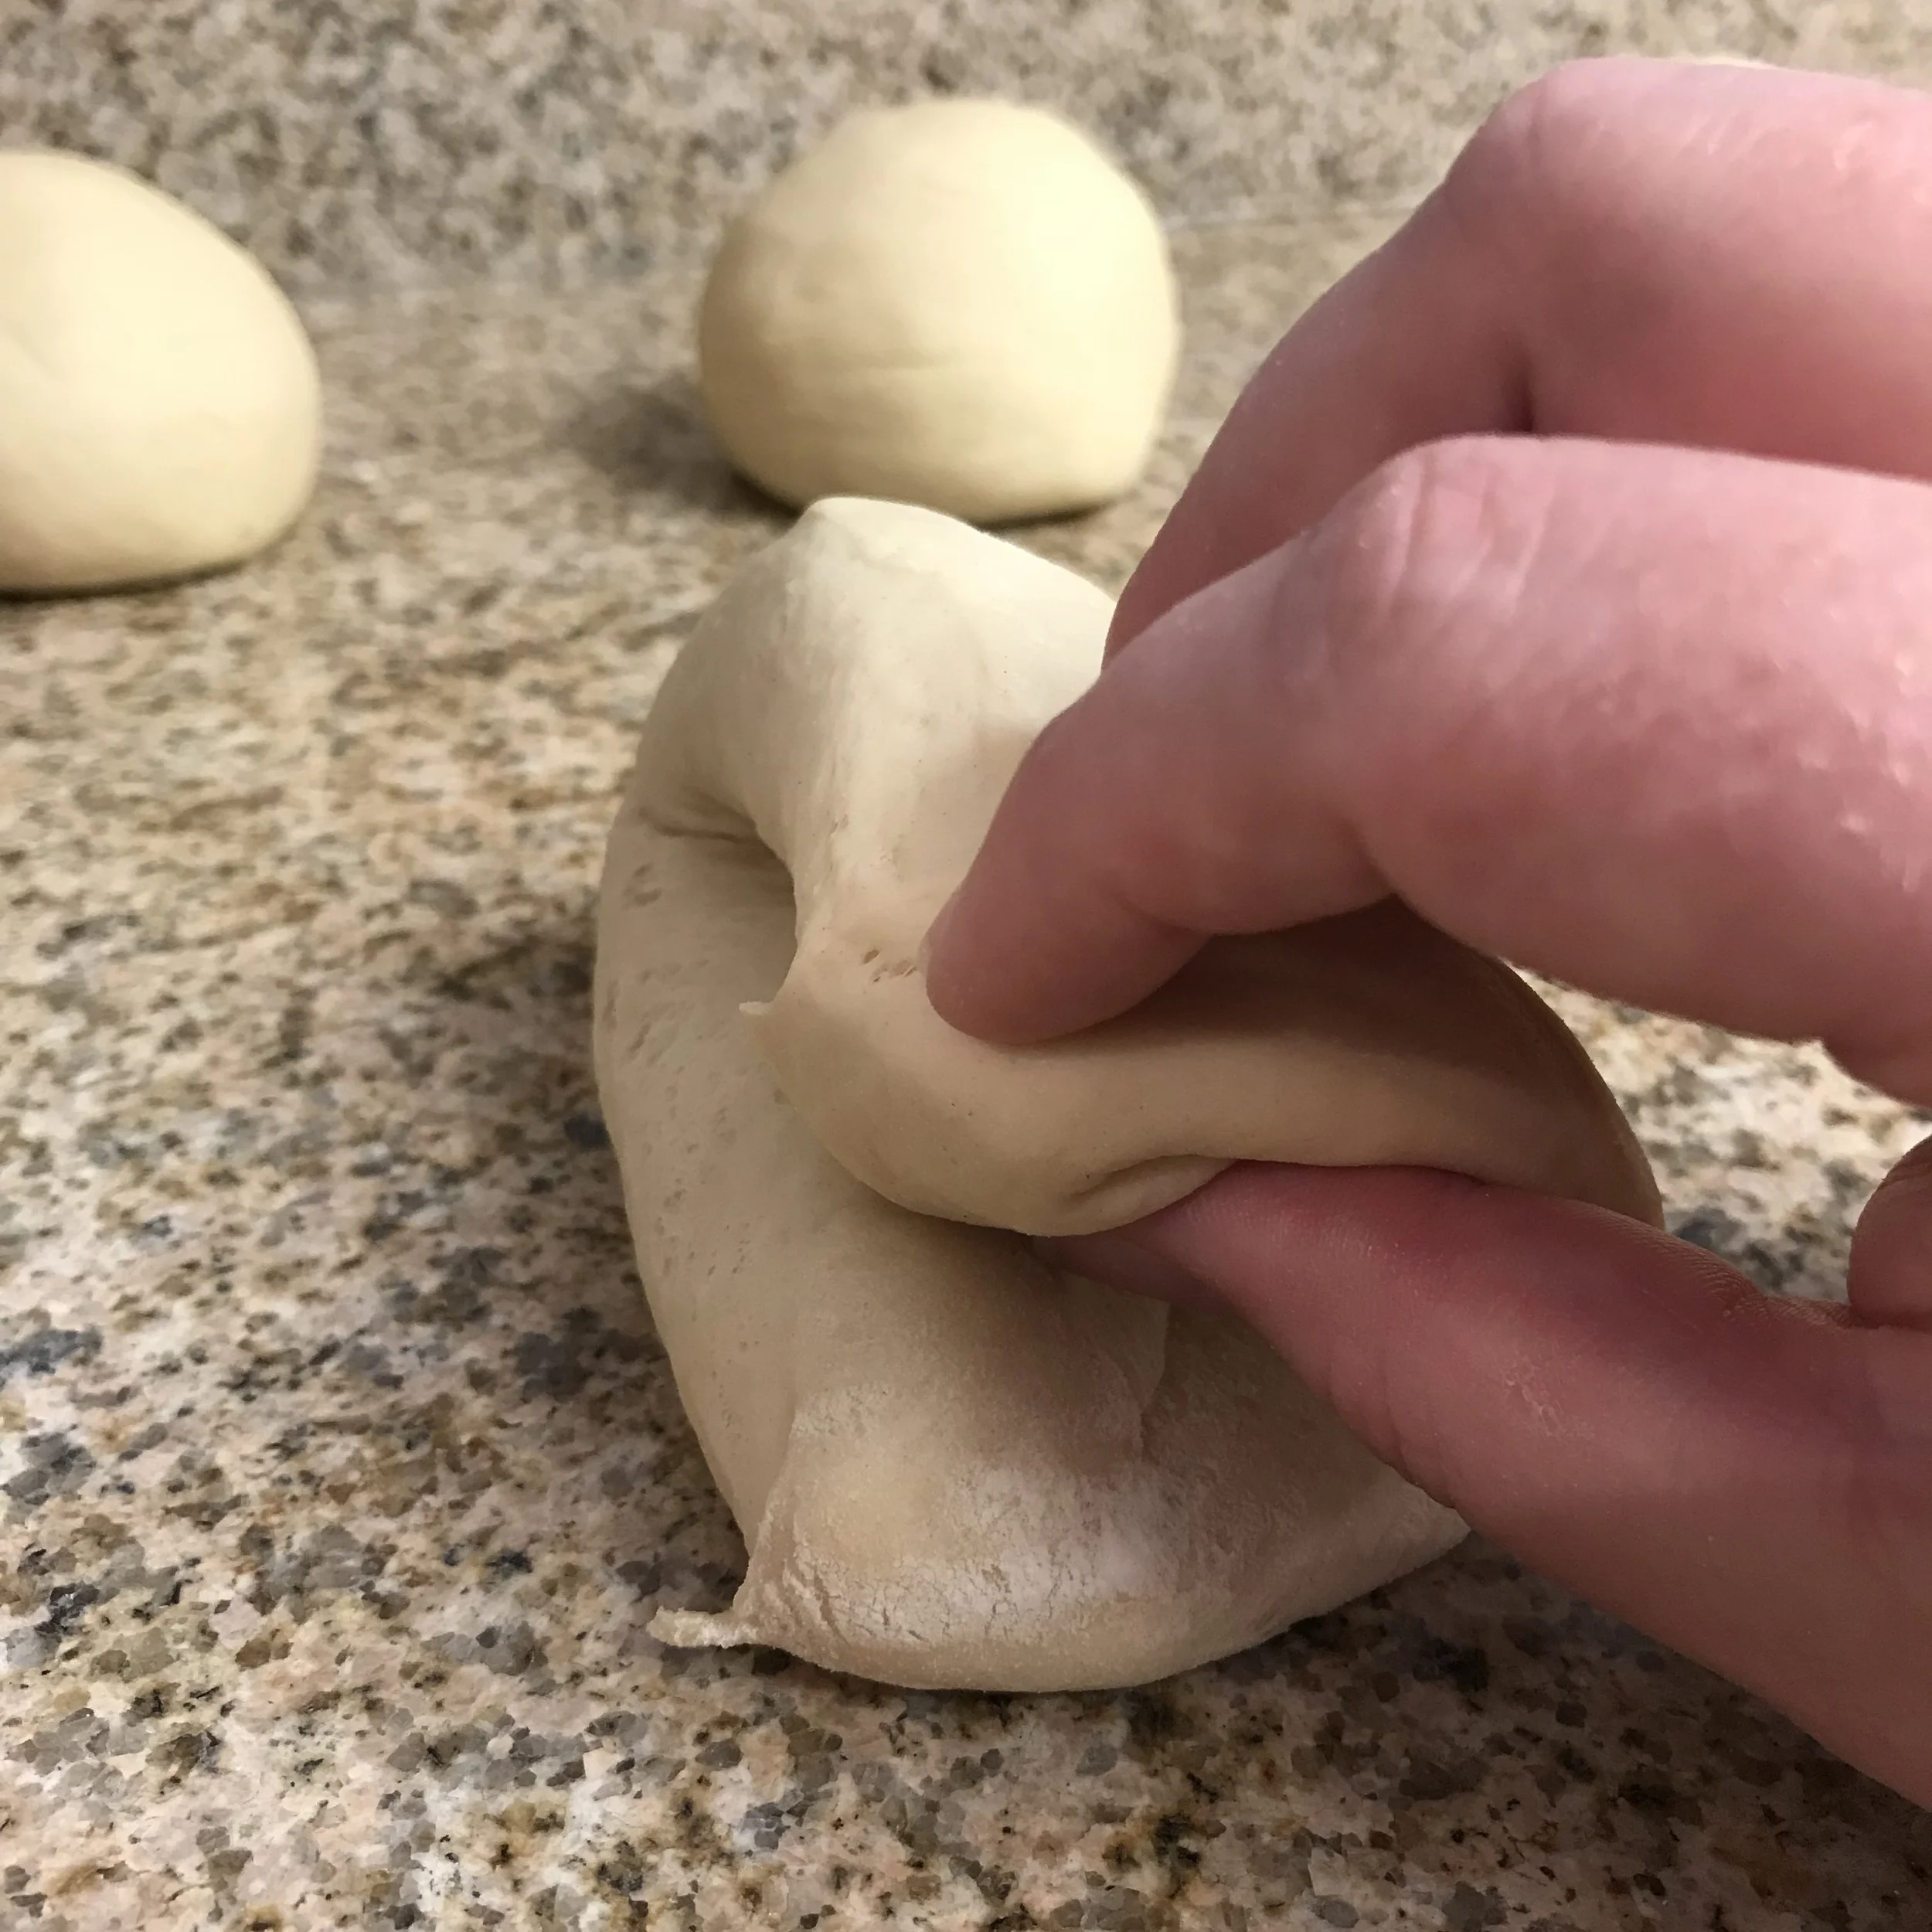

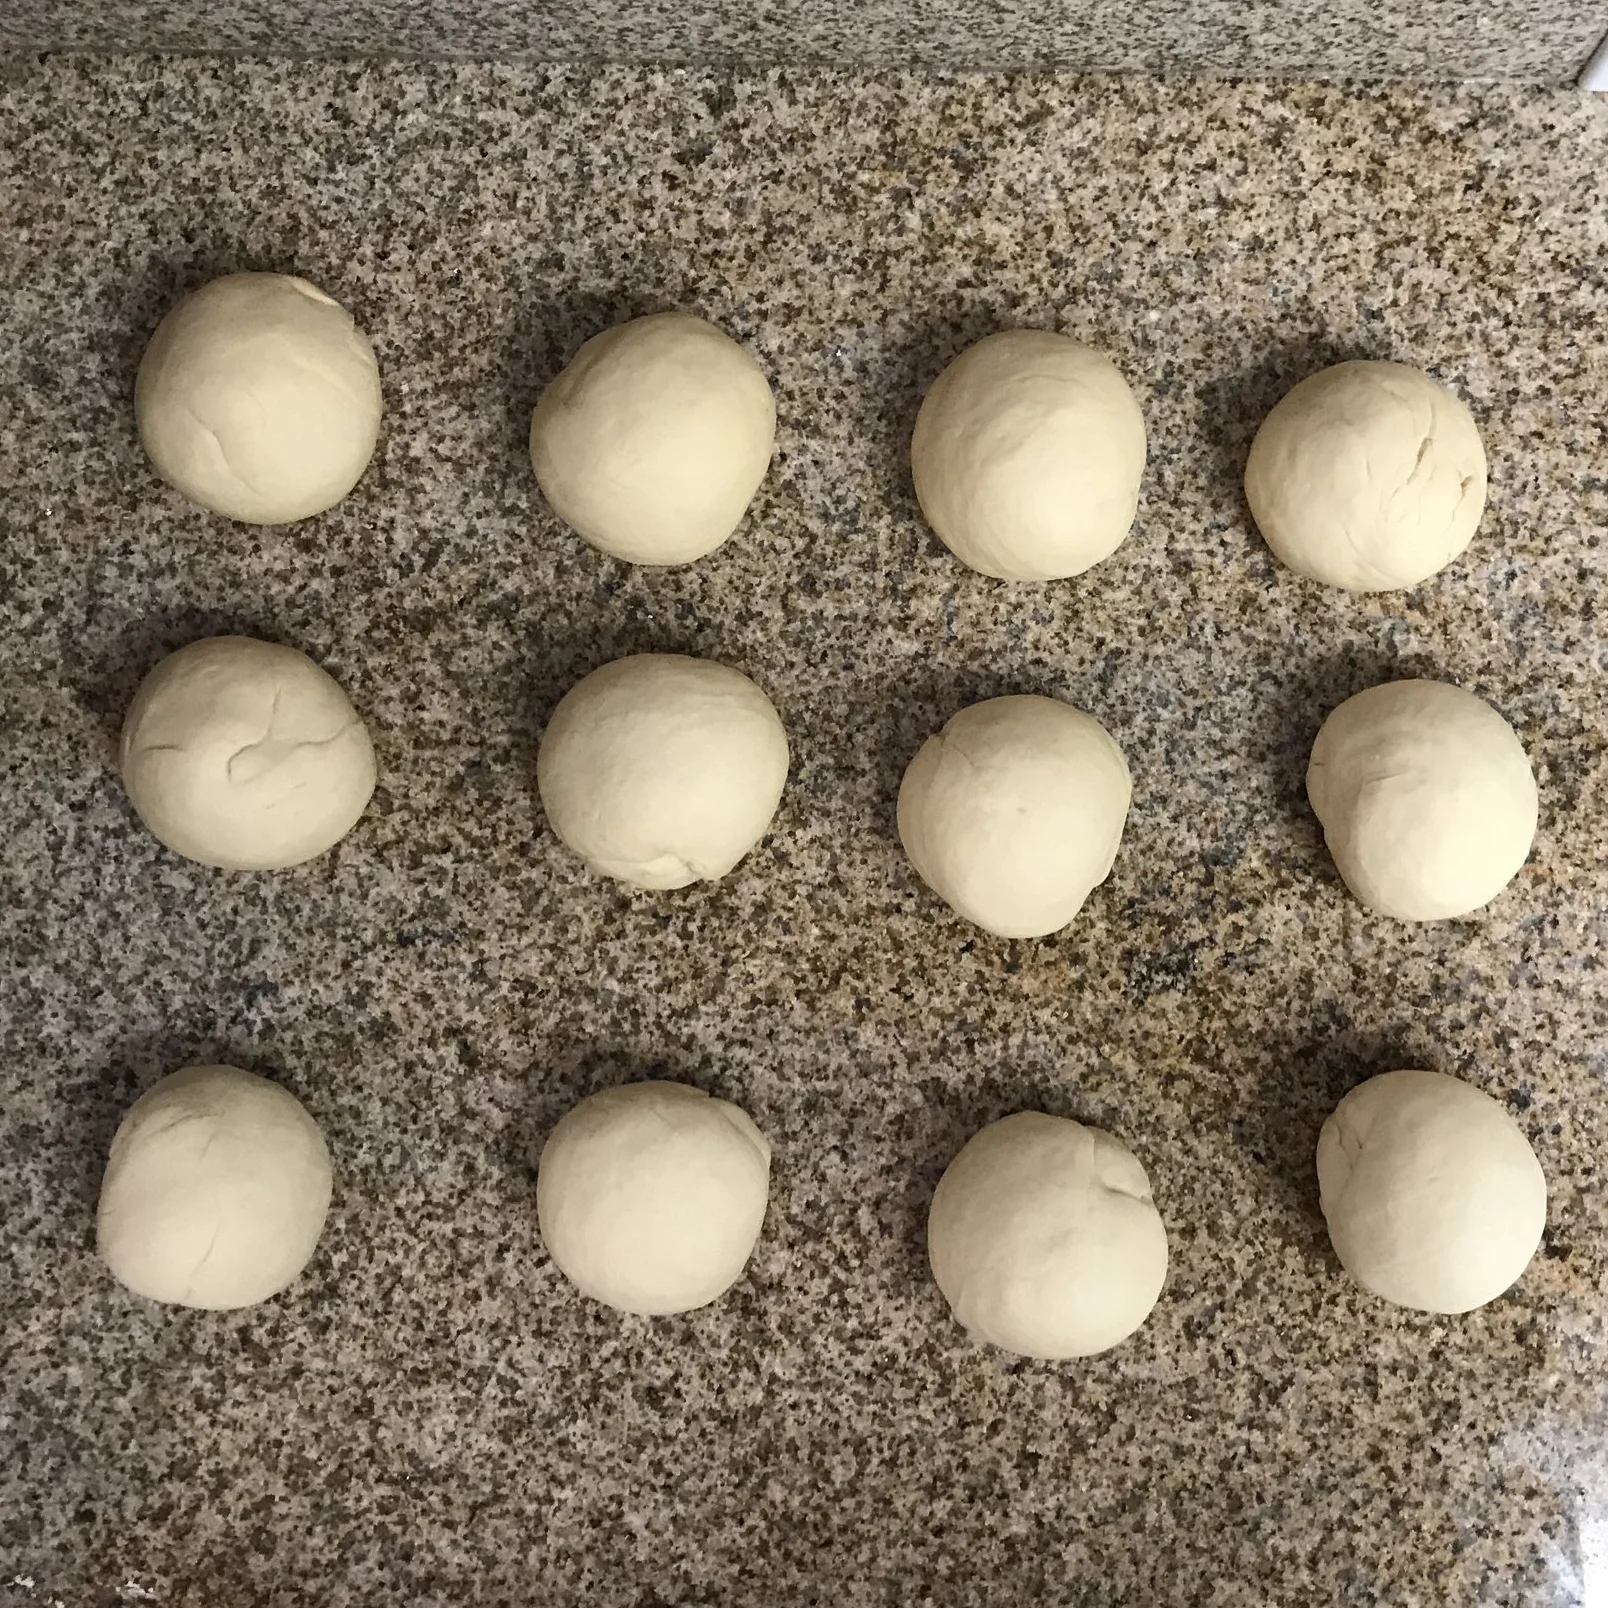
To form small spheres of dough, I then grabbed this piece of dough, short seam side down, in my fist. A quick digression: they must write this baking book for men because the directions said that for dough this size, both the heal of my hand and the top of my fingers up to my first knuckle should be touching the countertop. My hands are nowhere near big enough for that so for me it was really the tips of my fingers just barely touching the bench. To shape the dough, the book then describes a twisting motion where your fingers rotate to your right while the heal of your hand twists down and to the left. This motion is repeated until the piece of dough is rounded into a smooth ball. I really struggled with this motion and watched a lot of youtube videos to try to get it right. For the last few rotations on each ball I cheated and used both hands to get the perfect circular shape. Clearly I have a lot practicing ahead on this technique.

Now that I had twelve nice and neat balls of dough, it was time to roll them out and twist into a pretzel shape. I first stretched the dough, not flattened, into a rectangle about 10 inches long. Next I folded the dough twice like a letter going into an envelope. First I folded the top third of the dough lengthwise down towards the bottom third and lightly tapped with my fingers. I then took what was now the top portion of the dough lengthwise and folded it over to the bottom. I again used the heal of my hand to close the seam.


Next, starting with the seam side down on the bench, I used the palms of my hands to roll out the dough to about 30 inches long and slightly thicker in the middle. Once the dough was approaching 30 inches in length, the dough had a tendency to swing back and forth like a jump rope in the middle when I was rolling the dough at the edges of the rod. The dough was quite elastic and kept trying to retract when I would finish rolling it out.

With the long rod of dough rolled out, it was time to twist into the pretzel shape. I first created an upside down U shape on the bench. Holding the dough by the ends, one in each hand, I crossed the right end over the left end once, leaving about eight inches of dough left on each side below the cross. I repeated this motion again to create an additional twist in the dough. Then I picked up each end and move it upwards towards the top of the former U shape, placed the ends at about 2 and 10 o’clock, and pushed down with my index fingers to seal the dough in place.


After rolling out and twisting up all twelve pretzels, they then sat to proof covered at room temperature for about 30 minutes followed by proofing in the refrigerator uncovered for about 20 minutes. The uncovered proofing in the fridge allowed the dough to form a slight skin.

While the pretzels were proofing, I started preparing the lye for dipping and coating the pretzels. Lye is a sodium hydroxide solution which has a very high pH. Dipping the pretzels briefly in a lye solution changes the chemistry of the surface of the dough by accelerating what are called Maillard reactions. These are reactions between between amino acids and reducing sugars in the dough that cause browning.
Lye is pretty toxic so it was time to get my PPE (Personal Protective Equipment) on. After a few near misses in grad school contributed to driving me from the lab, I have to say I was pretty freaked out making the lye. I was wishing for a chemical hood to mix the solution. But after watching several youtube videos where no one died making lye, I mixed the solution. Later that night, as I cleaned up, I wasn’t sure where to keep the package of sodium hydroxide pellets. I finally decided it would probably be ok in the cabinet with my other baking materials as long as the package was inside a tupperware container. My husband made fun of me for this; my grad school training was coming back to haunt me as I searched for appropriate “secondary containment” for the pellets.


A few minutes before dipping the the pretzels in the lye, I pulled them out of the fridge to warm up. The lye solution was made by boiling water and then adding the sodium hydroxide pellets, so warming up the pretzels a bit prevented the temperature of the lye solution from dropping too quickly during pretzel dipping. For each pretzel, I used a spider to dip the pretzels into the lye. Removing the pretzels from the lye, I placed them on a rack suspended over my sink to allow excess lye to drip off. I also immediately sprinkled each pretzel with coarse salt. Each pretzel was transferred to a baking sheet lined with lightly oiled parchment paper and baked for ~15 minutes until a dark brown color had formed.


And there we have it! Twelve soft pretzels! If you look at the image below, you’ll notice that the pretzels get lighter in color from left to right. The three on the left were those first to be dipped in lye and the six on the right were the last. I can think of two reasons why the pretzels on the left may be lighter. First, as I got towards the end of the batch of pretzels, the level of lye in my saucepan was lower and thus I may not have fully coated the last few pretzels. Alternatively, the pretzels on the left sat longer between being dipped in lye and baked, perhaps giving more time for the reaction to proceed.


Lessons learned:
In the book’s photos of the pretzels, they had much wider gaps in the middle. This is likely due to how thin the dough was at the ends of the rod before twisting into the pretzel shape. I struggled to get the dough this thin on the ends due to the elasticity of dough shrinking the rod over time. Researching this after I finished baking, I learned that some people roll out the dough as much as they can, then wait 5-10 minutes to allow the dough to relax. This relaxation allows the dough to then roll even thinner on a second attempt. Personally, I think you could go either way with the thickness of dough. It would have looked nice to have those larger holes, but I love a thicker, doughier pretzel myself!
If you look back at the images of dough being twisted into the pretzel shape, you’ll notice that the end of the dough on the left side after the second twist comes up shorter than the right side. In retrospect, I think I would have started with a longer amount of dough on the left side so that after two twists (cross to the right side, then back to the left side), the length of the dough would have come out more even. This would likely have resulted in more symmetrical pretzels. You’ll noticed that almost all of mine skew to one side.
The recipe didn’t describe how long to leave the pretzels in the lye during dipping, so I really just left them in long enough to get mostly covered, maybe just a few seconds. Researching this online after finishing baking, I saw some recipes that called for the pretzel to be in the lye for 30 seconds. If I had left the pretzels in the lye for longer I suspect I would have achieved a darker brown color.
Until next time…