
Baked: February 10, 2019
Recipe Source: The Scran Line (Nick Makrides)
Photo Credit: Daniel Beauboeuf
Hello! Long time no see. It has been over two months since I’ve posted on Crumb Boule! Between the holidays and moving to a new house (with an even better kitchen!), there hasn’t been much opportunity to bake. But I’m back with a new bake - Macarons! Macarons have been on my bucket list for a long time, so it was a natural next choice for a bake!
When I first thought about making macarons for this challenge, I immediately thought of Nick Makrides. Nick is the content creator of an instagram handle / website called “The Scran Line.” His account is an amazing, colorful library of icing-laden cupcakes, multi-layer super-stacked cakes, and, yes, macarons in every flavor imaginable! Not only are his creations creative and fun to look at, he is also a very enjoyable teacher of baking techniques to watch.
After I settled on slowly introducing myself to this new cookie by making Nick’s simple recipe for vanilla macarons, it occurred to me that there was likely a macaron recipe in the CIA Baking and Pastry book. Of course there was. However, after reviewing the recipe compared to the Scran Line recipe and watching (multiple times) Nick’s video tutorials on how to make macarons, I decided to use the recipe from The Scran Line. Thus you will find this bake (technically!) on the “Just for Fun” section of my blog. I do hope to one day also try the official CIA recipe and compare the outcome in my hands.

I sure didn’t “mac-a-ron” choice when I decided to make macarons this week. Let’s get started!
The basic steps for making macarons are as follows:
Mix the powdered sugar, almond flour and egg whites
Make the meringue
Combine the almond mixture and meringue
Macronage
Pipe into disks, dry and bake
Assembly
1. Mix the powdered sugar, almond flour and egg whites
While reading up on making this mixture, I learned a few key tips:
Make sure you use 100% pure powdered sugar, as most you find in the store is mixed with corn starch
Sifting the powdered sugar and almond flour together at least 3 times is critical in order to achieve macarons with a smooth surface
The first step in making this mixture was to combine the almond flour and powdered sugar. I first sifted both ingredients separately into the same large bowl. Then I sifted them together three times.


I next created a small indentation in the middle of the powered sugar and almond flour mixture, pouring in half of my egg whites. After mixing well, I added the rest of the egg whites and fully combined. I covered this mixture with plastic wrap and set it aside.


2. Make the meringue
The next step was to make the meringue. In a saucepan fitted with a candy thermometer on the stove, I combined the granulated sugar and water, mixed lightly and began to heat the mixture. I also added by aged egg whites to my stand mixer, but did not yet start whipping.

While we wait for my sugar syrup to boil, let’s talk about aging egg whites
Researching this recipe, I learned that there is a lot of controversy about the requirement to use aged egg whites in macarons. To age egg whites, the egg whites are separated from their yolks, placed in a bowl covered with hole-punctured plastic wrap, and refrigerated for at least 24 hours prior to use. This aging process relaxes the proteins in the egg whites and slightly dehydrates them. Many believe this allows for a more stable meringue to be created during whipping.
When my sugar syrup reached 230 degrees F, I started to whip the egg whites in the stand mixer. Then, when the syrup reached 244 degrees F, I poured the sugar mixture slowly down the side of the bowl while the egg whites continued to whip.


I continued to whip until the meringue slightly arched at its peak when the beater was held upright. I returned the beater to the bowl and added the vanilla extract. Unfortunately, the vanilla extract caused the meringue to slightly droop. In the future, I would consider using gel extracts and colorings to avoid adding too much liquid to the meringue at this stage.

Before adding vanilla

After adding vanilla
3. Combine the almond mixture and meringue
Next, I added the meringue to the almond mixture in three steps. First, I added ~1/3 of the meringue to all the almond mixture and mixed well. There is no need to worry about knocking the air out of the meringue. In fact, there will be a step later on when we try to get all remaining air bubbles out of the batter. I then added a second ~1/3 of the meringue and mixed well again. Finally, I added the last ~1/3 of the meringue, but only lightly mixed this time.


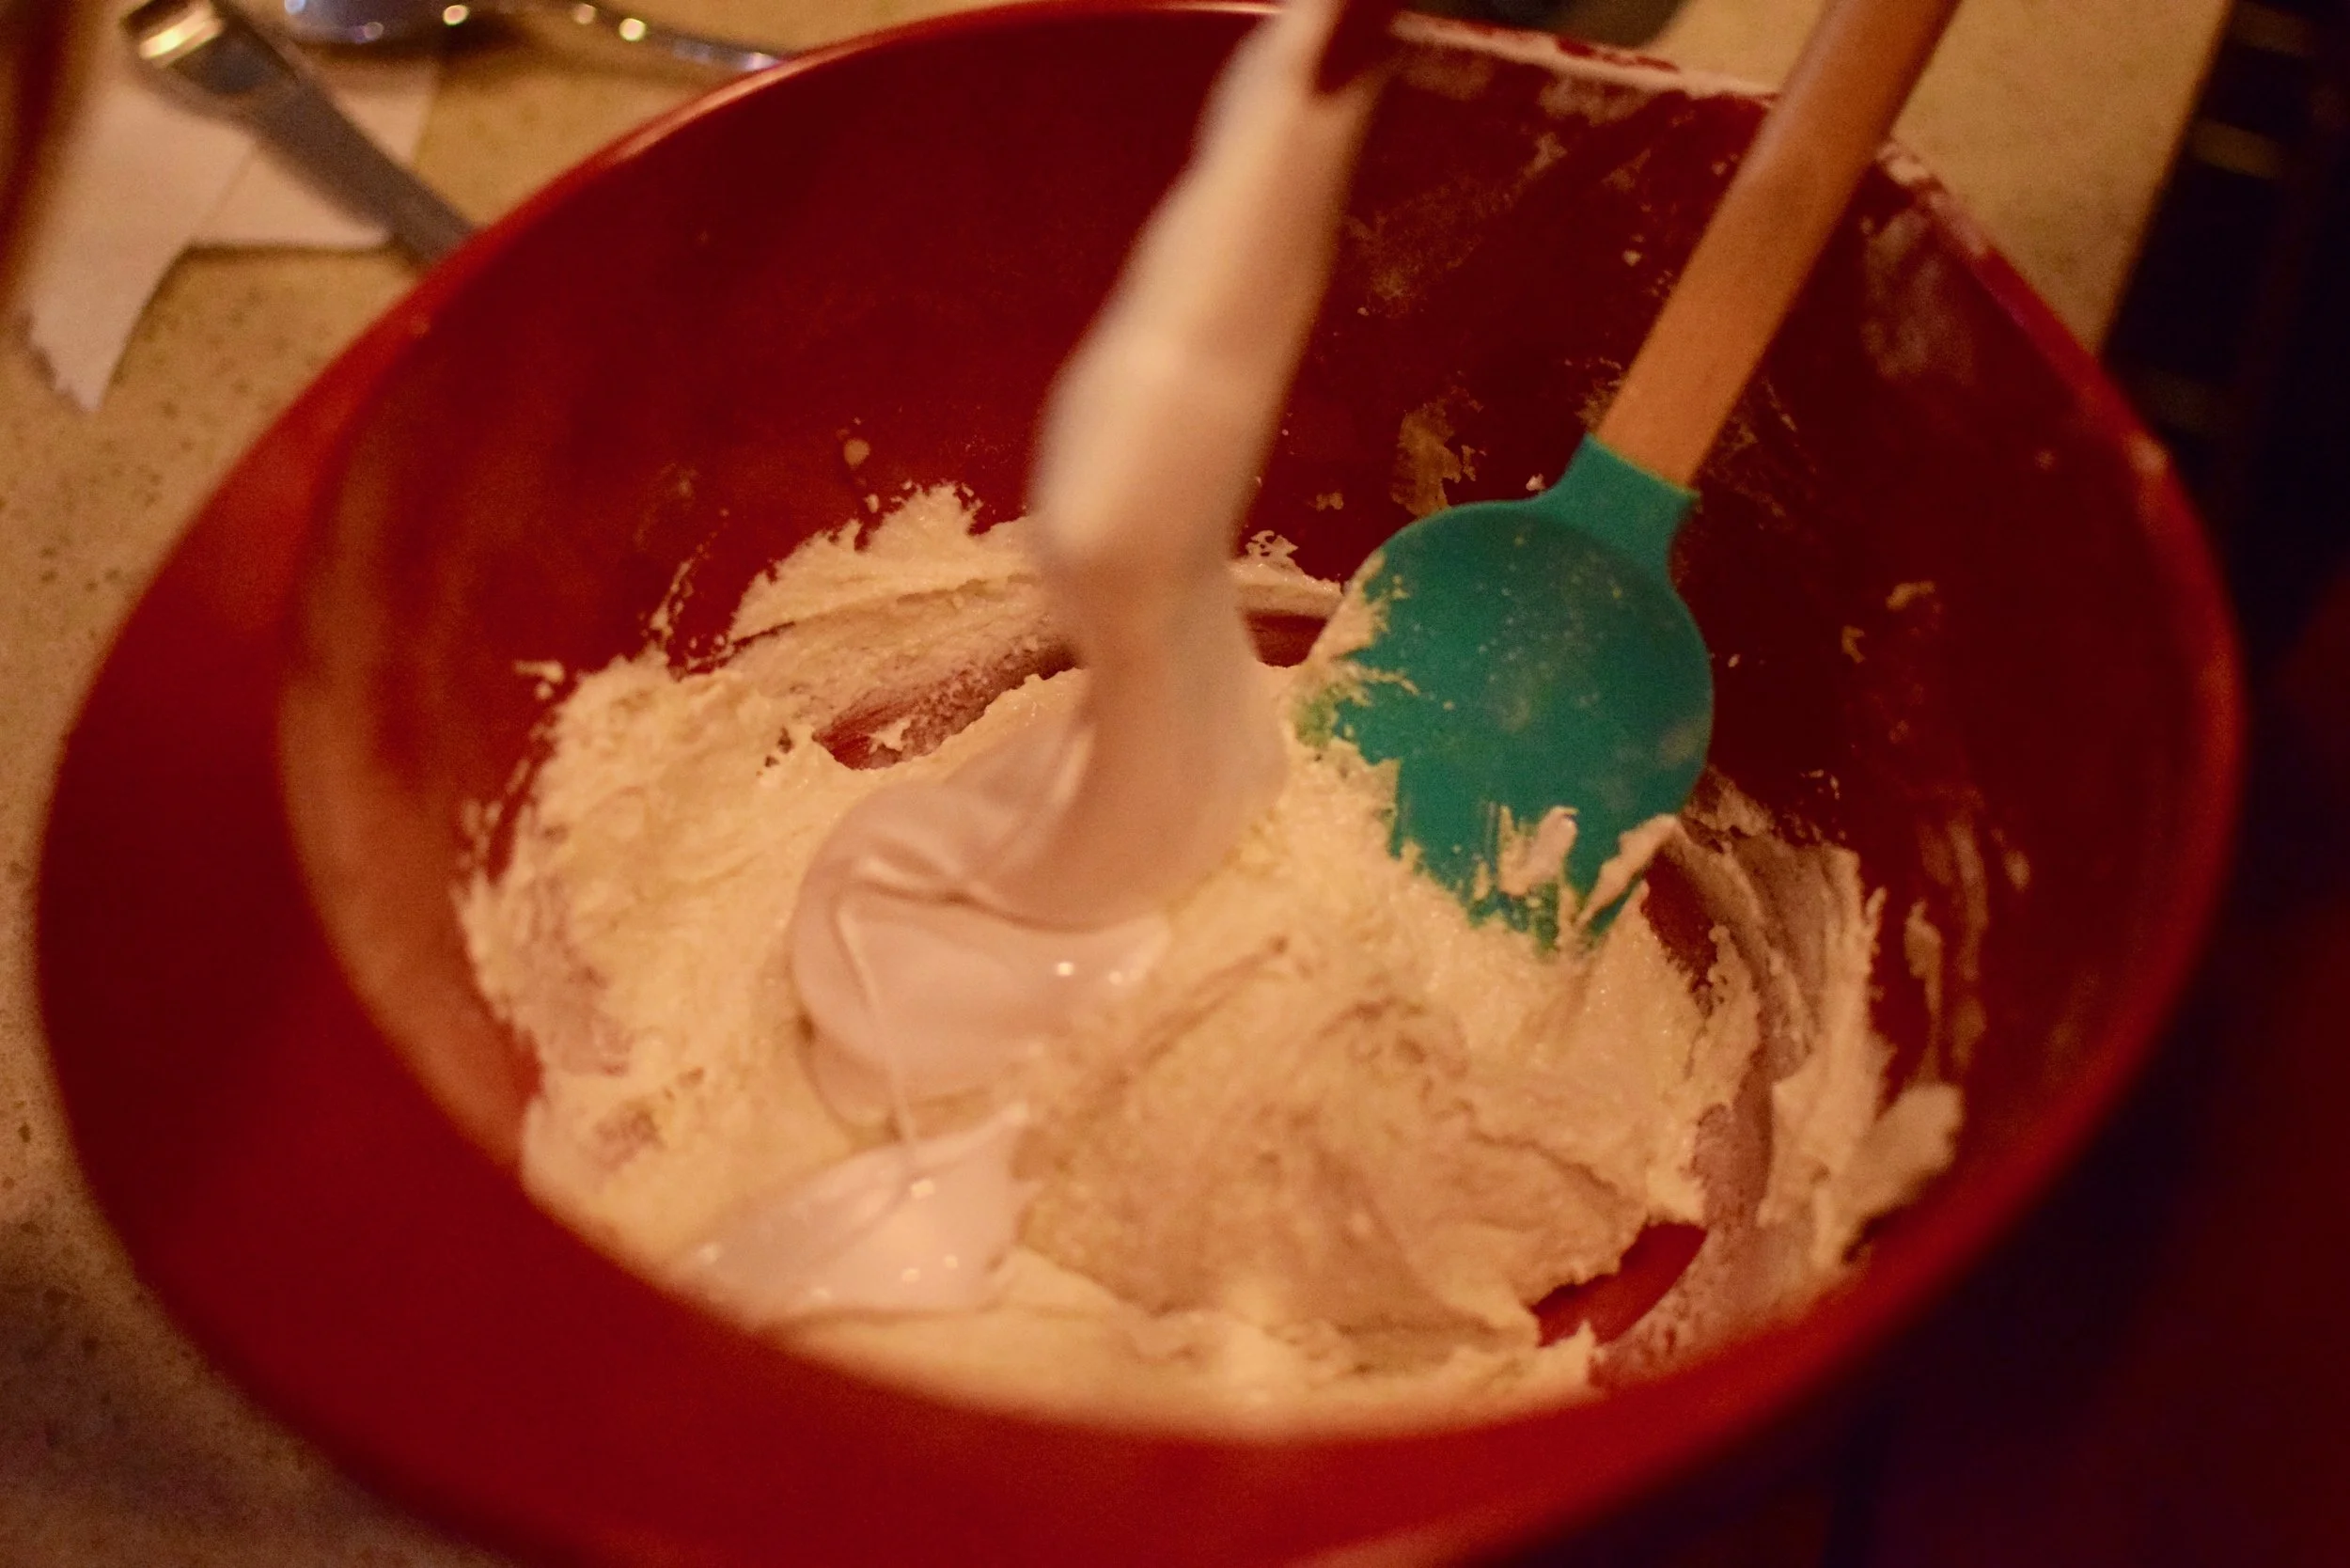

4. Macaronage
At this point, I was ready for macaronage, the step where the batter is mixed until it reaches the proper consistency for piping the macrons. The mixing motion is basically like folding egg whites. You first scrape the batter around the outside of the bowl in a circular motion, followed by punching through the middle of the batter. I did this several times before I started to check the consistency of the batter. You know the batter is ready when it drizzles off the side of the spatula, incorporating fully back into the batter below over the course of roughly 10 seconds. You want to catch the batter when it just reaches this state and not go past, so it is important to start testing the consistency frequently when you think you are getting close. I then transferred the batter to a piping bag fitted with a wide circular tip.


5. Pipe into disks, dry, and bake

During my baking setup, I had created templates for piping the macrons. Using my one inch circle cutter I traced circles onto parchment paper. When I was ready to pipe the macarons, I flipped the parchment paper over so the trace side was facing down but still visible through the translucent paper.
I then piped the macron batter in circles, trying to generate a smooth surface without peaks. This was particularly difficult and many of the disks initially had peaks that eventually dissolved back into the batter as the disks spread out on the parchment paper. When all the disks were piped, I gently dropped each baking sheet on the counter to try to release any air bubbles still trapped in the batter.


Next, I let the piped disks sit uncovered for 30 minutes. This steps allows the surface to form a shell of dried batter. If you compare the picture of the dried disks to the freshly piped disks, the dried disks have a more matte rather than glossy appearance. The disks are ready for the oven when you can lightly touch the surface without batter sticking to your finger. The amount of time you need to wait for this to happen depends on the humidity of your kitchen. On a more humid day it may take longer than 30 minutes. This dried shell on each disk is responsible for the characteristic ‘foot’ seen on macarons. Steam generated during baking cannot escape through the shell, causing the formation of the ‘foot’ as steam escapes through the bottom of the cookie.


6. Assembly
After the cookies came out of the oven and fully cooled, it was time for assembly! I made a batch of dark chocolate ganache to fill each macaron. I’ve seen so many ways to pipe filling into macarons, but I decided to used a large star tip fitted on my piping bag. I piped the ganache in a circular motion, before gently placing the second cookie on the top of the ganache. The star tip pattern caused the ganache to squeeze out the edges of the macaron on a squiggly formation.


And there we have it! Vanilla macarons with chocolate ganache filling!

Lessons learned:
As I mentioned earlier, it may be a better idea to use gel coloring or flavoring so that it doesn’t dilute the meringue when added at that step.
As I piped the batter, I felt the 1 inch template was much smaller than the size I typically think of for macarons, even after the batter spread. In the future I would probably use a larger template, maybe 2 inches in diameter.
My macarons were not vary uniform in size and so I ended up size matching the cookies after they came out of the oven so that I could evenly pipe ganache during assembly. I ended up with what looked like ‘mommy and daddy’ macarons and ‘baby’ macarons. Next time, during piping, I will pay better attention to the height at which I am piping. Because the batter spreads, if you pipe a disk in the same diameter but different heights initially, eventually those that were piped with more height will be much wider in diameter.
As I baked the macarons I didn’t have a good sense for how to know when they were done, so I just pulled them out at 12 minutes as the recipe described. I think mine ended up being a bit under done. I later read that you know the macarons are done if when you touch them in the oven they do not wiggle back and forth on their ‘feet.’
Making macarons was super fun and actually a pretty straight forward endeavor. I can’t wait to try making macrons again sometime with more exciting flavors or colors!