
Baked: April 4-5, 2020
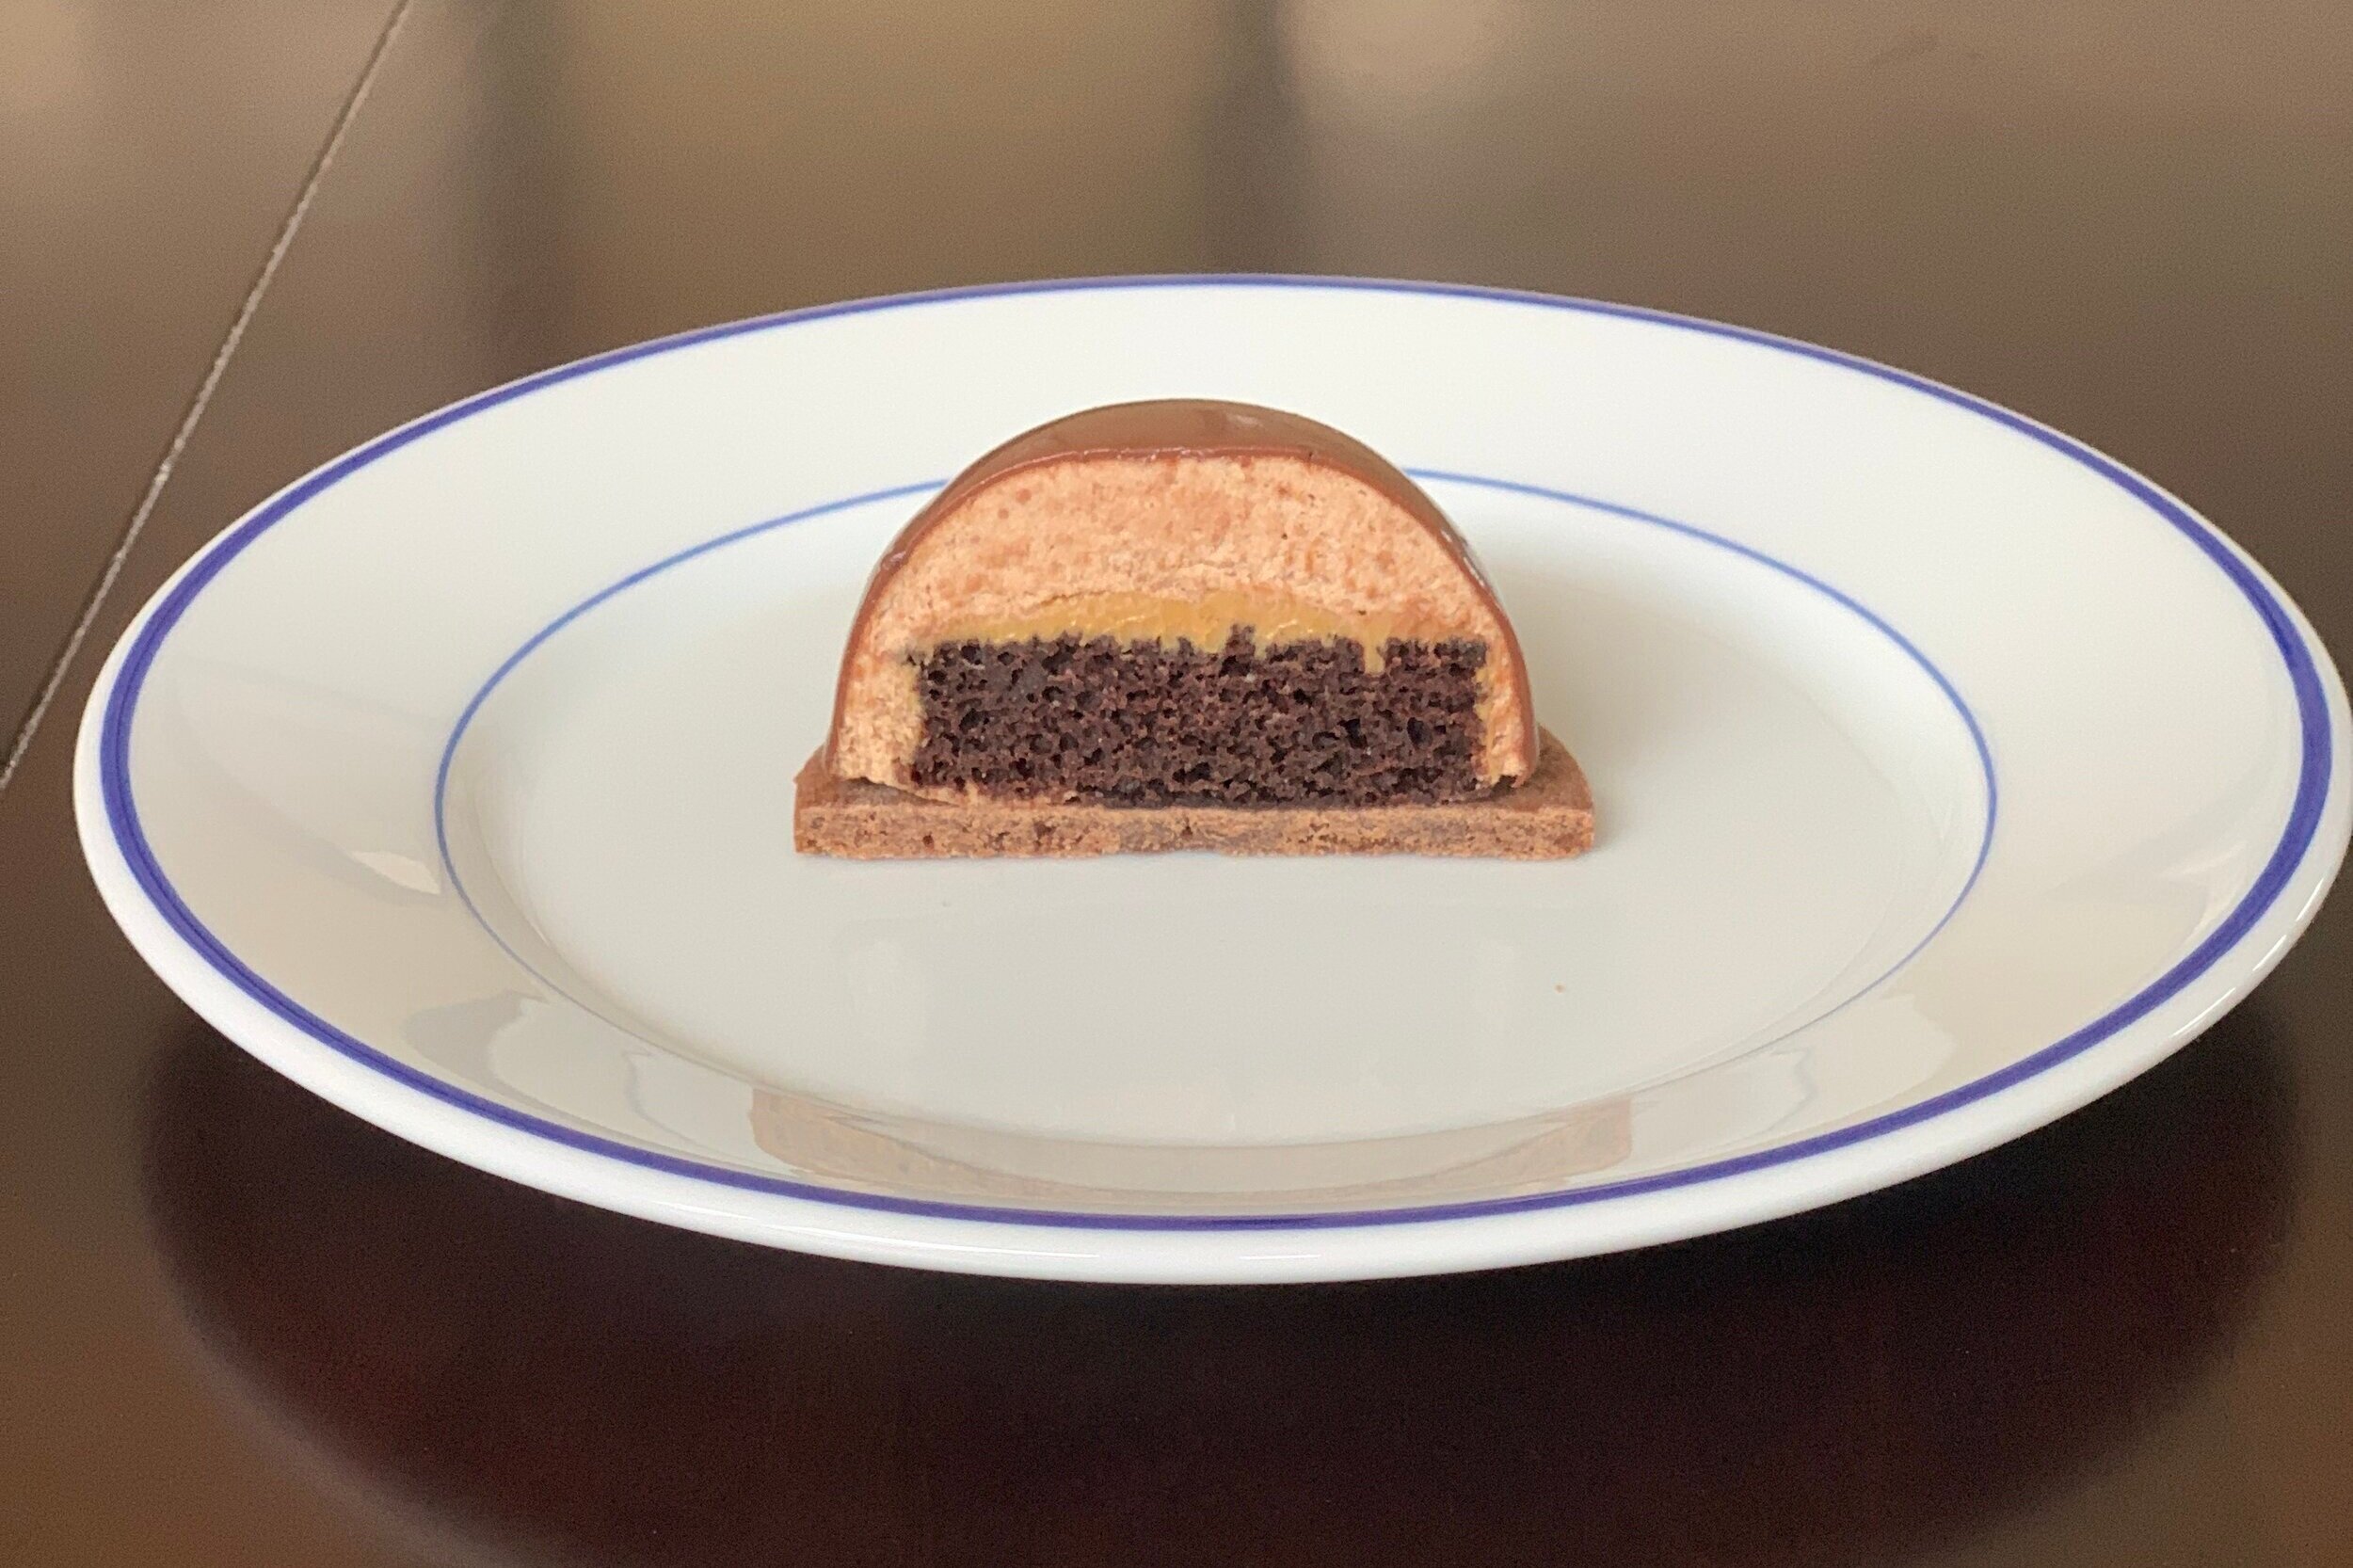
As we continue to shelter-at-home to flatten the curve and fight COVID-19, I continue to use this as an opportunity to bake. My selection of bakes has grown more ambitious as I have more and more time to spend on them! Thus this week I am making Chocolate Peanut Butter Bombes. These small, hemispherical treats are made up of devil’s food cake, peanut butter, and chocolate bavarian cream, enrobed in a shiny chocolate coating and served on a chocolate wafer. You definitely need to eat these with a glass of milk!
While we have to keep our distance, it is still nice to be able to connect with family on video chat or through a window during this time. After finishing these treats, I drove to my brother’s house to leave a few on his doorstep for him and his family. We were able to chat for a few minutes, him on the porch and me down the driveway. I later found out that the next day my seven-year old niece wrote in her homework assignment, “I want to learn how to make bombs like my aunt.” While yes we are all going a little stir-crazy, no I am not making bombs. Well I am… but only the tasty chocolate kind!

You DA BOMB for staying home to flatten the curve!
Let’s get started!
There are many steps to creating the Chocolate Peanut Butter Bombes:
Make devil’s food cake and prep the cake rounds.
Make chocolate Bavarian cream
Prepare the silicone molds
Make cookie wafers
Make the chocolate glaze, enrobe the bombes and assemble
Step 1: Make devil’s food cake and prep the cake rounds
The original recipe for Devil’s Food Cake was scaled to make six 8” rounds. Since I would later need to cut out small rounds of cake, I thought it would be easier to just make a rectangular sheet cake and scaled the recipe by surface area.
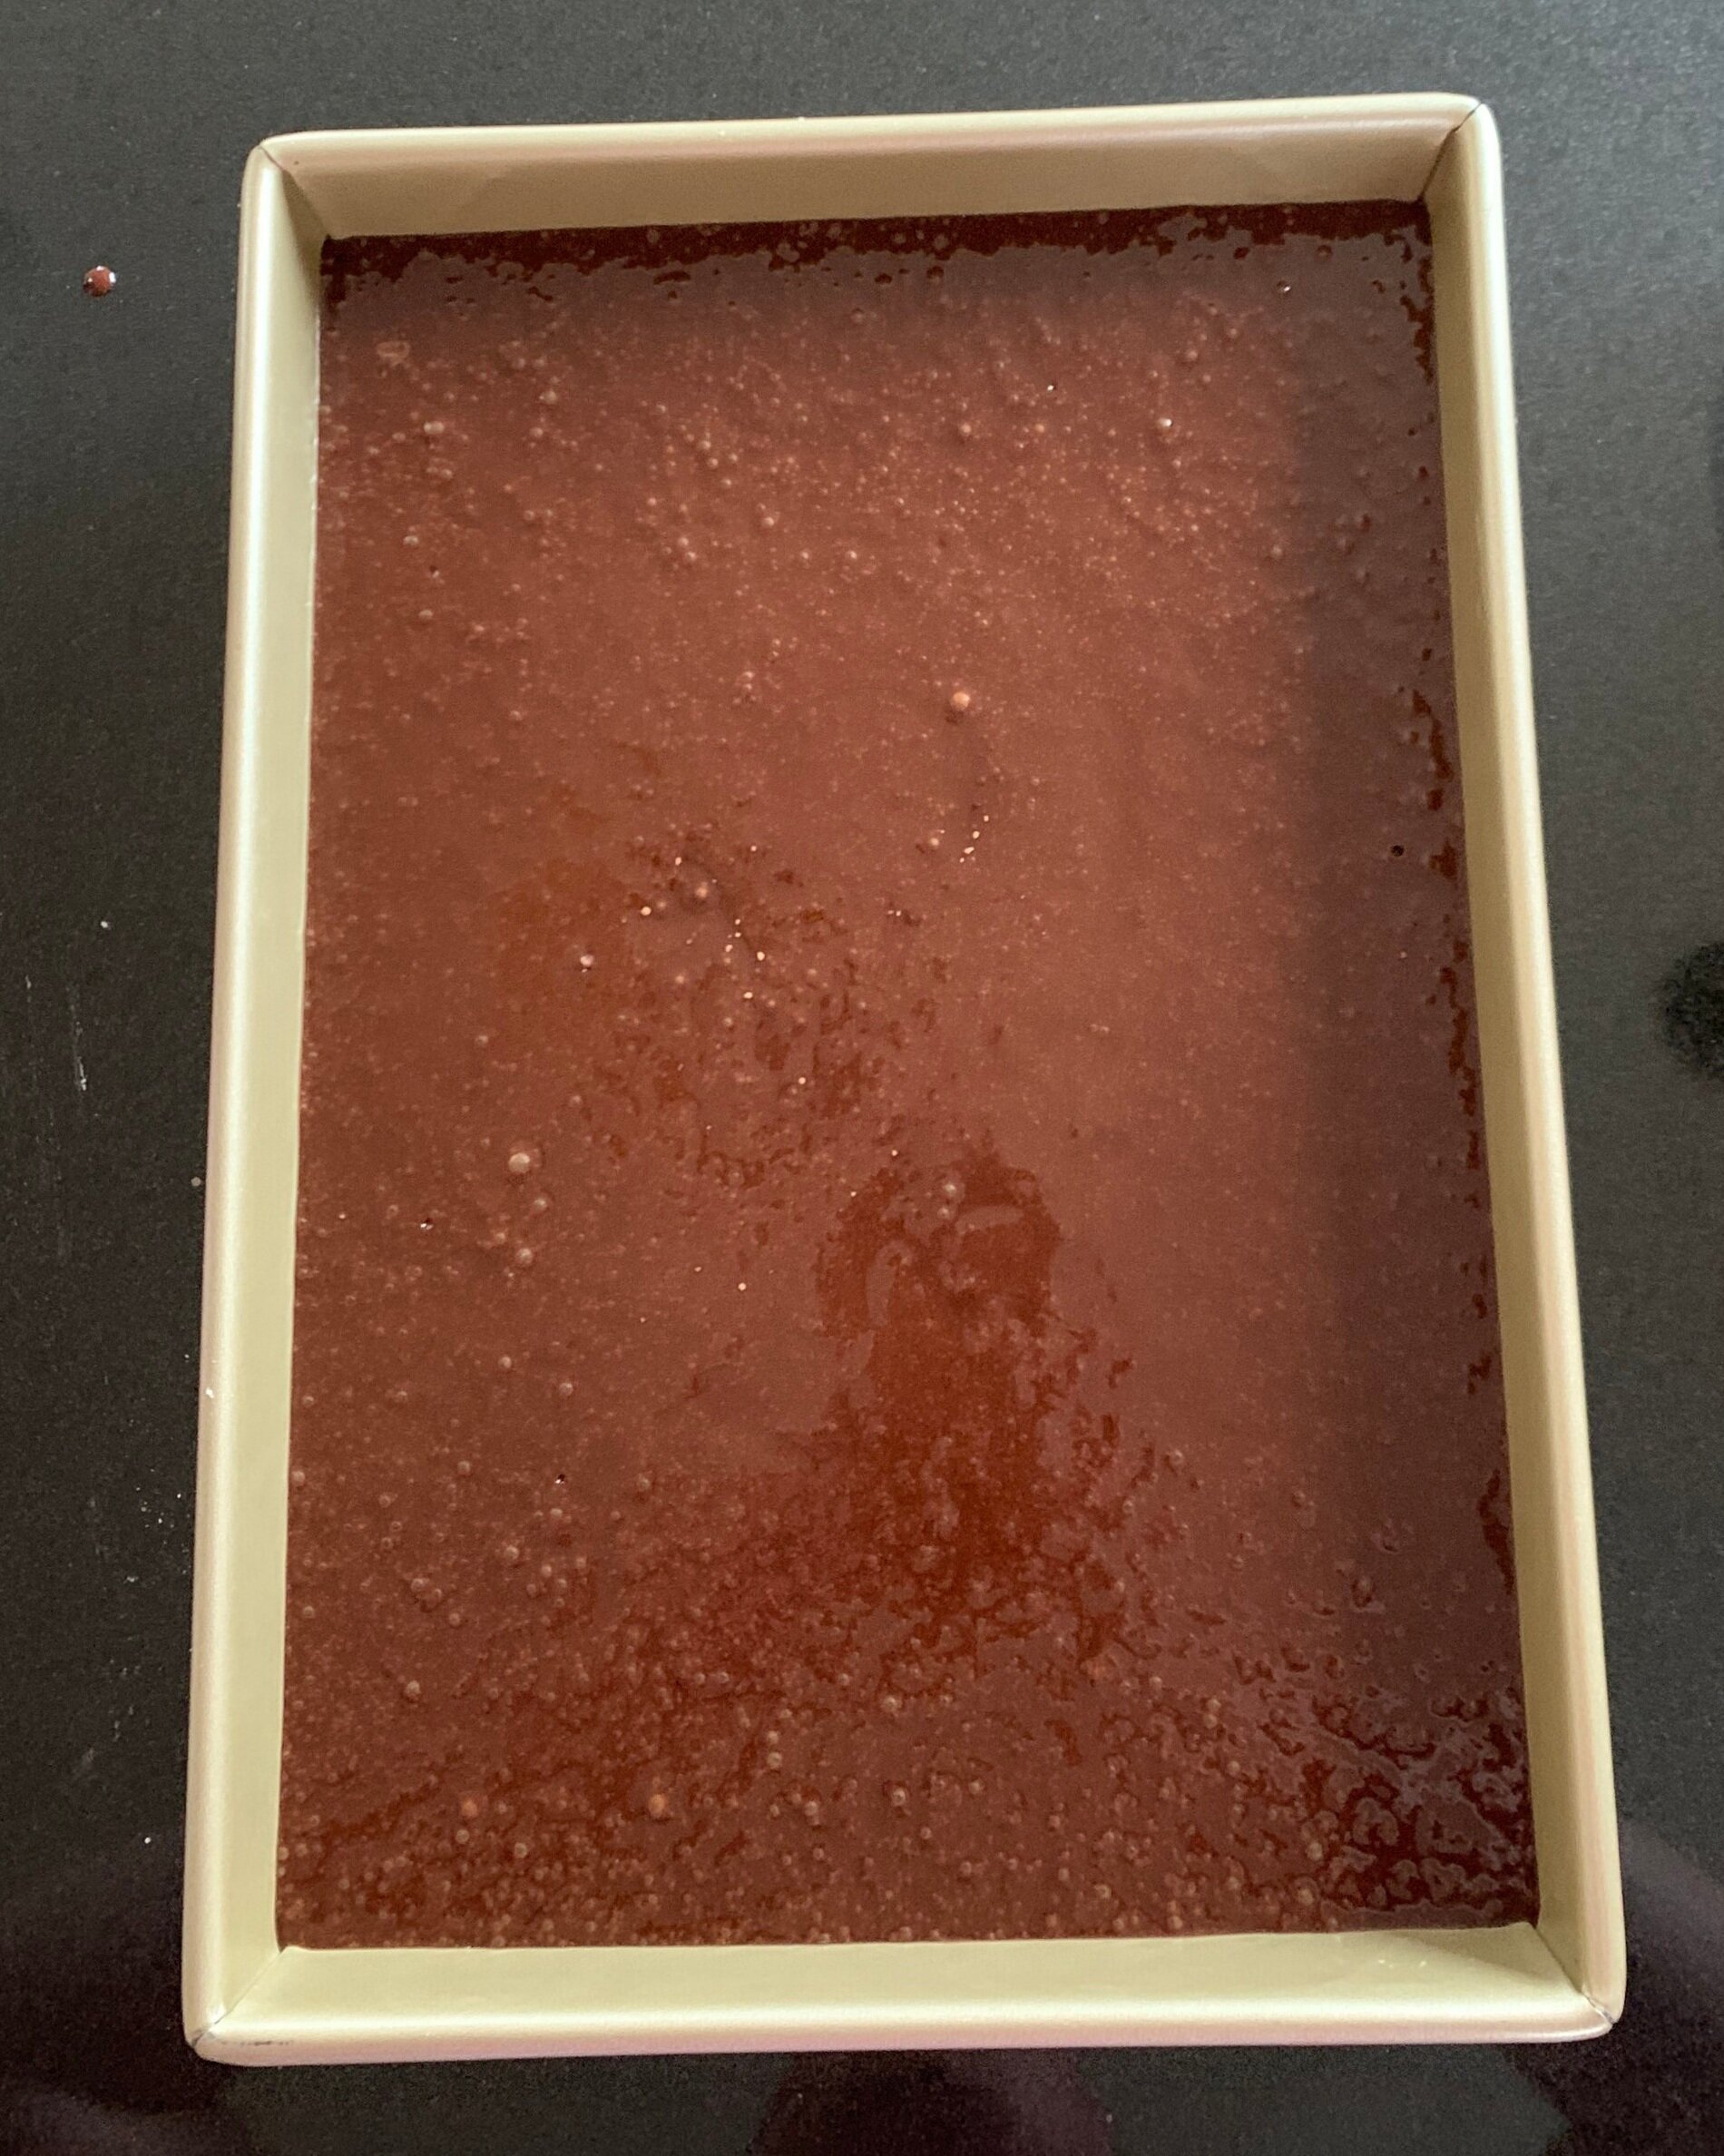
First, I combined eggs, butter, water and vanilla extract until smooth. I then slowly added in the sifted dry ingredients (sugar, flour, baking soda and baking powder). I continued to mix until the mixture was smooth. Next, I added cocoa powder and again mixed until smooth. As you can see, some of the cocoa escaped! Before baking, I poured the batter into a 9x13” baking pan lined with parchment paper.


Step 2: Make chocolate Bavarian cream
I’ve made chocolate Bavarian cream before so I will spare you all the details here. If you want to see that description, check out my post when I made Peanut Butter S’mores Cake.
Step 3: Prepare the silicone molds
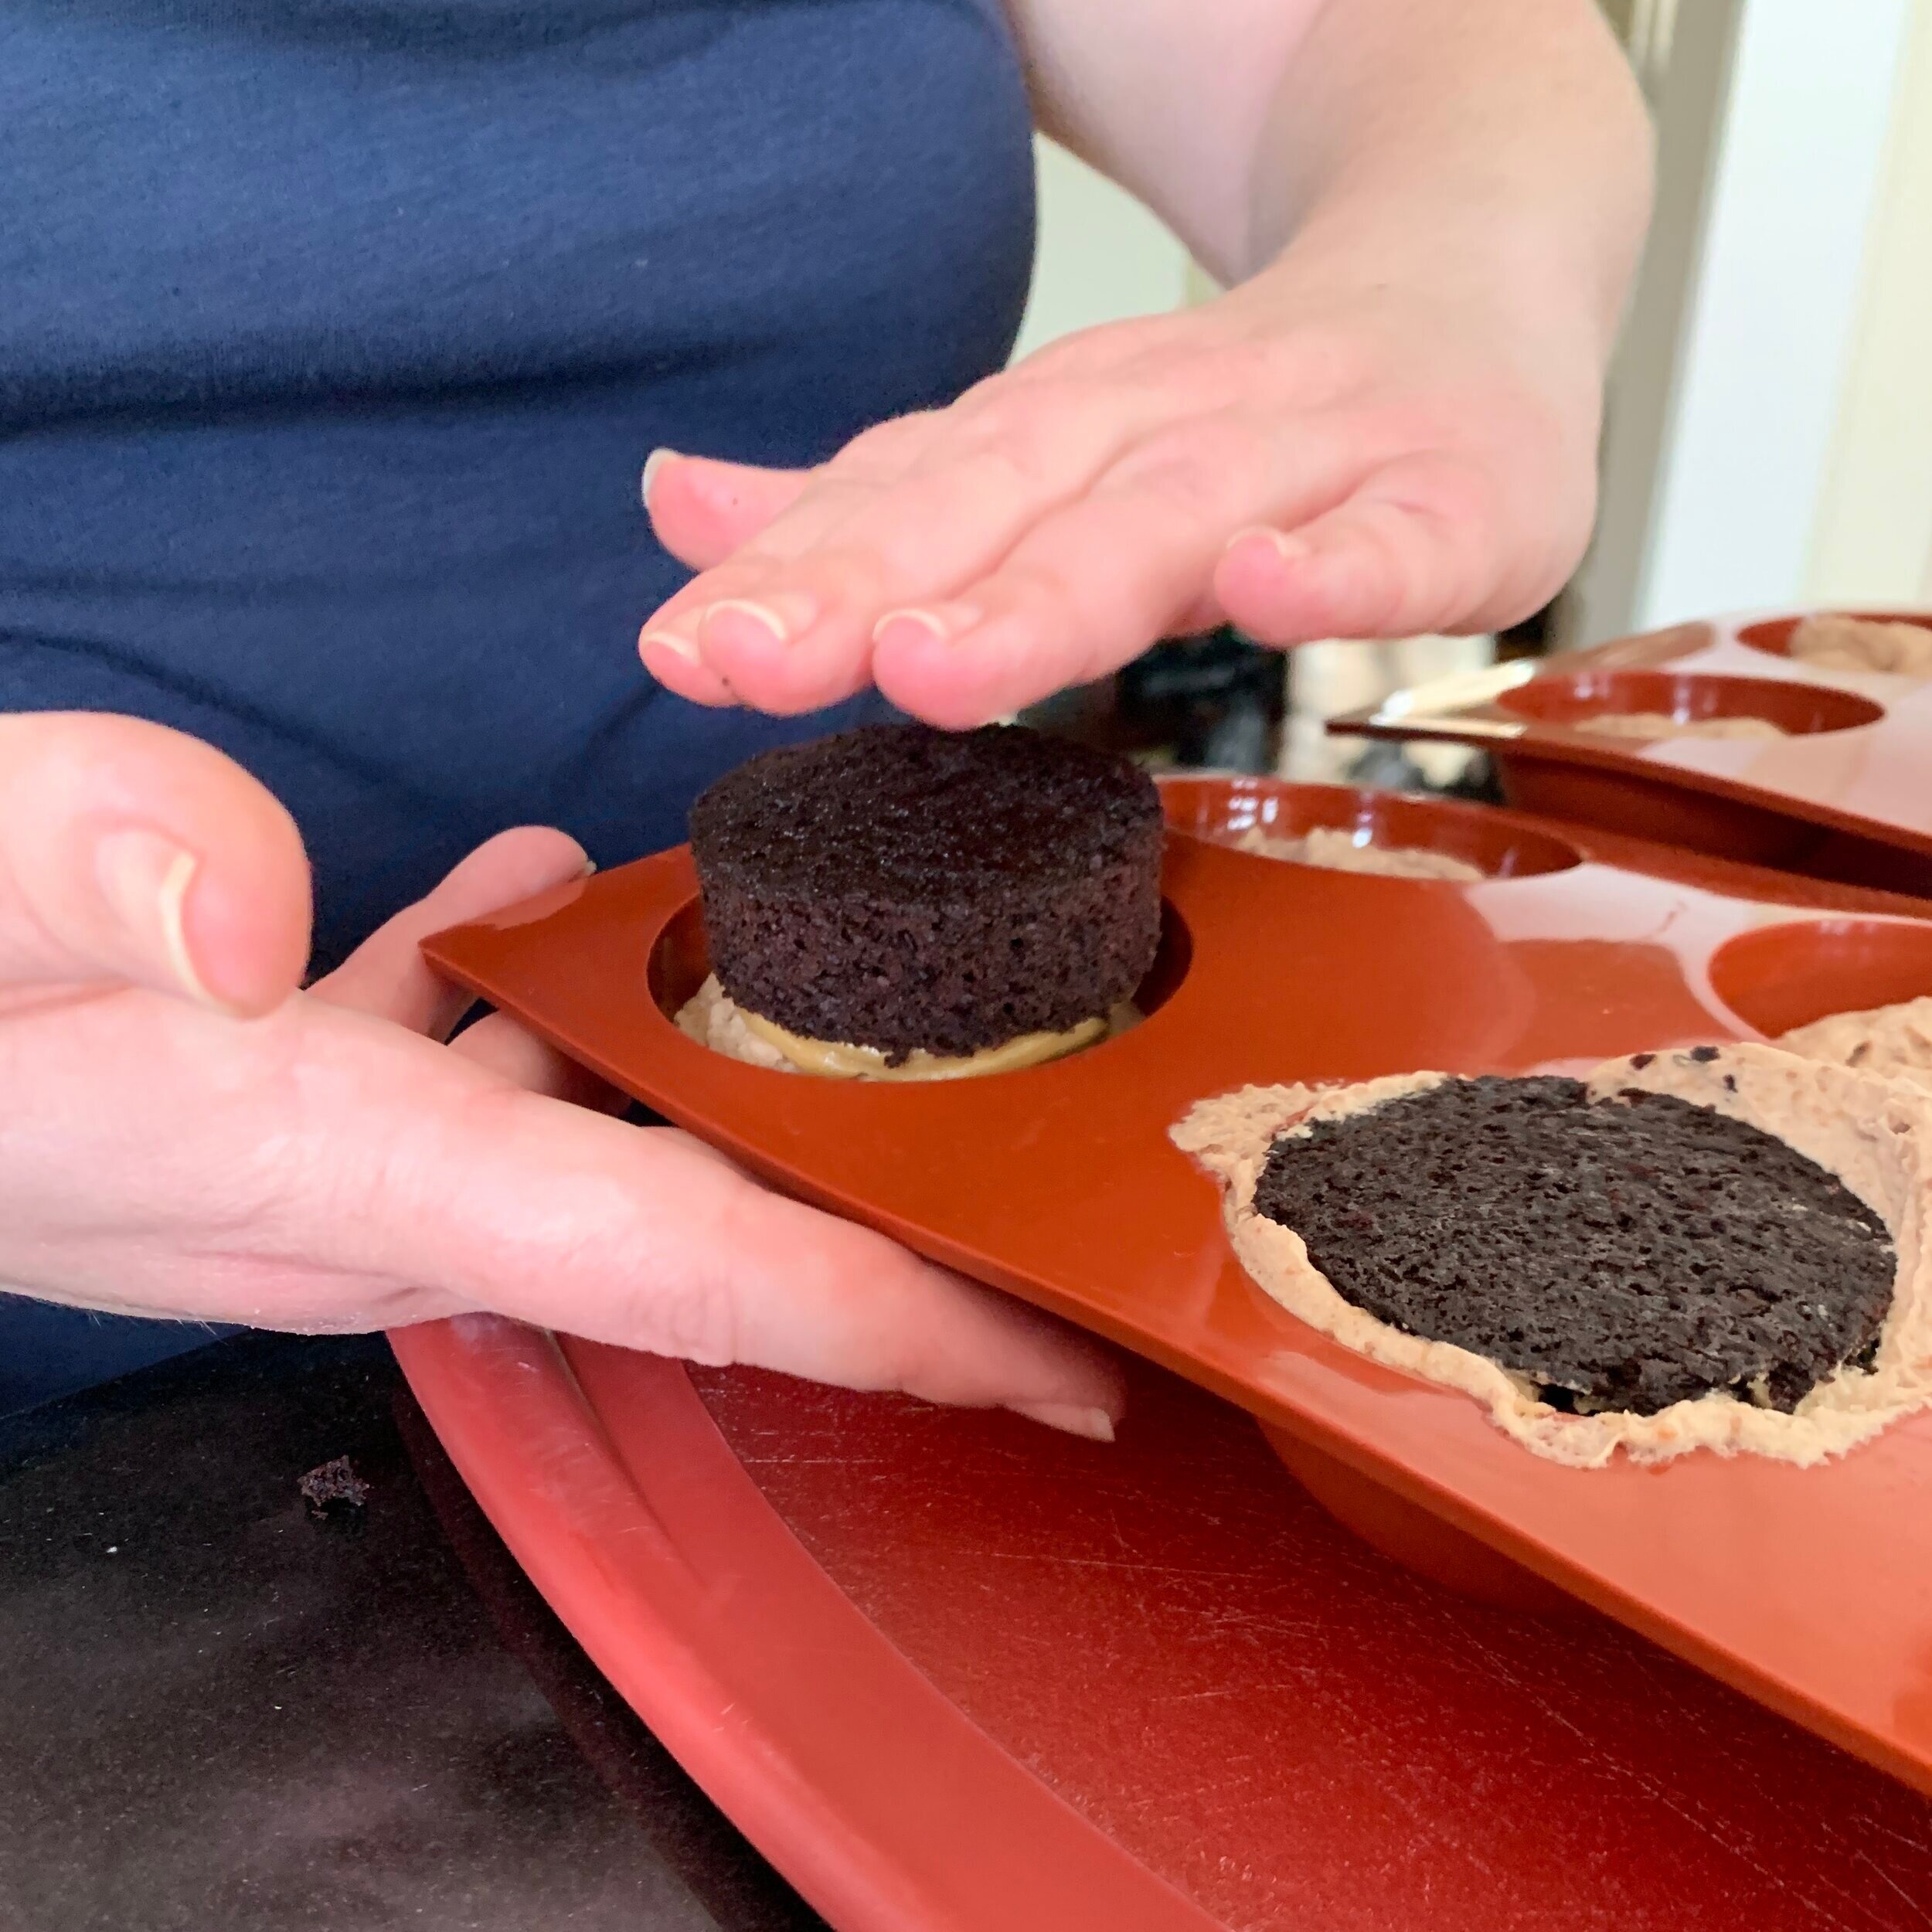
To make the bombes, hemispherical silicone molds are filled with Bavarian cream and then rounds of chocolate cake covered in peanut butter are pushed into the Bavarian cream. This means that I first need to cut small rounds of cake from my sheet of devil’s food cake. The cake was quite tall, so I first leveled the cake to only be about 1” thick. There was a lot of cake scraps as a result. I froze these to potentially use later on for recipes that call for cake crumbs. Then using a 2” round cutter, I cut twelve disks of cake.


Next, I piped a small layer of creamy peanut butter onto the top of each small cake disk.


To assemble the molds, I first piped chocolate Bavarian cream into each mold until it was filled about a half an inch from the top. Then, I flipped each cake round upside down, pushing the peanut butter-covered side into the chocolate Bavarian cream. I kept pushing until the cake round was flush with the top of the mold and wiped away any excess cream that came up. The Bavarian cream has gelatin in it, so it is important to have all your other pieces ready to go before you make the cream. You don’t want the gelatin to set up before you get the chance to assemble the molds. I then froze these molds overnight.


— Next Day —
Step 4: Make cookie wafers
The cookie wafers for this bake are made from the same dough I used last time to make the Pecan Passions. Please see that post for more information on making that dough. I simply used a 2.5” round cutter to cut small circles and baked until firm.

Step 5: Make the chocolate glaze, enrobe the bombes and assemble
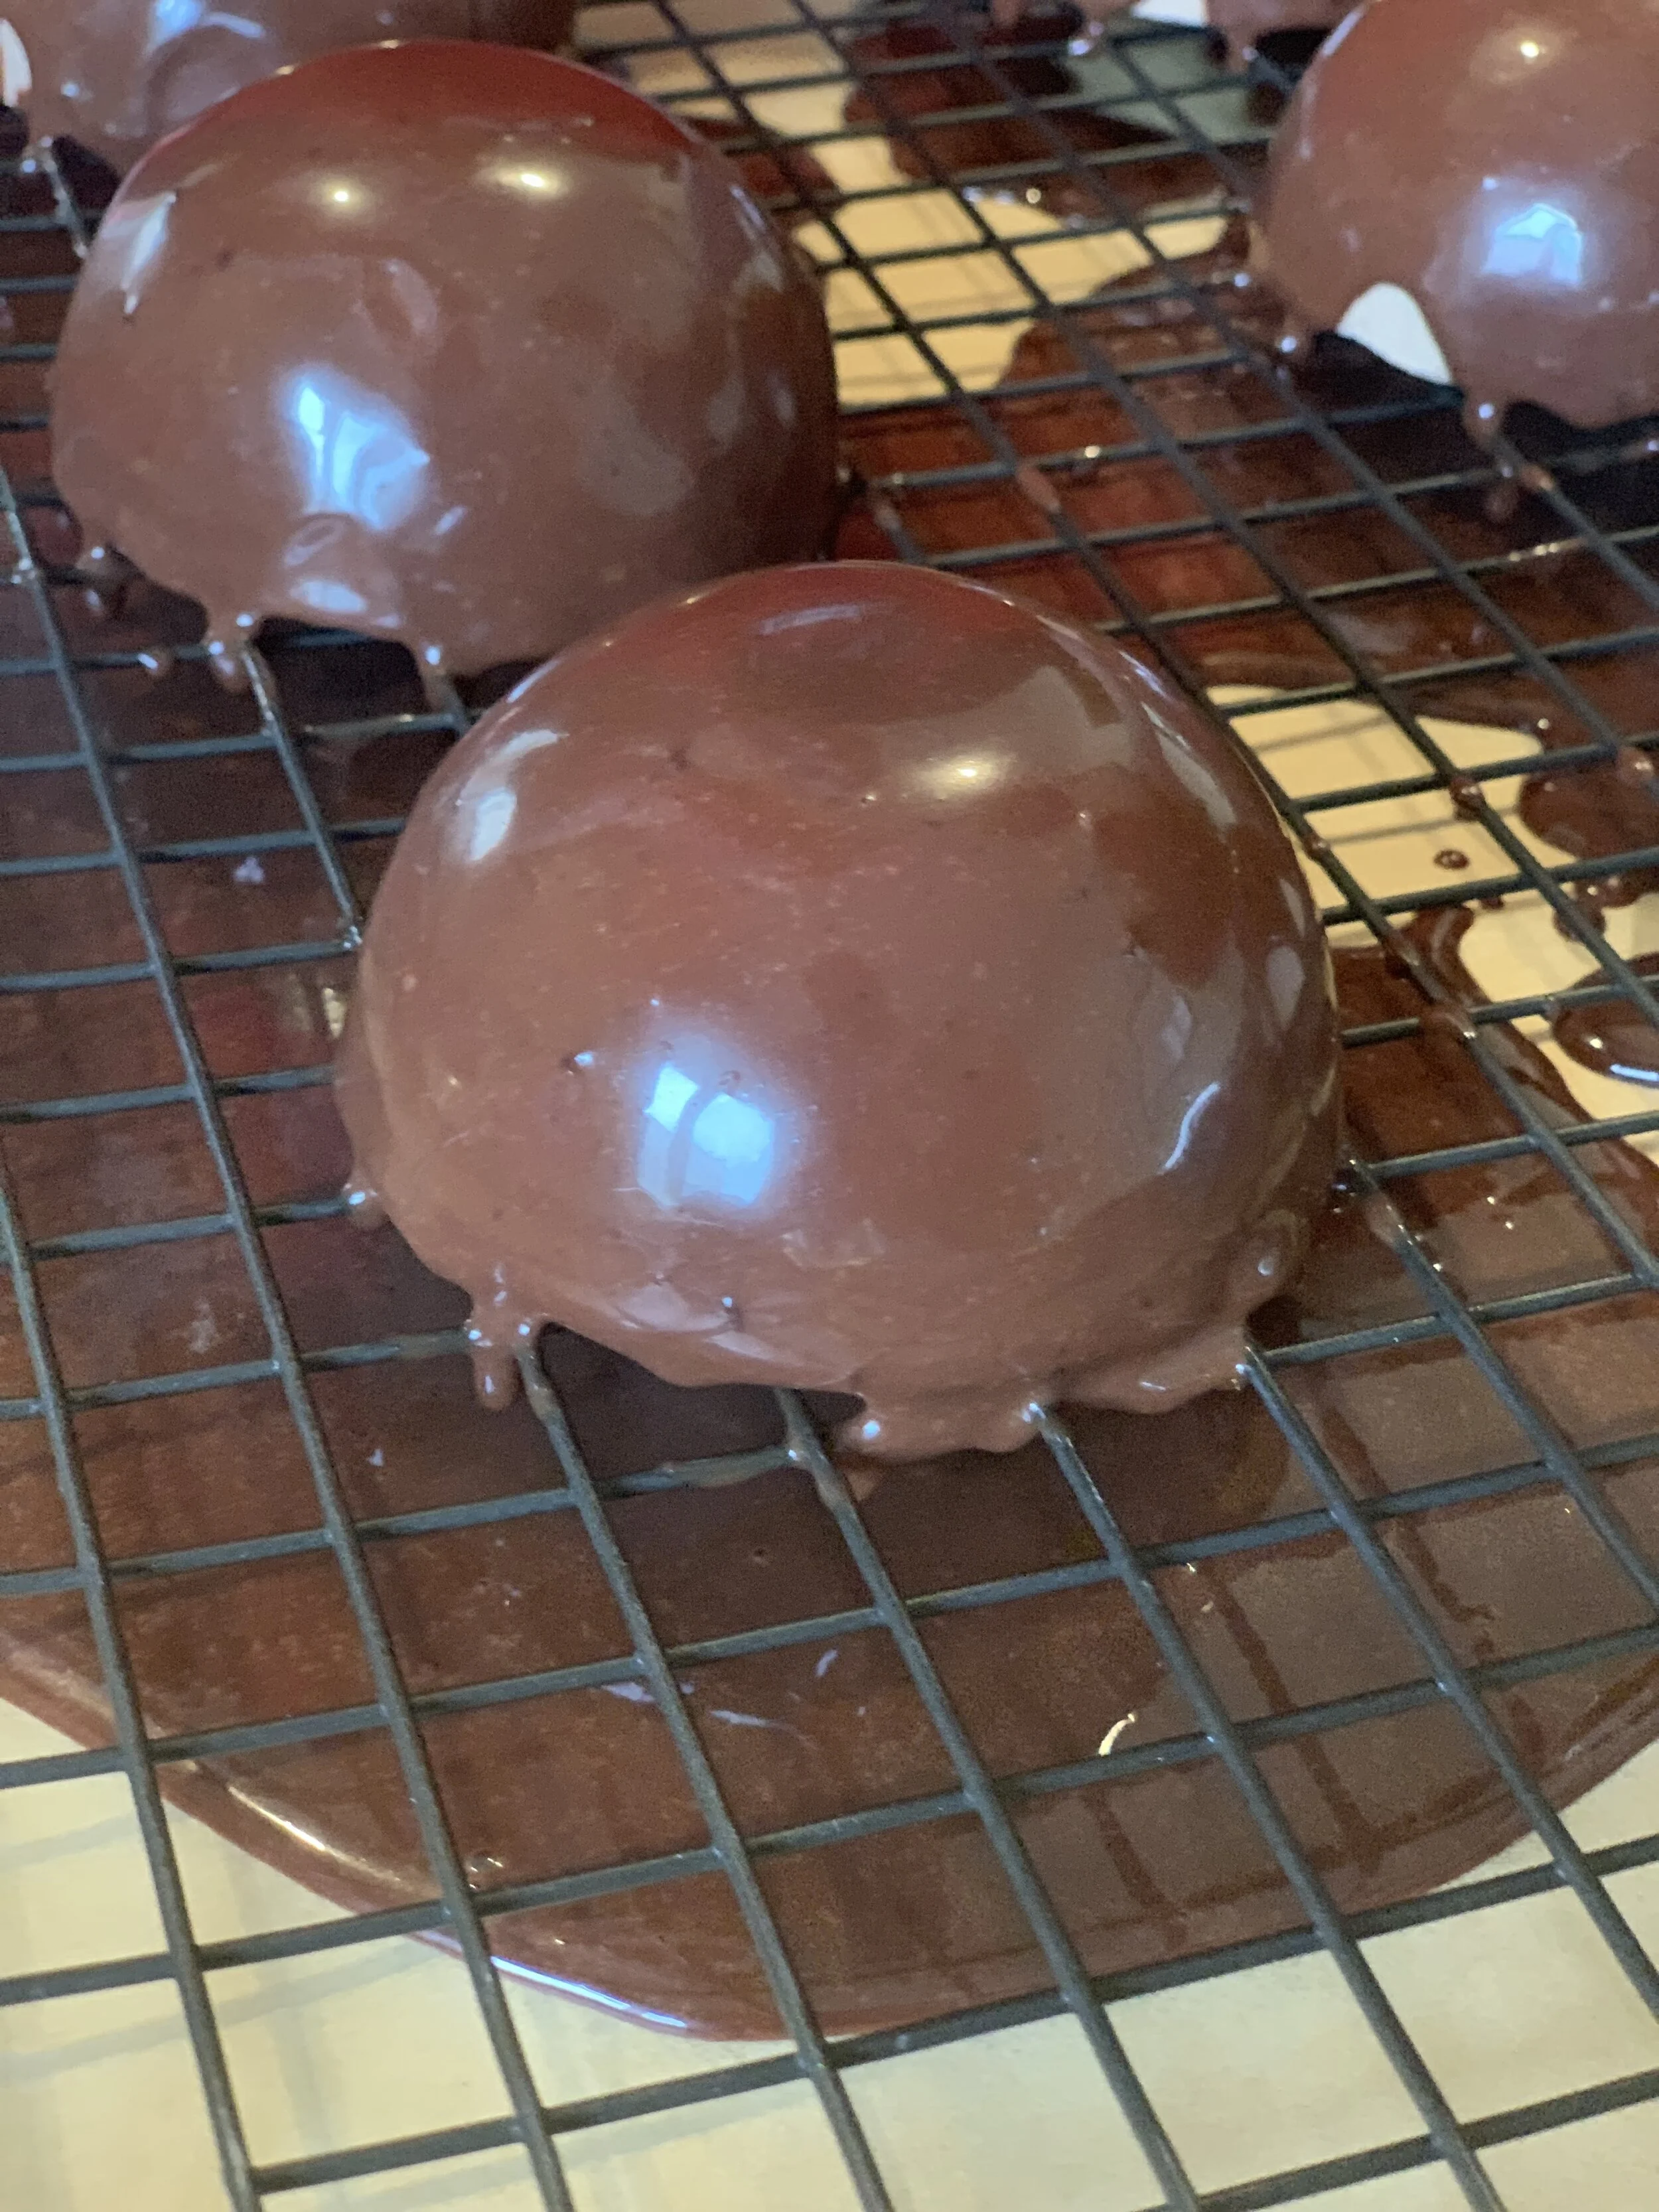
Now that the bombes are fully frozen and set, they can be unmolded and enrobed in a shiny chocolate glaze. To make the glaze, heavy cream, milk and corn syrup are heated in a saucepan and brought to a boil. This hot mixture is then poured over a mixture of coating chocolate (pate a glacer) and dark chocolate. I first stirred to form an emulsion and then used a hand blender to fully emulsify it. Next, I unmolded each frozen bombe and set them on a wire rack set over parchment paper. After the chocolate had cooled to 95 degrees F, I enrobed each bombe in the chocolate. The bombes are still frozen at this point, so the chocolate glaze sets quickly to cover the bombes.


After letting the chocolate set for a few minutes, I used a spatula to transfer each bombe to sit on top of a cookie wafer. I was shocked by how shiny the chocolate is! In the last picture below, you can actually slightly see the reflection of me taking the photo with my phone!


And there you have it! Chocolate Peanut Butter Bombes!!

Lessons Learned:
The silicone molds that I used rest freely on table. This meant that after being filled with the Bavarian cream / cake and frozen, they formed a very slight flat surface at the bottom of the hemisphere. Perhaps a different type of mold that ensures the hemispheres are suspended would prevent this.
I had a hard time really pushing the cake all the way into the molds until they were flush. Perhaps using a slice of cake that is a bit thinner or more narrow would have made this easier. An alternative would have been to freeze the cake rounds and peanut butter before pressing into the molds. This would have created a stiffer surface to push into the molds as well as ensure the layer of peanut butter remains even.
While enrobing the bombes with chocolate, I missed a few of the edges and had to go back over with more chocolate. If you do this too late, it creates an extra layer of chocolate in that spot and the coating is uneven. As I went along I got much better and the technique to make sure I was covering all parts of the bombe.
The instructions tell you to place the bombes on the wire rack before enrobing with chocolate. However, the wire rack causes the bottom of the bombes to look uneven and it is also quite difficult to pick up and transfer to the cookie wafers. If I were to do this again, I think I would place the bombe on a cookie wafer first and then place the full assembly on a can or other small stand before enrobing. This way the chocolate flows over the sides of the dessert rather than over the sides and sticking to the wire rack. Furthermore, enrobing the bombe and cookie wafer together makes the dessert feel like a single unit.