
Baked: November 2-3, 2019
Hello, and long time no see! After a few months of many life changes, I’ve moved and am baking in a new kitchen once again! What better way to break in a new kitchen than a fun bake.
The CIA Baking and Pastry book is great because it provides instructions for assembled cakes and all the components that go into them. It’s fun to follow the instructions for these assembled cakes because they are often quite intricate and you are guaranteed to have the perfect combination of flavors and textures. However, this time around it was fun to page through the book, looking for the components to design my own assembled creation. For this bake, I combined four recipes I found in the book:
Lemon Cake
Strawberry Cake
Swiss Meringue Buttercream
Candied Lemon Slices

Lemon tell ya, this cake was berry tasty!
Let’s get started…
Step 1: Make the Candied Lemon Slices
On the first day of this bake, I made the candied lemon slices. These decorations take a surprisingly long time due to various cooling and drying steps. I first sliced the lemons to roughly 1/8 inch thickness and removed any seeds. The CIA book had recommended using a meat slicer to do this, which I don’t own, so it was tough to get the lemon slices thin enough just using a sharp knife and cutting board. I then placed the slices in a small saucepan with cold water and brought slowly to a simmer. Once at a simmer, I removed the lemon slices, draining the water.

Next, I combined sugar, water and corn syrup in a larger saucepan and brought to a boil. Turning down the heat to bring the syrup to just below a simmer, I added the lemon slices and and cooked for 20-30 minutes until they were almost translucent. Removing the saucepan from the heat, I let the slices cool completely to room temperature. During this time the syrup became substantially thicker.

Once cooled, I arranged the lemon slices on a wire rack and allowed excess syrup to drip off them for about 20 minutes. I then transferred the slices to a baking sheet lined with a silicone baking mat and dried them in the oven for several hours at low heat.


Step 2: Make the Lemon Cake.
The next day I made the remaining components and assembled the cake. I first creamed butter, confectioners sugar and a whole lot of lemon zest. Once a smooth texture, I gradually added egg yolks, combining fully after each addition, and set this mixture aside.


I next made the meringue-like mixture to fold into the lemon mixture. I whipped the egg whites until frothy and then gradually added the granulated sugar, whipping until medium peaks formed. I then folded about a third of the egg whites into the lemon mixture, combining completely before folding in the remaining egg whites.

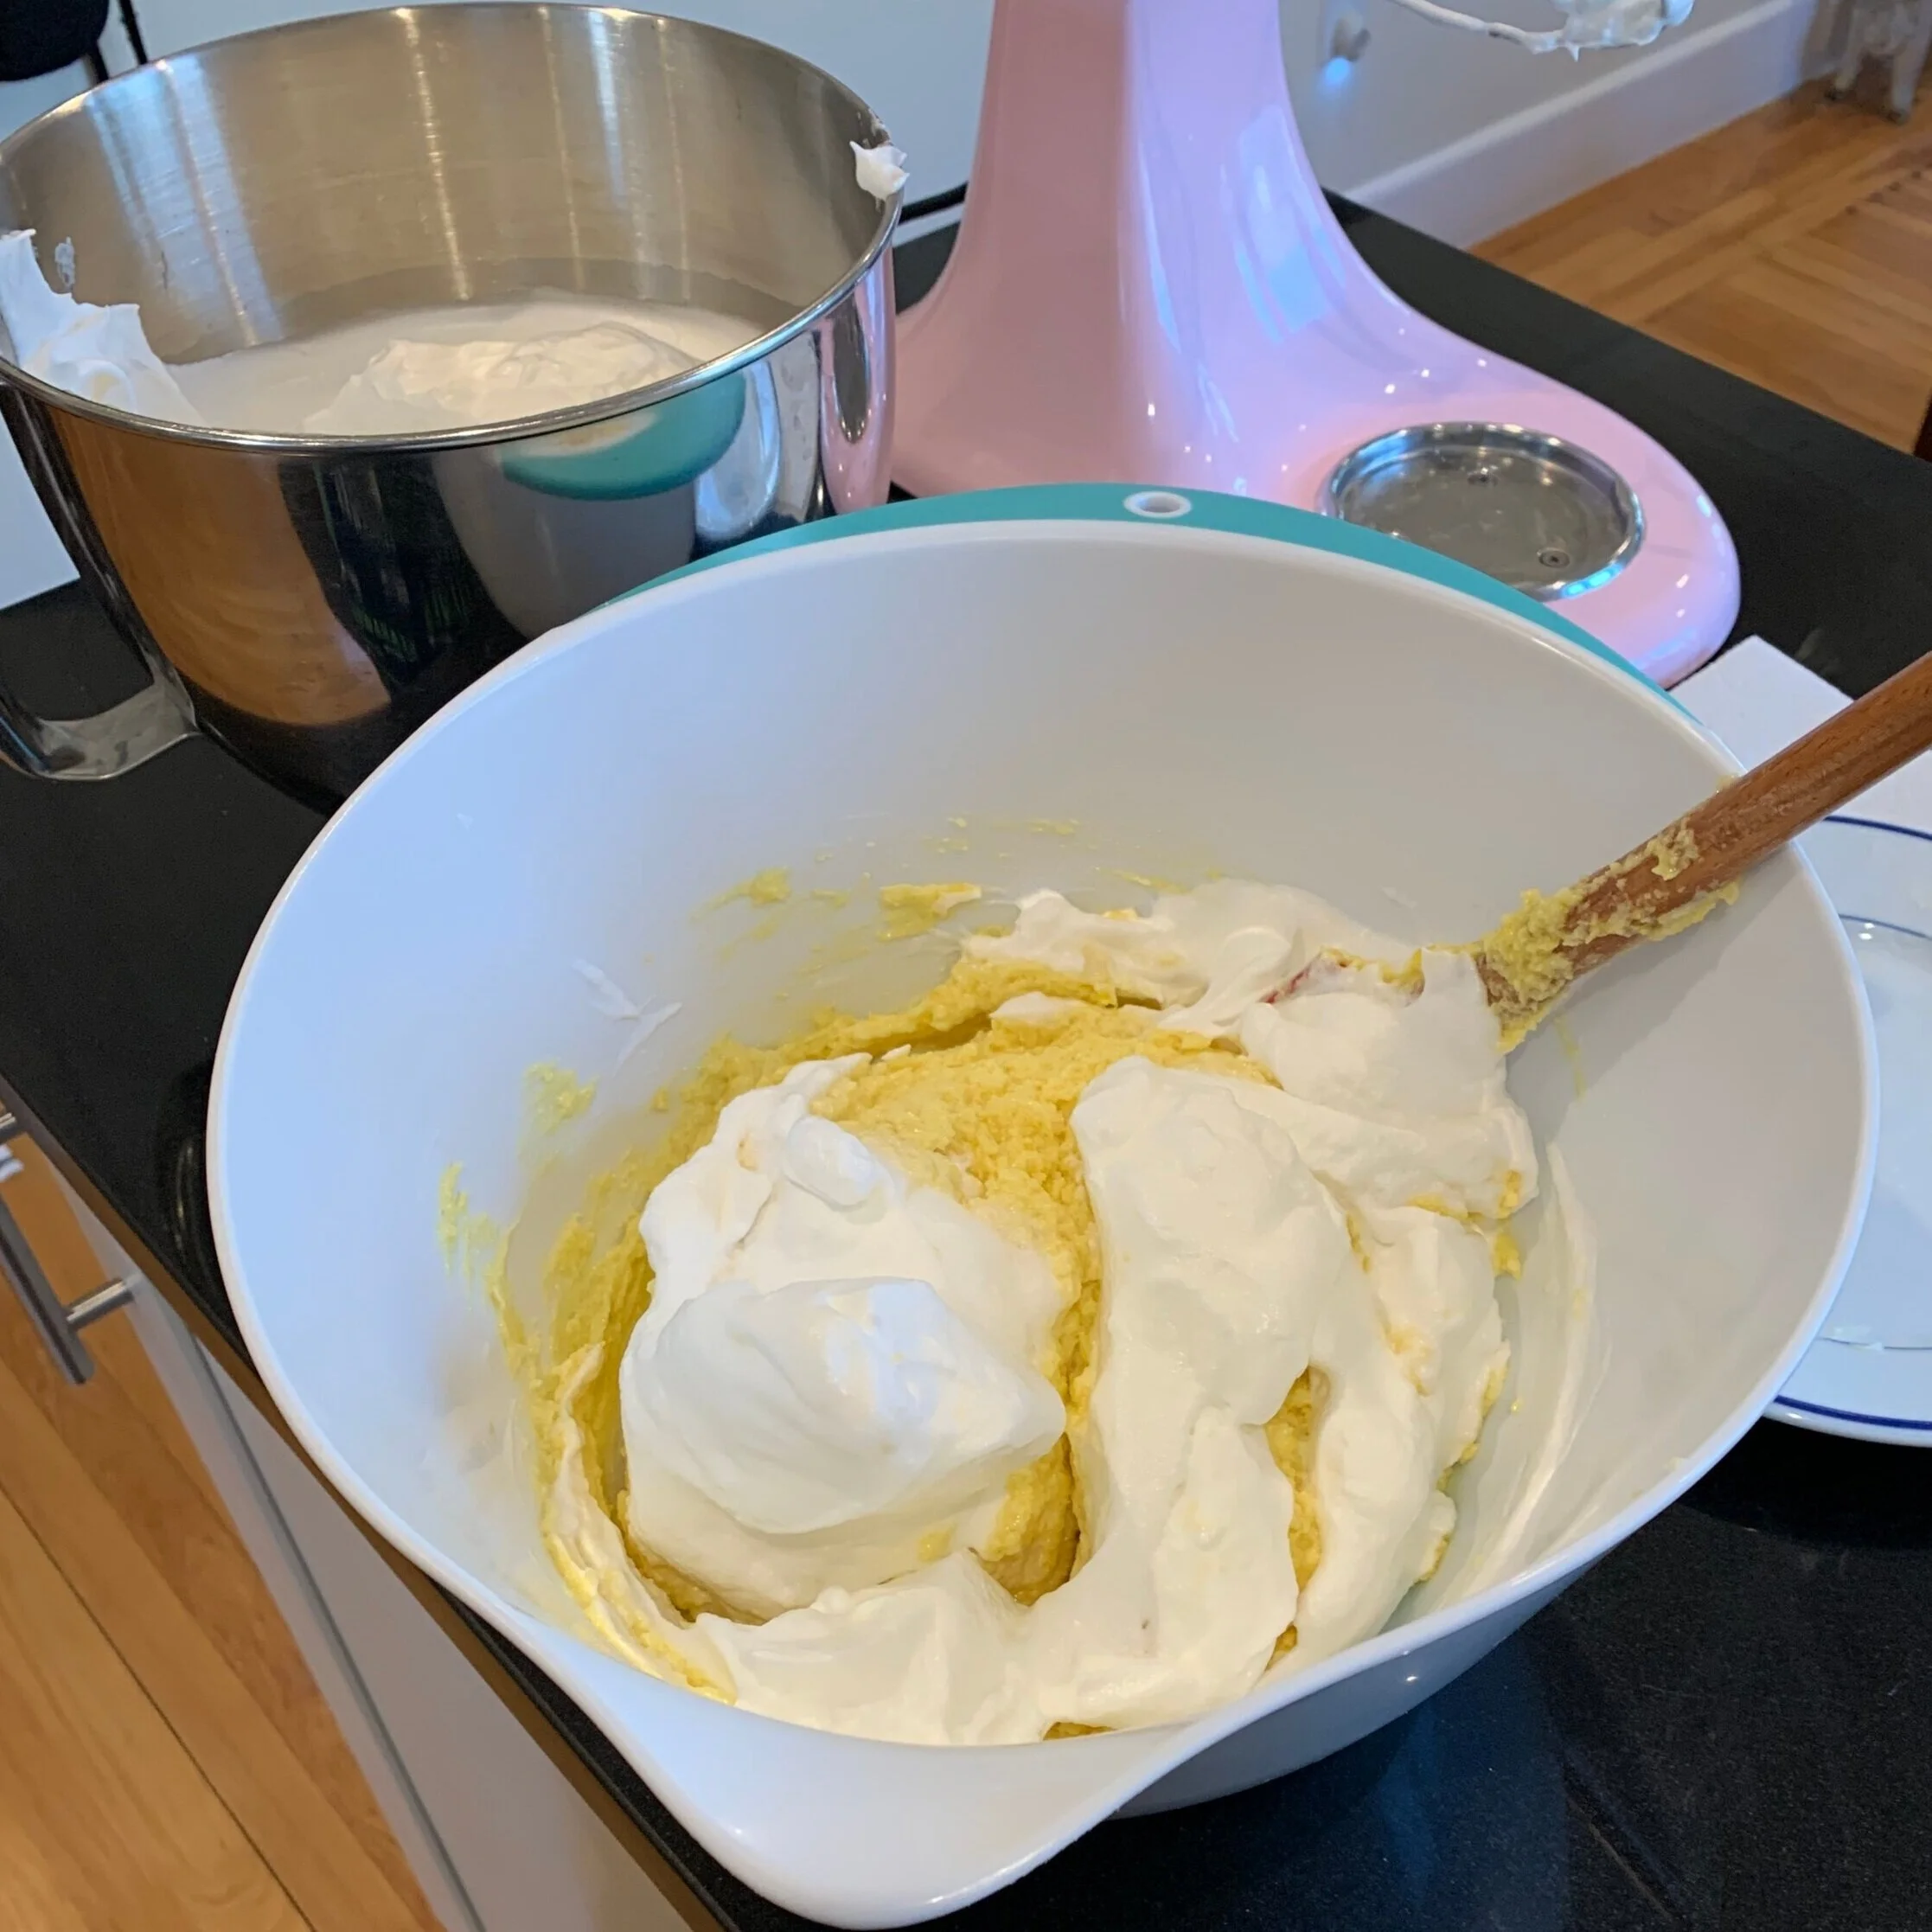

I had previously sifted together the dry ingredients (flour, corn starch and baking powder). I now carefully folded the dry ingredients into the the batter. Dividing the batter between two cake pans lined with butter and parchment paper, I baked the lemon cakes until a skewer inserted at the center of the cake came out clean.


Step 3: Make the Strawberry Cake
The strawberry cake was considerably easier to make than the lemon cake. Before beginning I first made strawberry puree by pureeing strawberries in a blender and removing seeds by passing the puree through a fine mesh.


To make the cake, I first warmed the eggs slightly in the microwave and whisked melted butter into the eggs. I then also slightly warmed the strawberry puree and mixed the butter-egg mixture into the puree. Lastly, this strawberry mixture was combined with sifted dry ingredients (sugar, flour and baking powder) until smooth and transferred to the prepared cake tin. The recipe originally called for a pinch of vanilla powder to be included with the dry ingredients. I only had vanilla extract and so added a few drops to the strawberry puree as a substitute.


Step 4: Make the Swiss Meringue Buttercream frosting
I LOVE Swiss Meringue Buttercream. Compared to it’s American alternative, this buttercream has a much fluffier texture and doesn’t overwhelm your cake with a sweet, sugary taste. To make the butter cream, I put the granulated sugar and egg whites into the metal mixing bowl and briefly whisked to combine. I then set the mixing bowl over a saucepan of barely simmering water and continued to whisk until the eggs reached 165 degrees F. Once warmed, I transferred the egg whites-sugar mixture to the mixer and whisked on high speed until the whites were cooled. Adding chunks of butter a bit at a time, I continued to whip the frosting to combine. Not wanting to overwhelm the cake with vanilla flavor, I only added a touch of vanilla extract to the frosting, much less than the recipe called for. The frosting was a bit runnier than I wanted, so I refrigerated for a few minutes before whipping again with the paddle attachment prior to cake assembly.


Step 5: Assemble the cake
After chilling the sponges, I removed the caramelization and applied simple syrup before assembling the cake. Stacking the layers in the order lemon, strawberry, then lemon, I sandwiched each layer with about a cup of frosting. I then frosted the exterior of the cake with a crumb coat and chilled for a few minutes.


After applying the thicker coat of buttercream frosting, I added a decorative swirl to the top of the cake and vertical lines around the sides. Finally I inserted the candied lemon slices into small incisions on the top of the cake to complete the decoration.


And there you have it… a cake made of layers of strawberry and lemon sponges, butter cream frosting and candied lemon slices decoration!


Lessons Learned:
My candied lemon slices ended up with a tough texture. As I mentioned above, it was difficult to cut the lemon slices as thin as suggested, 1/8 inch. Next time I would try to get these slices as thin as possible. Luckily they were mostly just for decoration, although some did eat them!
After creaming the butter, confectioners sugar and lemon zest for the lemon cake sponge, I tasted a bit of the batter. I didn’t think it was lemony enough, but wanted to follow the recipe to a T, so I didn’t add any more. Once the cake was finished, I wished I had added more zest to get a much punchier lemon taste.
The lemon cake sponge ended up a bit dry and with a thick, hard caramelization on the outside suggesting I probably baked it for too long. To try to fix this, I removed a good amount of the this caramelization and coated the sponges with a lot of simple syrup. This helped, but a perfectly baked sponge would have been ideal.
Those who eschew artificial food colorings will appreciate the muted colors of the sponges in this bake. However, for my taste the shade of pink of the strawberry sponge was too dark and could have used a boost from a bit of food color gel.
Until next time…