
Baked: May 12, 2019
Photo Credit: Daniel Beauboeuf
Prepare to be shocked: I don’t watch Game of Thrones.
Let’s just say that the slightest amount of gore in film is too much for me to take. Ask any one of my friends and they will have a story of a time they saw a movie with me and I had to look away, leave the room or plug my ears. In fact, as I write this blog post I am sitting in my living room, facing away from the TV, wearing noise-canceling headphones while my husband watches the latest Game of Thrones episode.
That said, with all the hype around the last season of GoT, it got me thinking about some royal desserts. So for this challenge bake, I am making a Charlotte Russe! The Charlotte Russe was created by French chef Marie-Antoine Careme who worked for both King George IV and Czar Alexander I (thank you Wikipedia). The cake was created during his time working for Czar Alexander and was a nod to George IV’s only daughter Charlotte and his new employment in Russia. The cake consists of a filling of chocolate cake and Bavarian cream, surrounded by Lady Fingers and topped with chocolate shavings. I think it is a very pretty cake, and in fact looks a bit like a crown.

Baking is fun to do on a ‘reigny’ day! Let’s get started…
There are many steps to making a Charlotte Russe cake:
Make the Chocolate Sponge
Make the Lady Fingers
Make the Bavarian Cream and Prepare for Assembly
Assemble the cake and chill
Make the chocolate shavings and decorate the cake
Step 1: Make the Chocolate Sponge
The chocolate sponge for this cake is so light and fluffy, it doesn’t weigh down the cake. Despite not having any leavening agent (e.g. baking soda) in the batter, this cake rises a lot in the oven. In fact, the recipe calls for just making one 8-inch round and slicing it horizontally to create two thinner sponge layers! The key here is to really sufficiently whip your eggs and avoid knocking out the air as you fold in your flour and cocoa powder.
The first step was to sift together the flour and coca powder so they are ready for later.


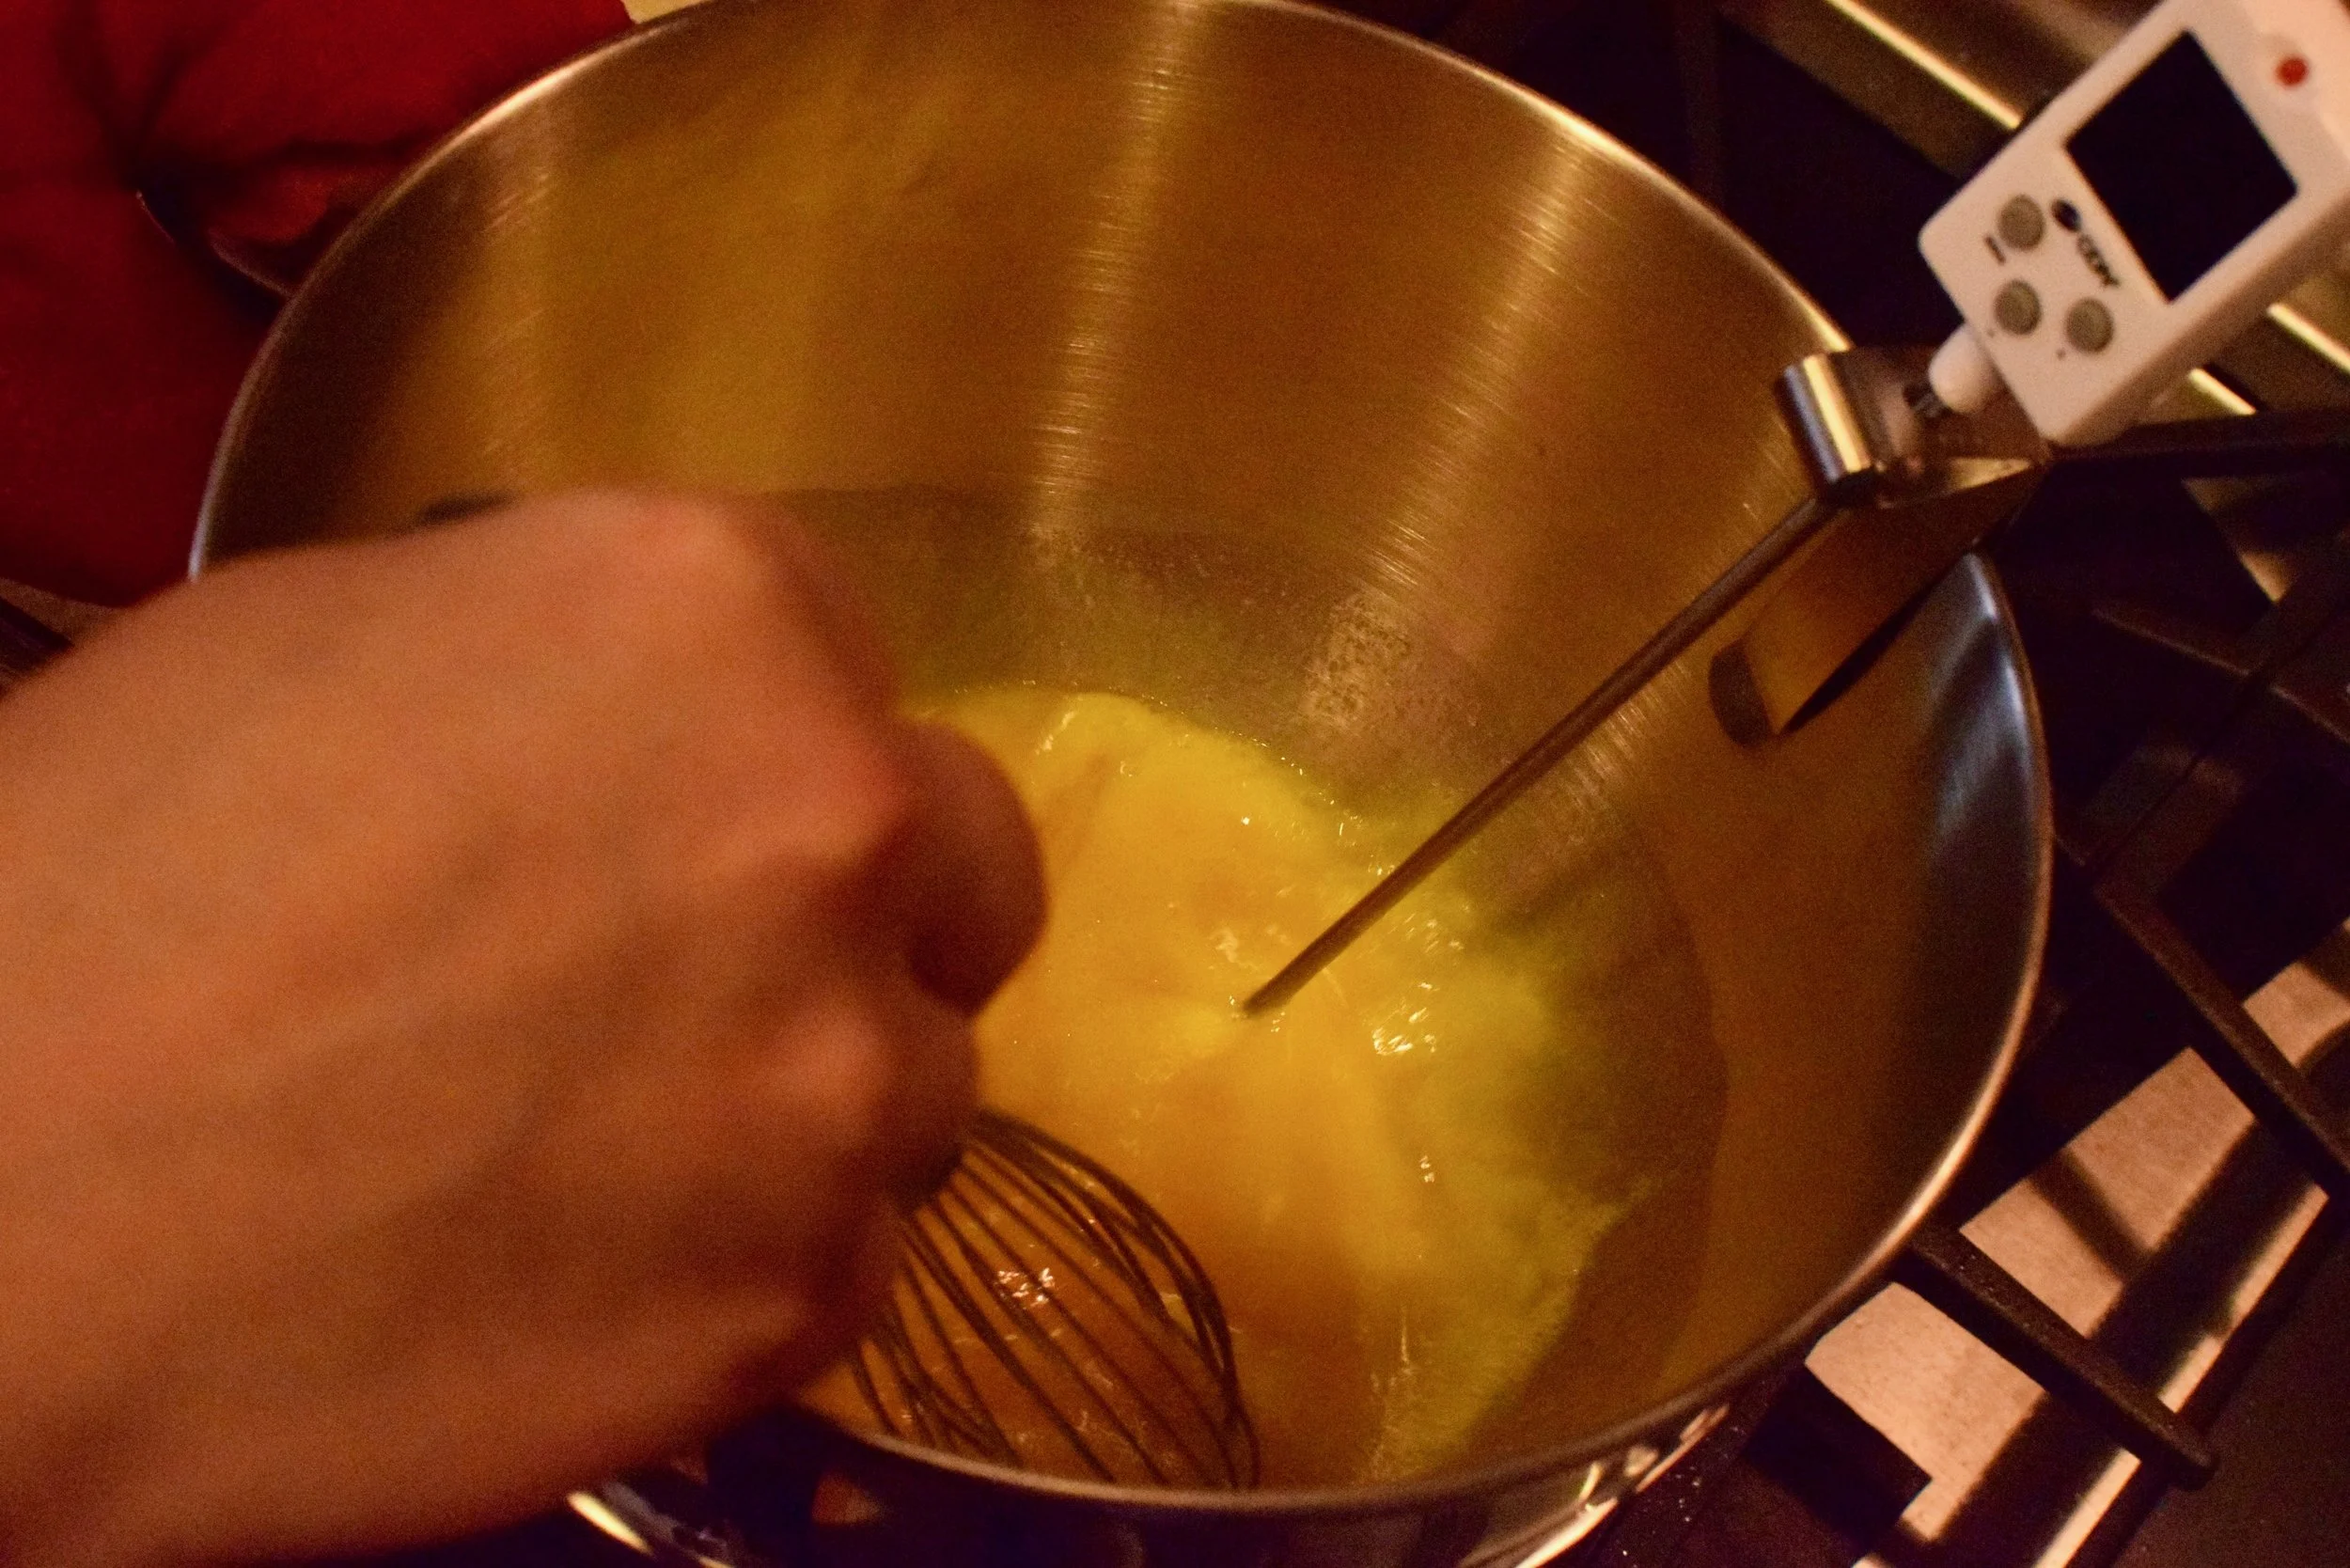
Next, I combined the sugar and whole eggs in the metal stand mixing bowl and placed the bowl over a sauce pan of simmering water. I whisked this mixture continuously over the heat until it reached a temperature of 110 degrees F. I then immediately transferred the bowl back to the stand mixer, and whipped the eggs on high speed until the the foam reached its maximum volume. I then turned the speed down to medium and continued to whip the eggs for another 15 minutes. This prolonged whipping stabilizes the mixture. The pastel yellow color of the eggs by the time you finish whipping is so pretty.


The next step was critical: folding in the flour and cocoa powder without knocking out air pockets. Adding a small amount of the flour/cocoa at a time, I carefully folded in the dry ingredients with a round the outside and then punch through the middle motion. The dry ingredients have a tendency to make their way to the bottom of the bowl or in small pockets. As I mixed, I kept an eye out for these pockets to avoid transferring large chunks of flour to my final product.
Start of folding…


Middle of folding…


Near end of folding…


The last step was to add butter and vanilla to the batter. To avoid curdling, I added a small amount of the batter to the melted butter and vanilla extract mixture, mixed and then folded it back into the mixing bowl.


Of course the very last step was to pour the batter into a greased pan lined with parchment paper before baking.


Step 2: Make the Lady Fingers
This was the first time I ever made Lady Fingers and the first time I ever ate a Lady Finger. Honestly? … What a weird cookie. The ingredients in Lady Fingers are so simple: eggs yolks, sugar, egg whites, cake flour. There is no flavoring like vanilla extract so they taste very very simple when finished. I guess that’s why they compliment the sweet interior of a Charlotte Russe so well!
First I sifted the cake flour so it was ready for later in the recipe. Next, I whipped the egg yolks with a portion of the sugar until it thickened.


Next, I whipped the egg whites until soft peaks formed, then added the remaining sugar and continued to whip until medium peaks formed.


Next, I gently folded the egg whites into the egg yolks. Then I carefully folded the flour into the egg mixture.


Working as quickly as I could, I filled a piping bag with the batter. Prior to starting the bake, I had prepared a baking sheet by lining it with parchment paper and marking out 3 inch lines a few inches apart. I then flipped the parchment paper over so the pen markings faced downward. This later served as my template to help achieve more uniform length of my lady fingers.

After piping each lady finger, I generously dusted the entire tray with powdered sugar. I then baked the cookies until the edges turned slightly brown (admittedly I left them in the oven about 2 minutes too long!).


Step 3: Make the Bavarian Cream and Prepare for Assembly
So I’m going to cheat a little bit. This is actually my second time making Chocolate Bavarian Cream, so I will refer you to my Peanut Butter S’mores Cake post if you are interested in a refresher of how this is made. The big risk with making Bavarian Cream is that it contains gelatin, which will set quickly as it cools. Thus it is important that prior to starting your Bavarian Cream you have prepared in advance all cakes or molds the Bavarian Cream will be applied to.
Before starting to make the Bavarian Cream, I prepped major components of the cake for assembly. The first step was to split my baked, cooled, and chilled chocolate sponge into two thin layers. First I trimmed the caramelized edges so that the edge of the cake was perfectly orthogonal to the base. Next I leveled the top of the cake and then split the cake into two pieces horizontally.
This was the first time I successfully used my cake leveler. The key is to make sure your cake is well chilled before use. The leveler will easily cut through your cake without squishing it when your cake is cold. I learned to be patient, go slowly, and really utilize the sawing motion of the serrated edge. This is a fantastic tool to achieve perfectly uniform layers to your cake.


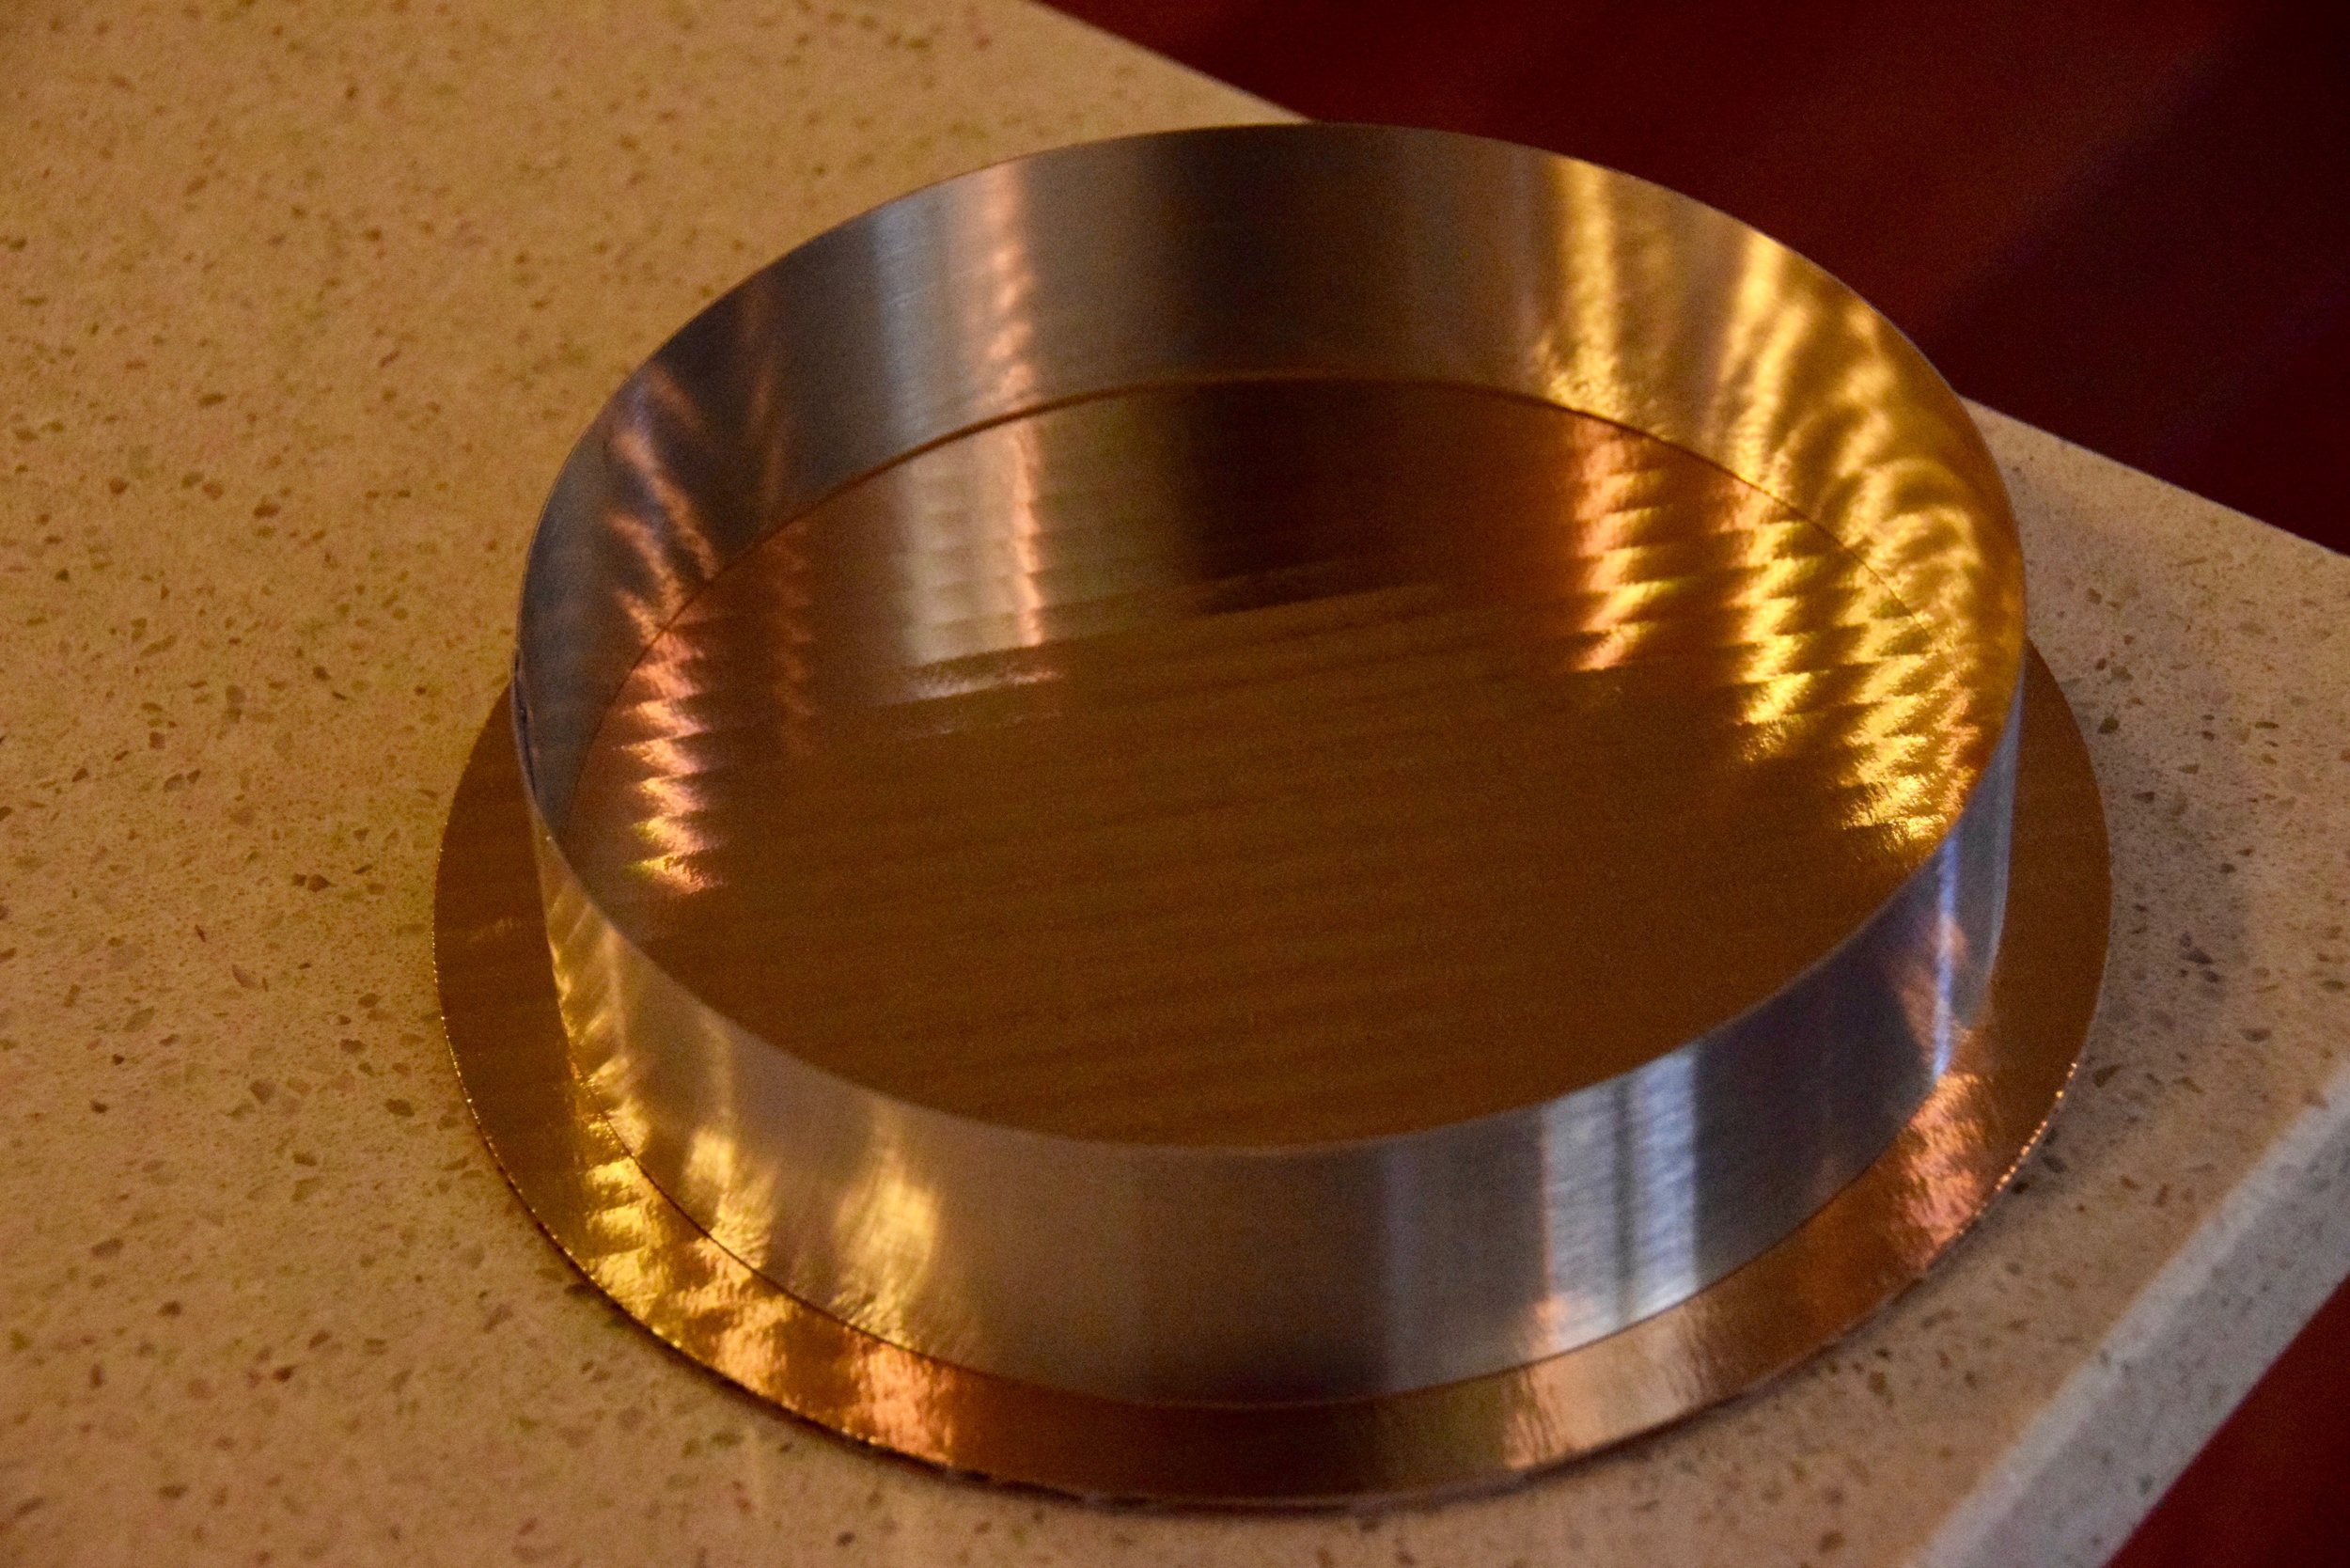
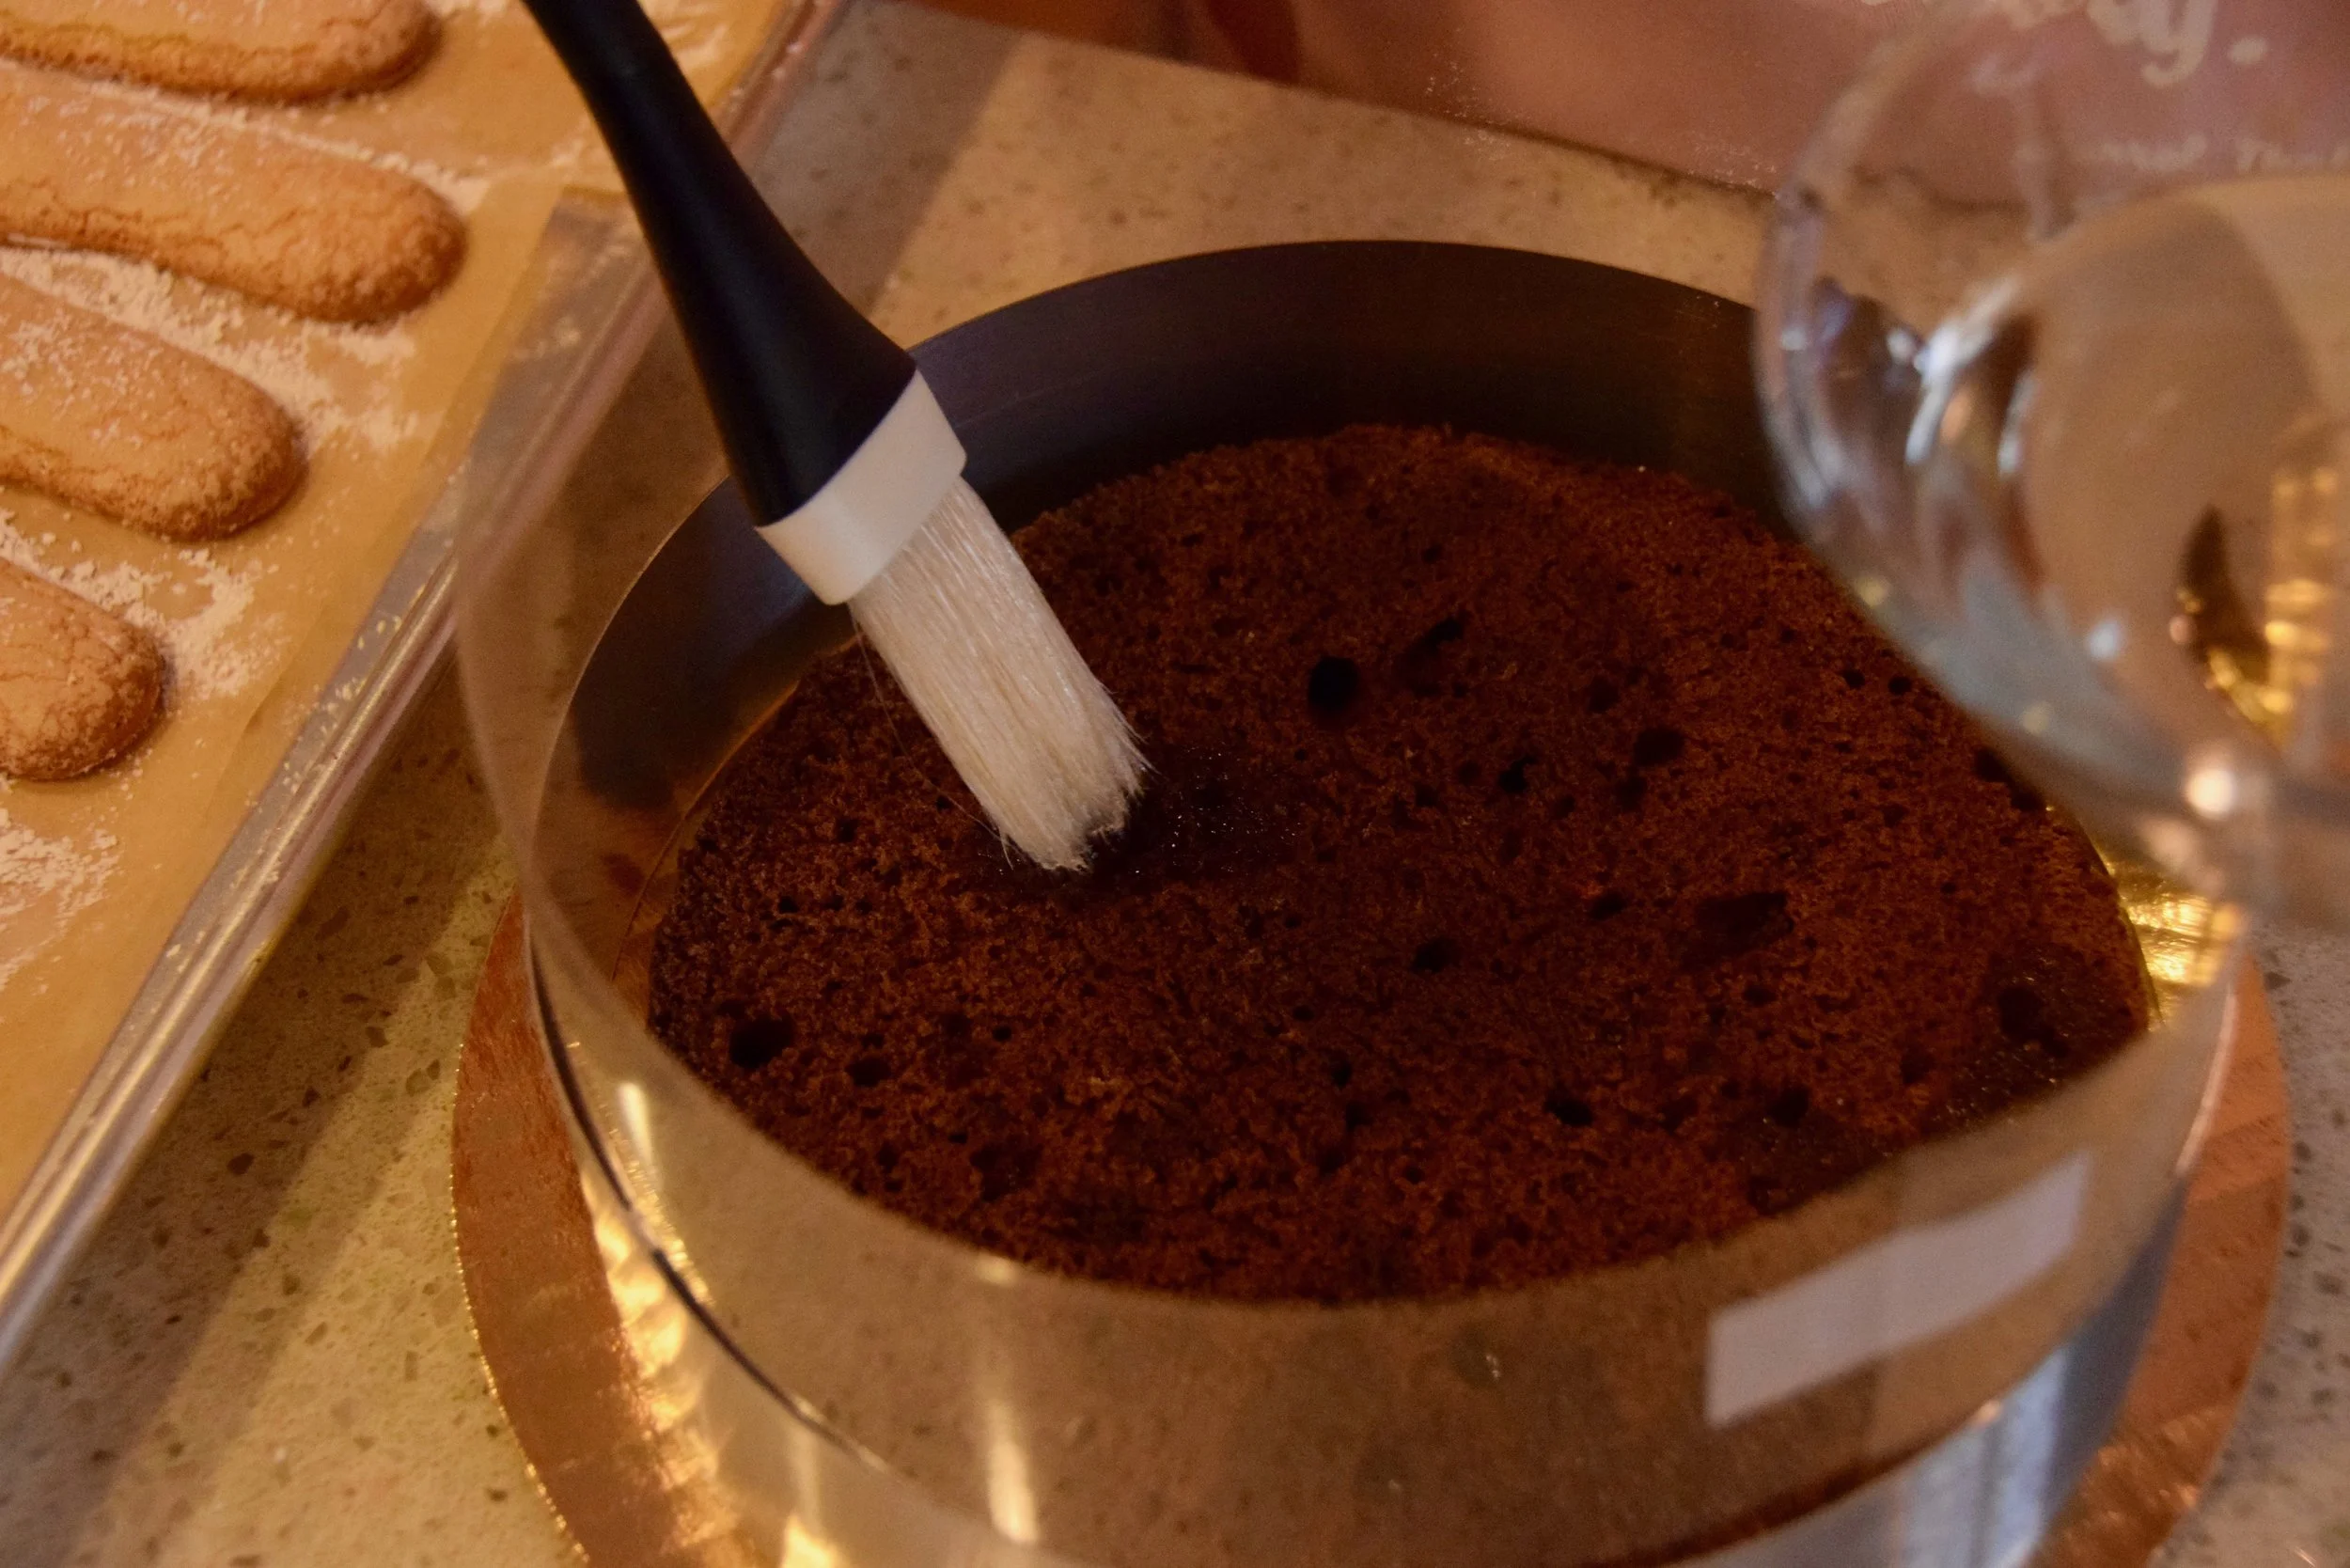
Next I placed an 8-inch cake mold on a cake board and lined it with acetate. The goal is to provide support to the cake during assembly and then remove after the cream has set. I then placed the first layer of sponge at the bottom of the mold and applied simple syrup to keep it moist during assembly. I also applied simple syrup to the other slice of sponge to keep it moist.


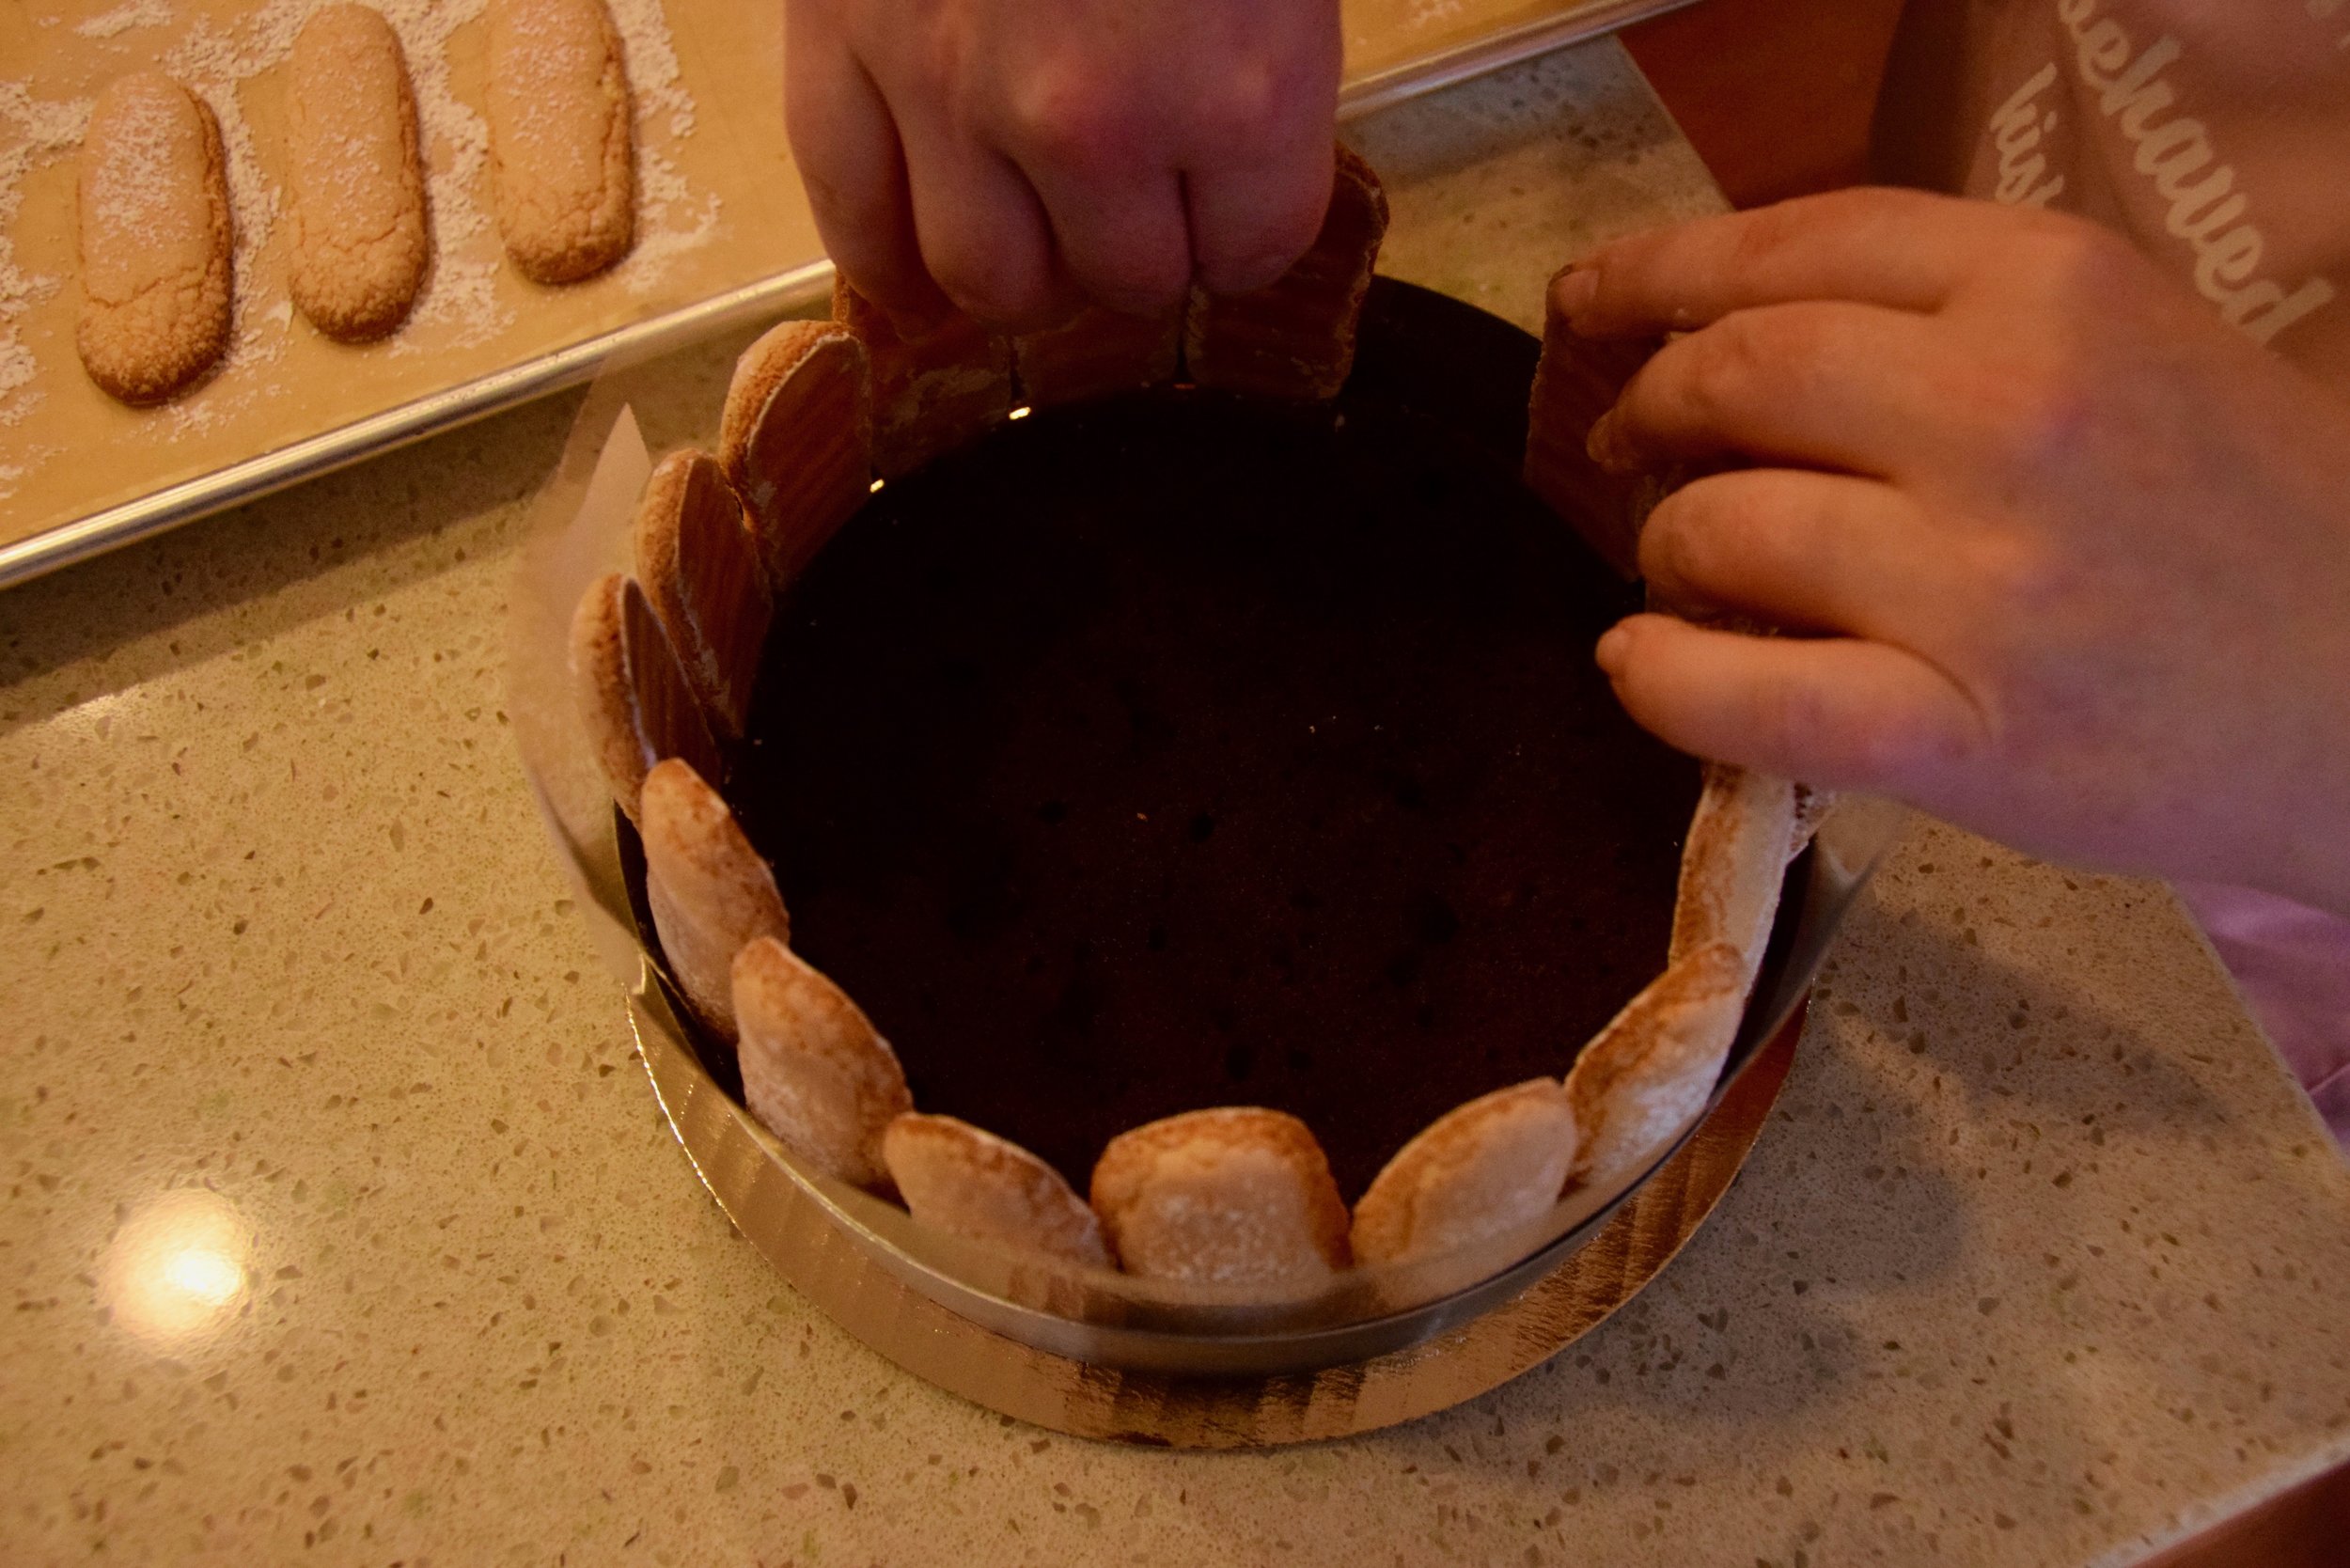
The last step is to line the outside of the cake with Lady Fingers. Recall that earlier I removed the caramelized edges of the cake. This allowed for about a 1 cm gap between the cake and the side of the mold to allow for the placement of the lady fingers. This was a tough process and the lady fingers kind of wanted to flop over. The process that worked the best was to slot them in across from each other so that there was pressure at their base from wedging between the cake and the mold.


Step 4: Assemble the cake and chill
Before I walk through the cake assembly, I want to show you these beautiful photos of the chocolate Bavarian cream. The last step of making the cream is to fold the chocolate sauce containing gelatin into whipped cream. The chocolate swirls while mixing are just so pretty and the outcome is this beautiful shade of light brown.


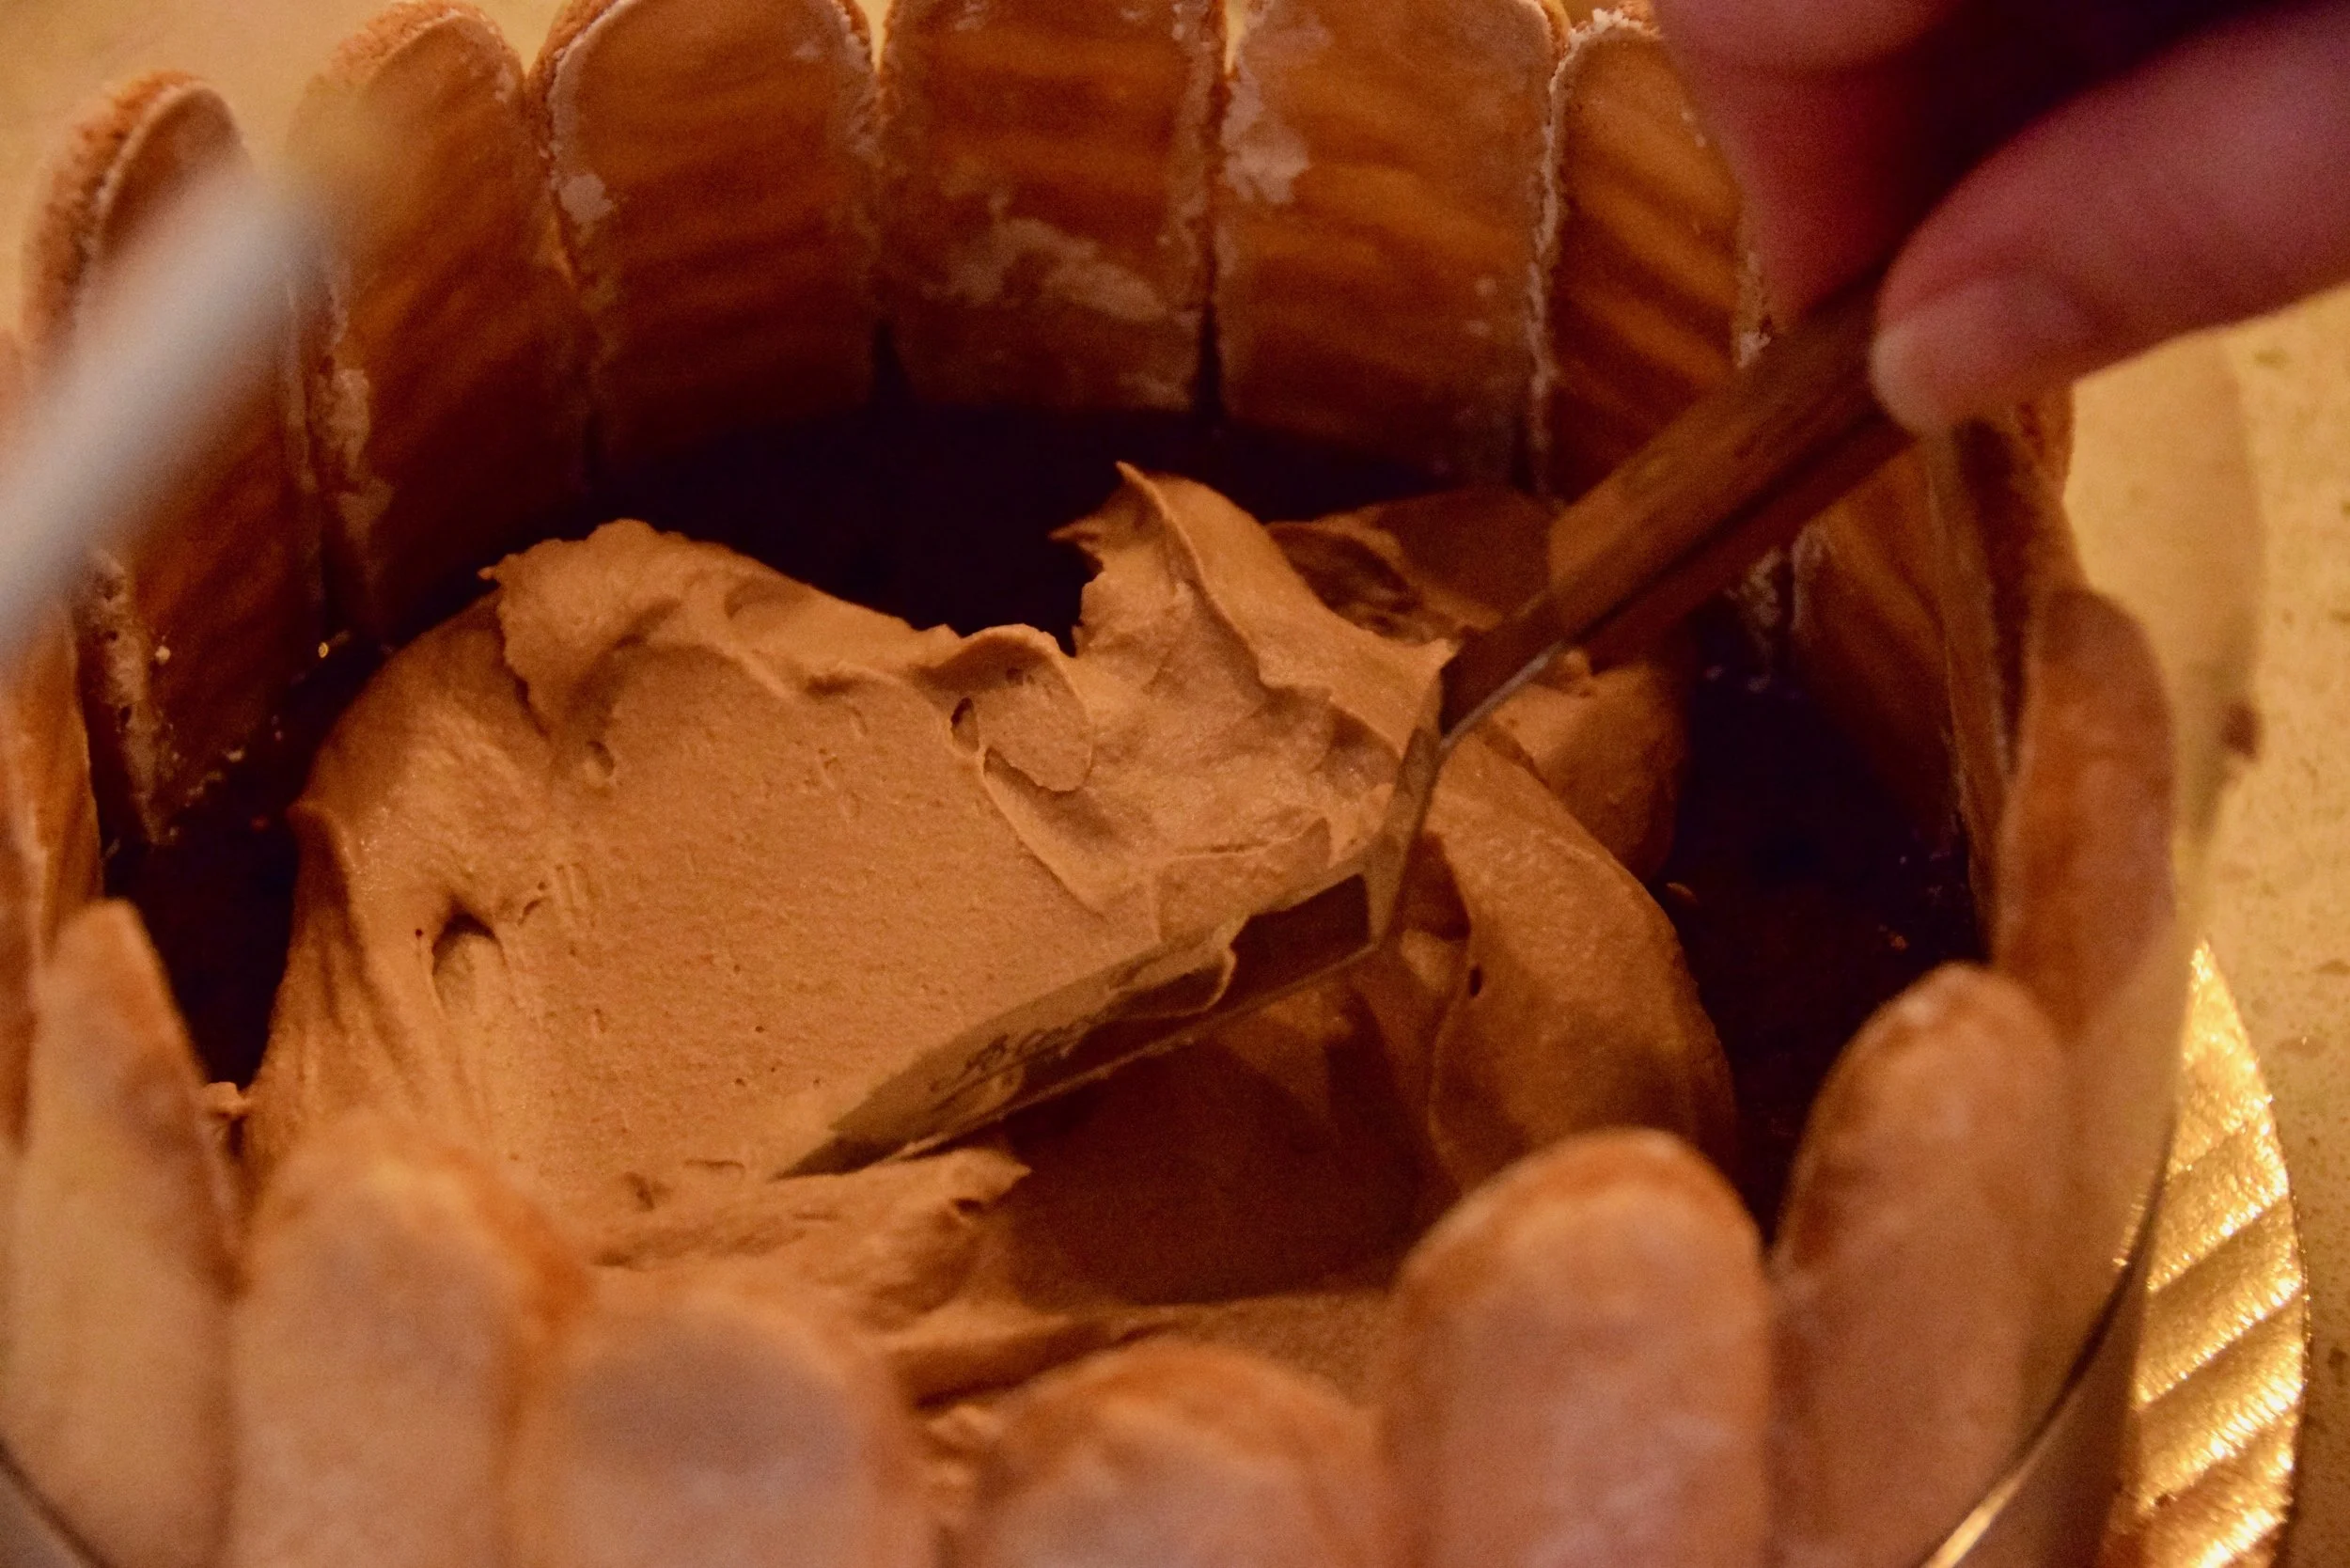
Now that the Bavarian cream was ready, I started to assemble the rest of the cake. First I applied roughly half of the Bavarian cream to the top of the sponge inside the mold and spread it evenly.

Next I inserted the second sponge into the mold on top of the first layer of Bavarian cream. This was really tricky since the lady fingers were leaning inwards. I did end up breaking one of the lady fingers as I wiggled the sponge into place, but luckily when later the Bavarian cream set it held the broken lady finger upright!


Lastly, I spread the remaining Bavarian cream on top of the sponge. I then put the cake in the refrigerator to chill and allow the Bavarian cream to set.


Step 5: Make the chocolate shavings and decorate the cake
The top of the cake is decorated with dark and white chocolate shavings. To make the shavings, I placed a sharp knife orthogonal to a large block of chocolate and made a quick sweeping motion. This was repeated several times for both types of chocolate.


The final step is to decorate the top of the cake with the chocolate shavings. In order to get a clean line between the two types of chocolate, I placed a 4 inch cake mold in the center of the cake. I then filled the inside of the mold with white chocolate shavings and the gap between the mold and the lady fingers with the dark chocolate shavings. The mold then easily lifted out to leave the finished cake.


And there we have it. A Charlotte Russe!


Lessons Learned:
I didn’t quite follow the recipe - I messed up. I was supposed to have the bottom layer of Bavarian cream be chocolate and the top layer of Bavarian cream be vanilla. When I made the sauce to combine with the cream, I was supposed to split it before adding the chocolate to half, effectively making vanilla sauce and chocolate sauce. I messed up, adding chocolate to all of the sauce. Rather than waste it, I decided to just make both layers chocolate and call it a day! Who doesn’t want more chocolate?
If you look at the slice of cake above you will notice that the top layer of Bavarian cream is much thicker than the bottom layer. I eyeballed splitting the Bavarian cream in half but it would have been better to weigh the cream to make sure I evenly applied the two layers.