
Baked February 9, 2020
German Chocolate Cake was always one of my favorite items to bake when I was growing up. The sponge in this cake has a much lighter flavor and texture than other chocolate cakes and is complemented perfectly by the layers of sticky coconut and pecan. It was always tasty right when finished, but a lot tastier after spending a good amount of time chilling in the refrigerator. Even now, when I come home to visit, my dad will ask me if I can whip up a German Chocolate Cake. I’d love to say yes each time, but it is actually a somewhat ambitious cake to make! It relies on folding in egg whites rather than using a leavening agent, which is always a tricky task. You also always run the risk of accidentally making scrambled eggs as you cook the gooey topping (which I did twice in a row the first time I made the cake when I was 12 years old). Not feeling quite that ambitious this weekend to make real German Chocolate Cake, I was excited when I came across the much simpler recipe for German Chocolate Brownies recipe in the CIA book.

I’m “coconuts” about German Chocolate Cake. Let’s get started!
Step 1: Make the brownies
This recipe uses melted chocolate rather than cocoa powder for the chocolate flavor. The first step is to chop the unsweetened baking chocolate into dime sized pieces so that they will more easily melt. Next, the butter is melted on the stove and then poured over the chopped chocolate. After waiting a few minutes, I stirred the chocolate / butter mixture until all chocolate had melted and was well incorporated into the butter. I set this bowl aside.


Next, I added eggs, sugar and salt to my stand mixer bowl. After whisking a bit to combine, I placed the bowl over simmering water and continued to whisk and slightly heat for a few minutes. I then transferred the bowl back to my stand mixer and mixed on medium speed with my whisk attachment for several minutes.


The next step is to turn down the mixer speed to low and start to add the chocolate / butter mixture. I quickly realized I had overestimated how much batter my mixer could hold, and there was no way I could add the chocolate and then the flour. Admitting defeat, I transferred the mixture to a larger bowl and continued by mixing by hand. Once the chocolate was fully incorporated into the egg mixture, I mixed in the flour. With that, the batter was ready for baking. I decided to divide my batter between a rectangular and a square cake pan.


Step 2: Make the topping
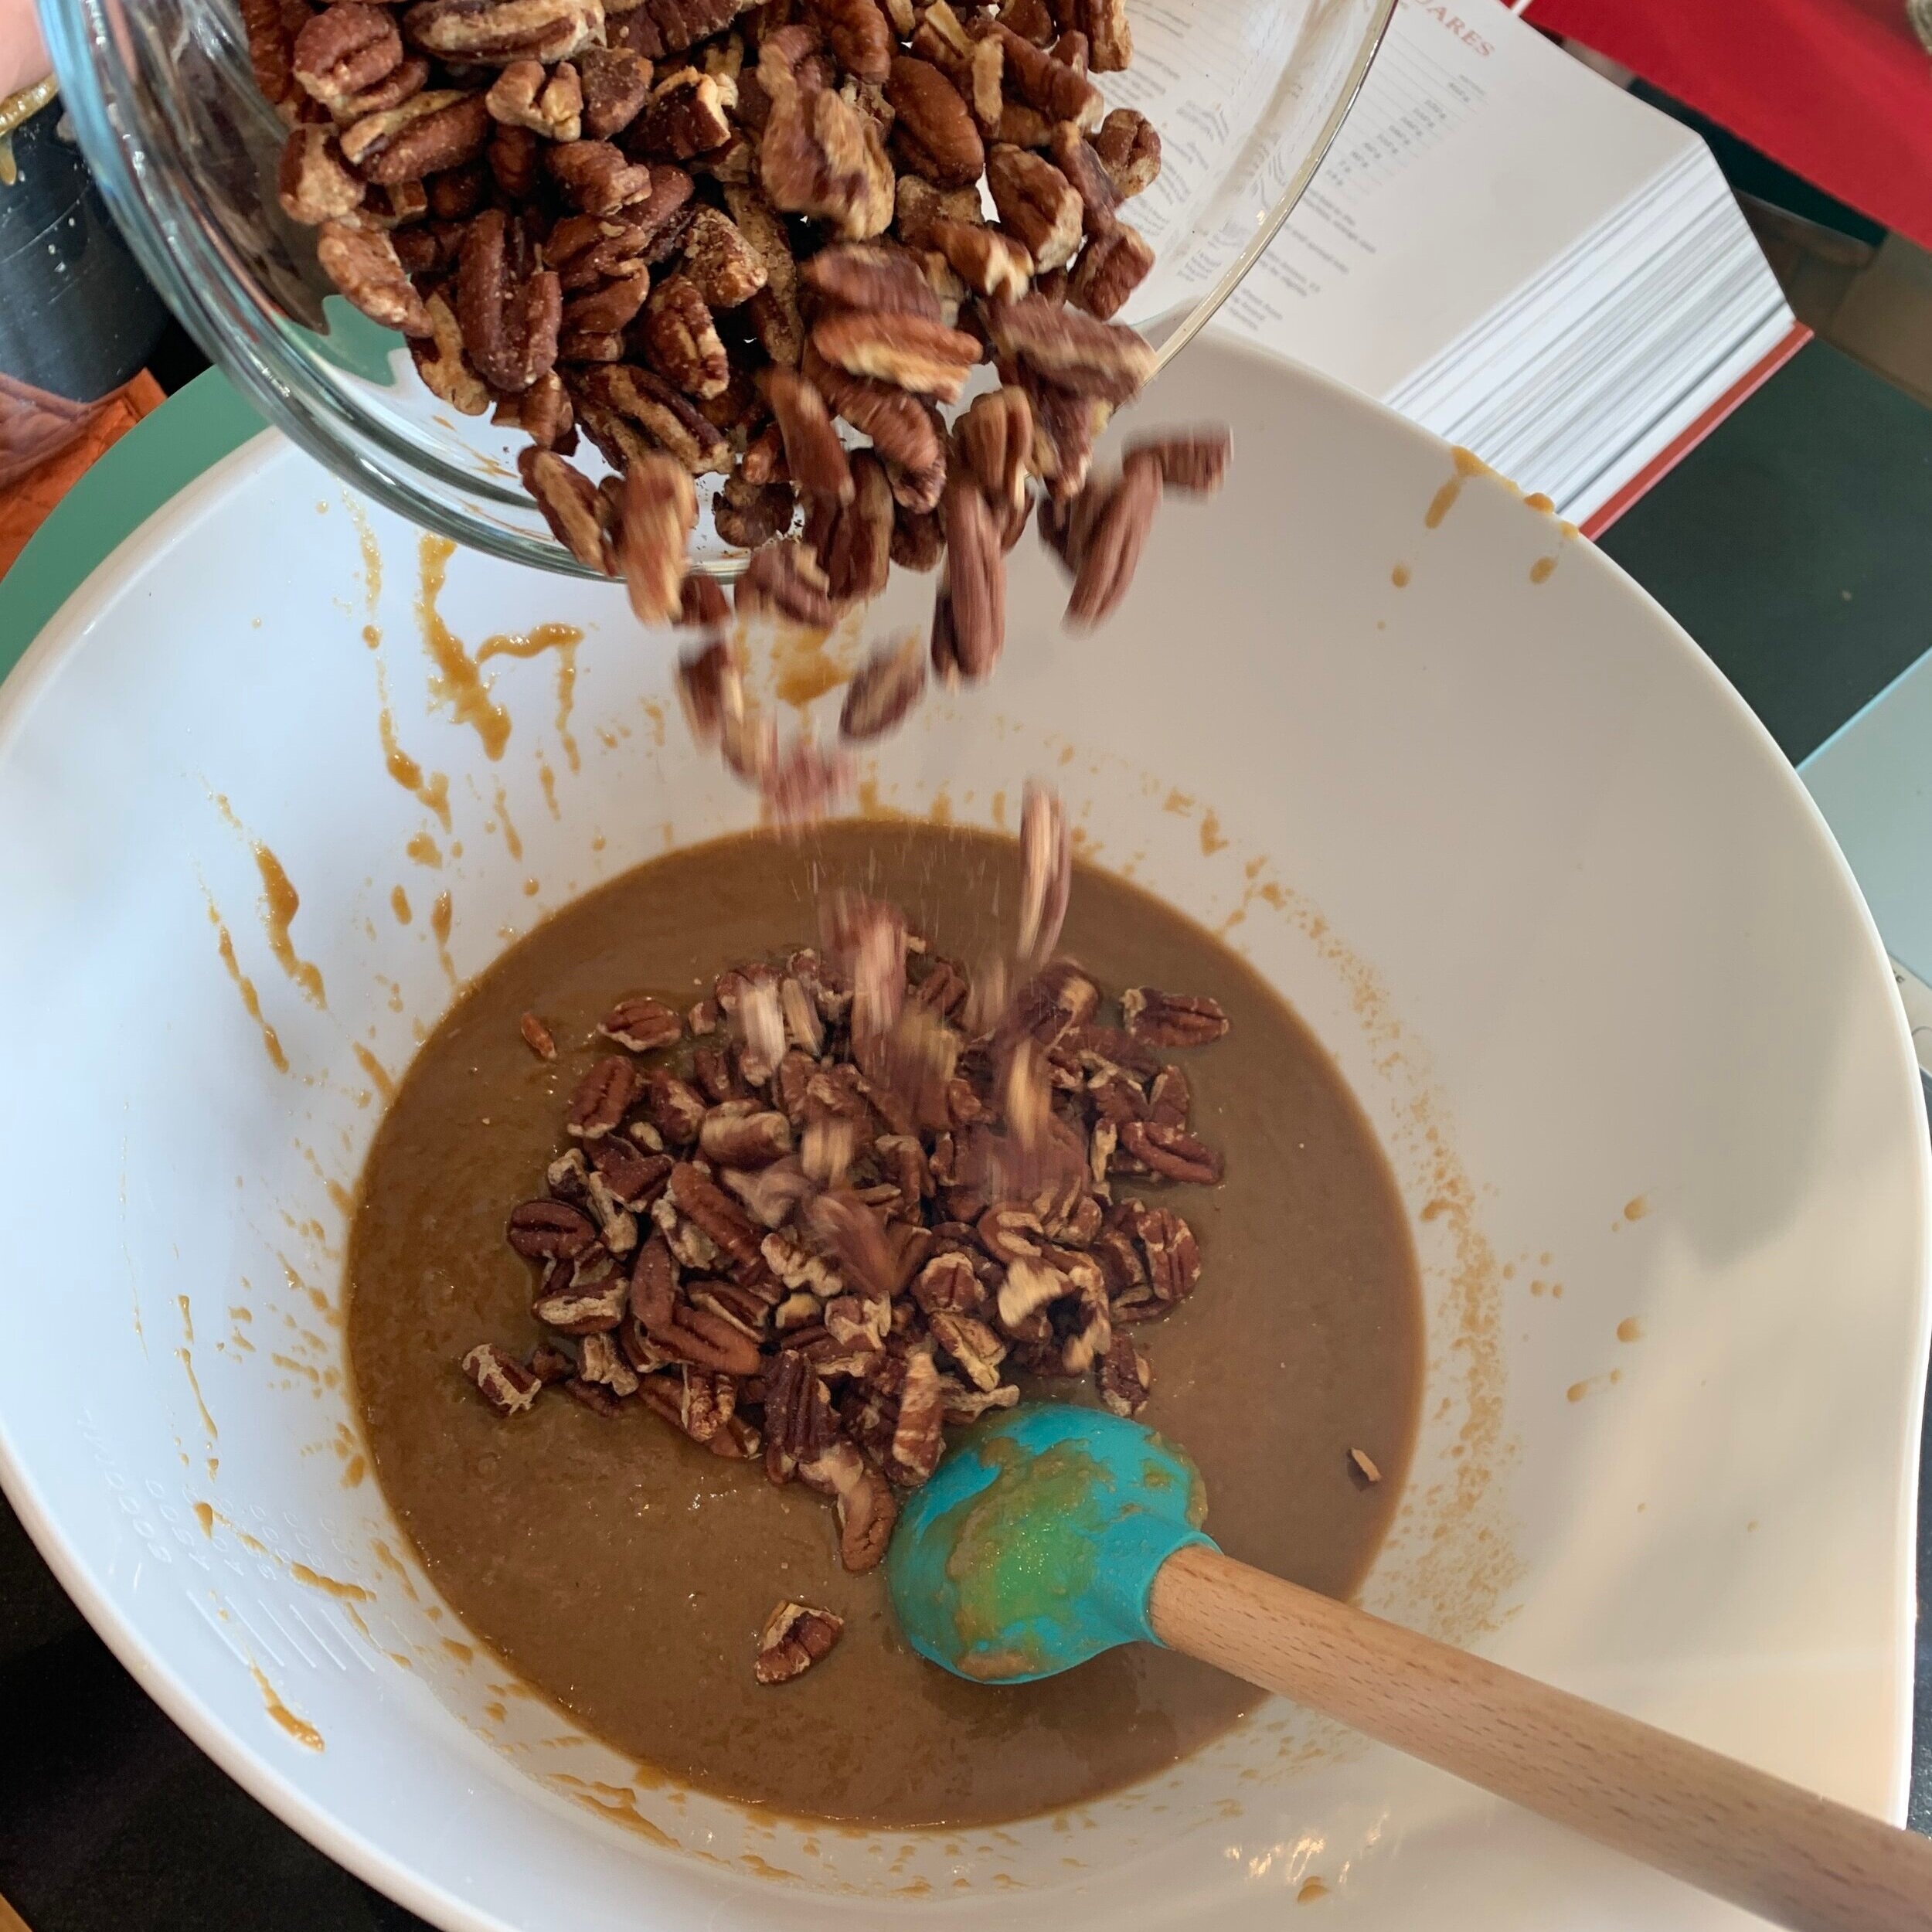
First, evaporated milk, butter, salt and brown sugar were added to a saucepan and brought to a simmer. The mixture was simmered until it slightly darkened and thickened, about 20 minutes. After taking it off the heat, I slowly mixed in egg yolks and vanilla, and then folded in toasted pecans and sweetened coconut flake.


Step 3: Assembly
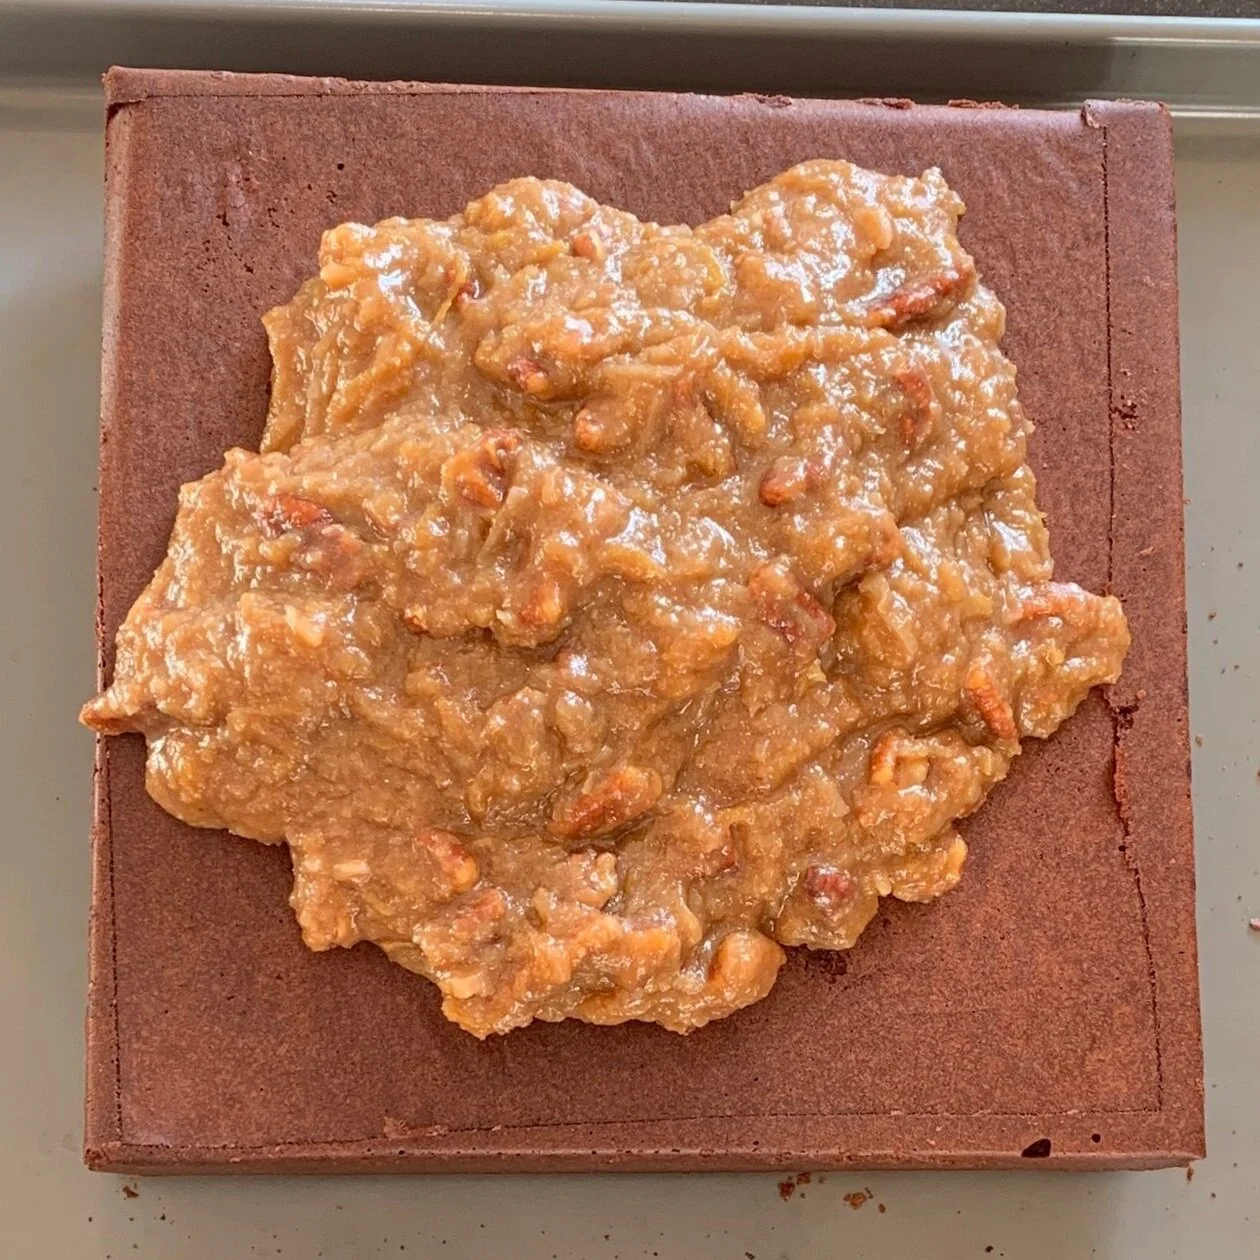
I turned out the cooled brownies onto a tray. Once the topping was cooled to a spreadable consistency, I spread a thick layer over the top of the brownies. I then refrigerated the brownies for an hour before cutting them to allow the topping to firm up.
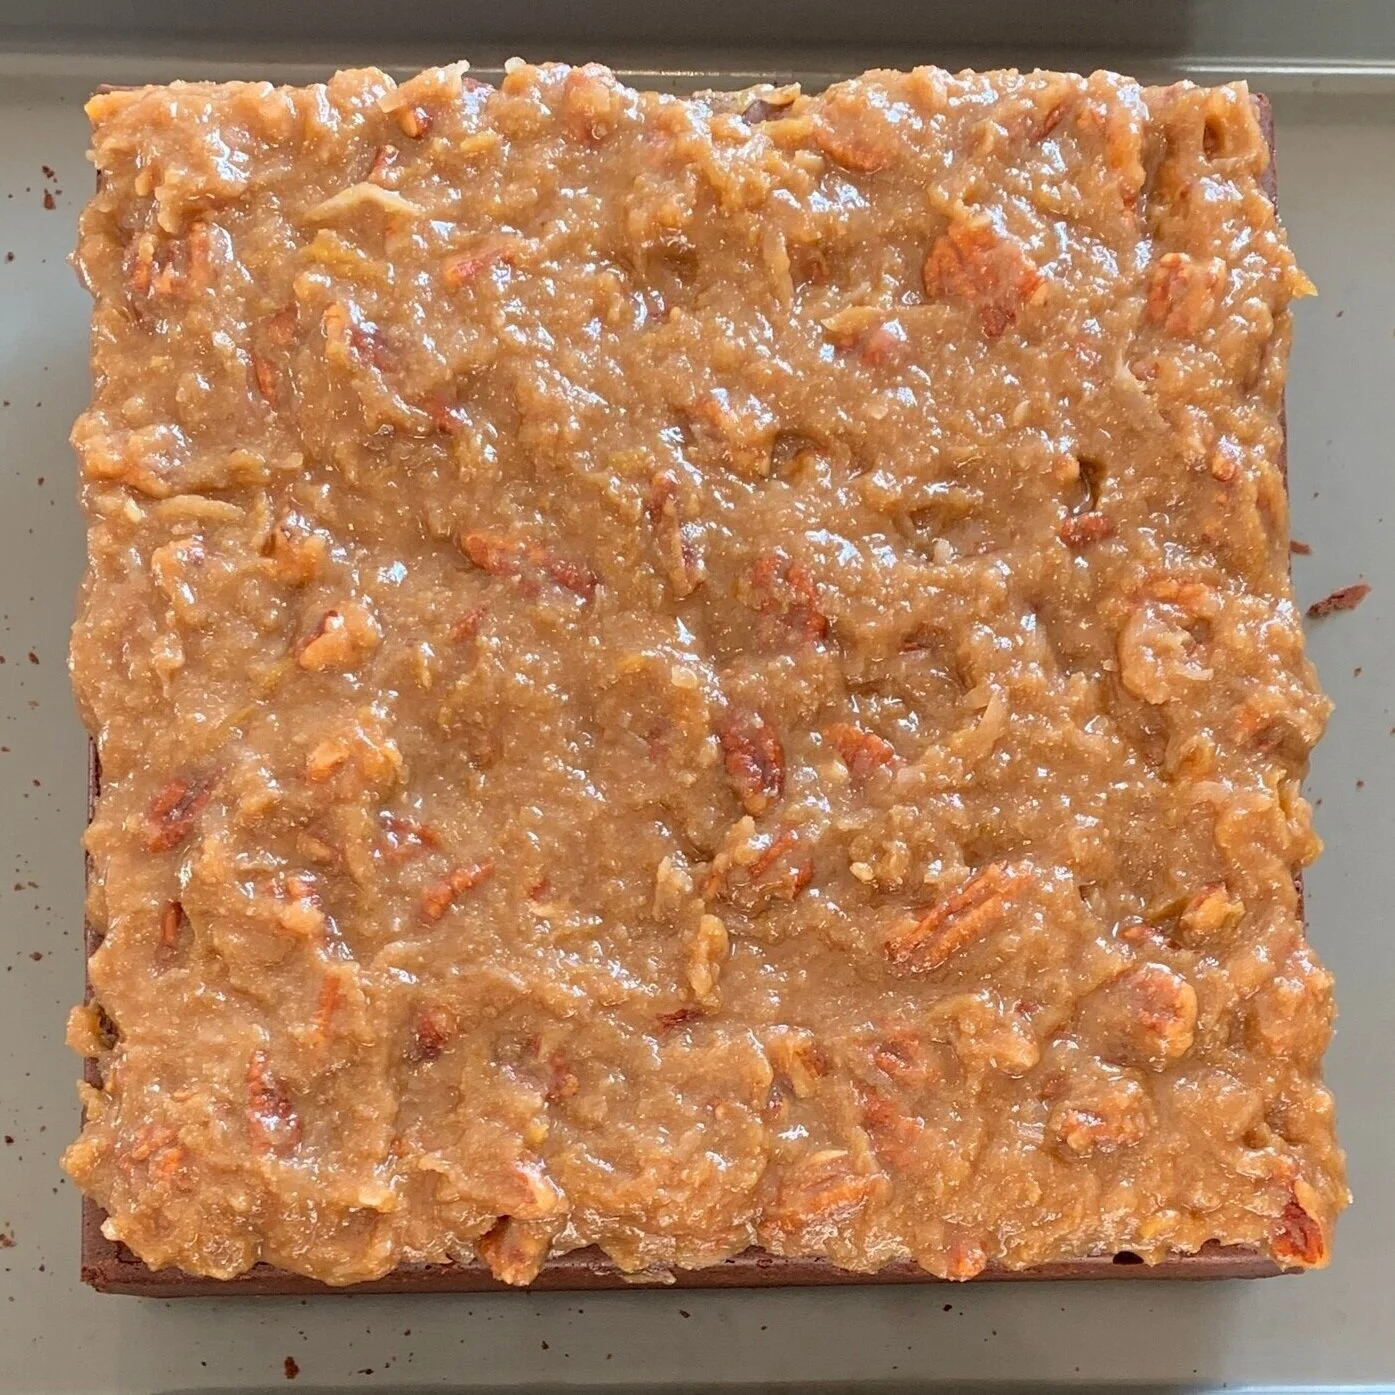
And there you have it… German Chocolate Brownies!

Lessons Learned:
The recipe had actually called for baking these brownies on a half sheet pan. When I finished making the batter, I got nervous that it wouldn’t fit and the brownies would be too thin. This is why I ended up baking the brownies in two separate pans. I think I should have followed the recipe as stated. Because I used smaller containers, the brownies were thicker and so had to be baked longer, drying out the edges a bit.
As I mentioned in the introduction, it is SO hard to not get scrambled eggs when you add the yolks to the hot milk/butter/sugar mixture. I tried to add the yolks slowly and mix vigorously while adding. However, I still ended up with a handful of small stringy egg pieces. For the most part, the topping was ok and I was able to remove the few egg pieces that formed. Next time I may let the topping cool a bit more before trying to add the egg yolks and go even more slowly.