
Baked: March 17th, 2019
Photo Credit: Daniel Beauboeuf
2019 is flying by and I can’t believe it is already late March! Pi Day really crept up on me this year, so I didn’t even get a chance to bake a pie until the weekend after Pi Day! For anyone reading who hasn’t heard of “Pi Day,” it is March 14th (3.14) in honor of the numerical value, Pi.

3.1415926535897932384626433832795028841971693993751058209749445923078164062862089986280348253421170679821480865132823066470938446095505822317253594081284811174502841027019385211055596446229489549303819644288109756659334461284756482337867831652712019091456485669234603486104543266482133936072602491412737245870066063155881748815209209628292540917153643678925903600113305305488204665213841469519415116094330572703657595919530921861173819326117931051185480744623799627495673518857527248912279381830119491298336733624406566430860213949463952247371907021798609437027705392171762931767523846748184676694051320005681271452635608277857713427577896091736371787214684409012249534301465495853710507922796892589235420199561121290219608640344181598136297747713099605187072113499999983729780499510597317328160963185950244594553469083026425223…
… I could go on (literally) but I won’t. In fact, Pi is an irrational number, meaning that its digits will go on forever. Those who are computationally inclined have worked tirelessly to identify additional digits of Pi. This year on Pi Day, Google Japan employee Emma Haruka Iwao broke the previous record of 22 trillion digits to calculate Pi to 31 trillion digits! Let’s be real for a minute - she didn’t have to use a slide rule to do this calculation. According to this article in Fortune, using Google’s cloud computing service, this calculation required 25 virtual machines, 170 TB of data (yes that’s terabytes), and 121 days.
Lucky for me, I can bake a pie in just one day. And so I did.

Baking “occu-pies” my mind. Let’s get started.
Step 1: Make the pie crust dough
I decided to make the pie crust dough first so that it could chill in the fridge while I later made the cherry filling. Pie crust dough is made of very simple ingredients: flour, salt, butter and water.
I first added the flour and salt to my stand mixer, fitted with the paddle attachment, and stirred on medium speed to combine. I then added chunks of butter, one at a time, continuing to stir on medium speed. Once small nuggets of butter about 0.5 inches in size had formed, I poured in all of the cold water at once. I continued stirring until the dough had just started to come together.


Turning the dough out onto a slightly floured surface, I continued to work the dough very briefly to bring it together into a ball. I then wrapped it tightly with plastic wrap and refrigerated for over an hour.


Step 2: Make the filling

While my pie crust dough was chilling, I made the cherry filling. The filling calls for cherry juice, sugar, salt, clear gel starch, cherries, lemon juice and butter. The book notes that a good way to acquire the cherries and cherry juice is to purchase a can of cherries in juice (not the thick pie filling kind) and separate using a colander. Cherries in juice, not the thick pie filling, was remarkable hard to find and I ended up ordering these Oregon Red Tart Cherries online.
The first step is to combine most of the cherry juice and sugar in a saucepan over medium heat and bring to a boil. In the meantime, I combined the clear gel starch and a small amount of remaining cherry juice to dissolve.


Next, I slowly added the cherry juice / clear gel solution to the boiling cherry juice, continuously stirring throughout. I continued to heat this solution until it became thickened and clear.


I next added the butter and lemon juice, and then gently folded in the cherries. I left the filling mixture to cool completely in the fridge.


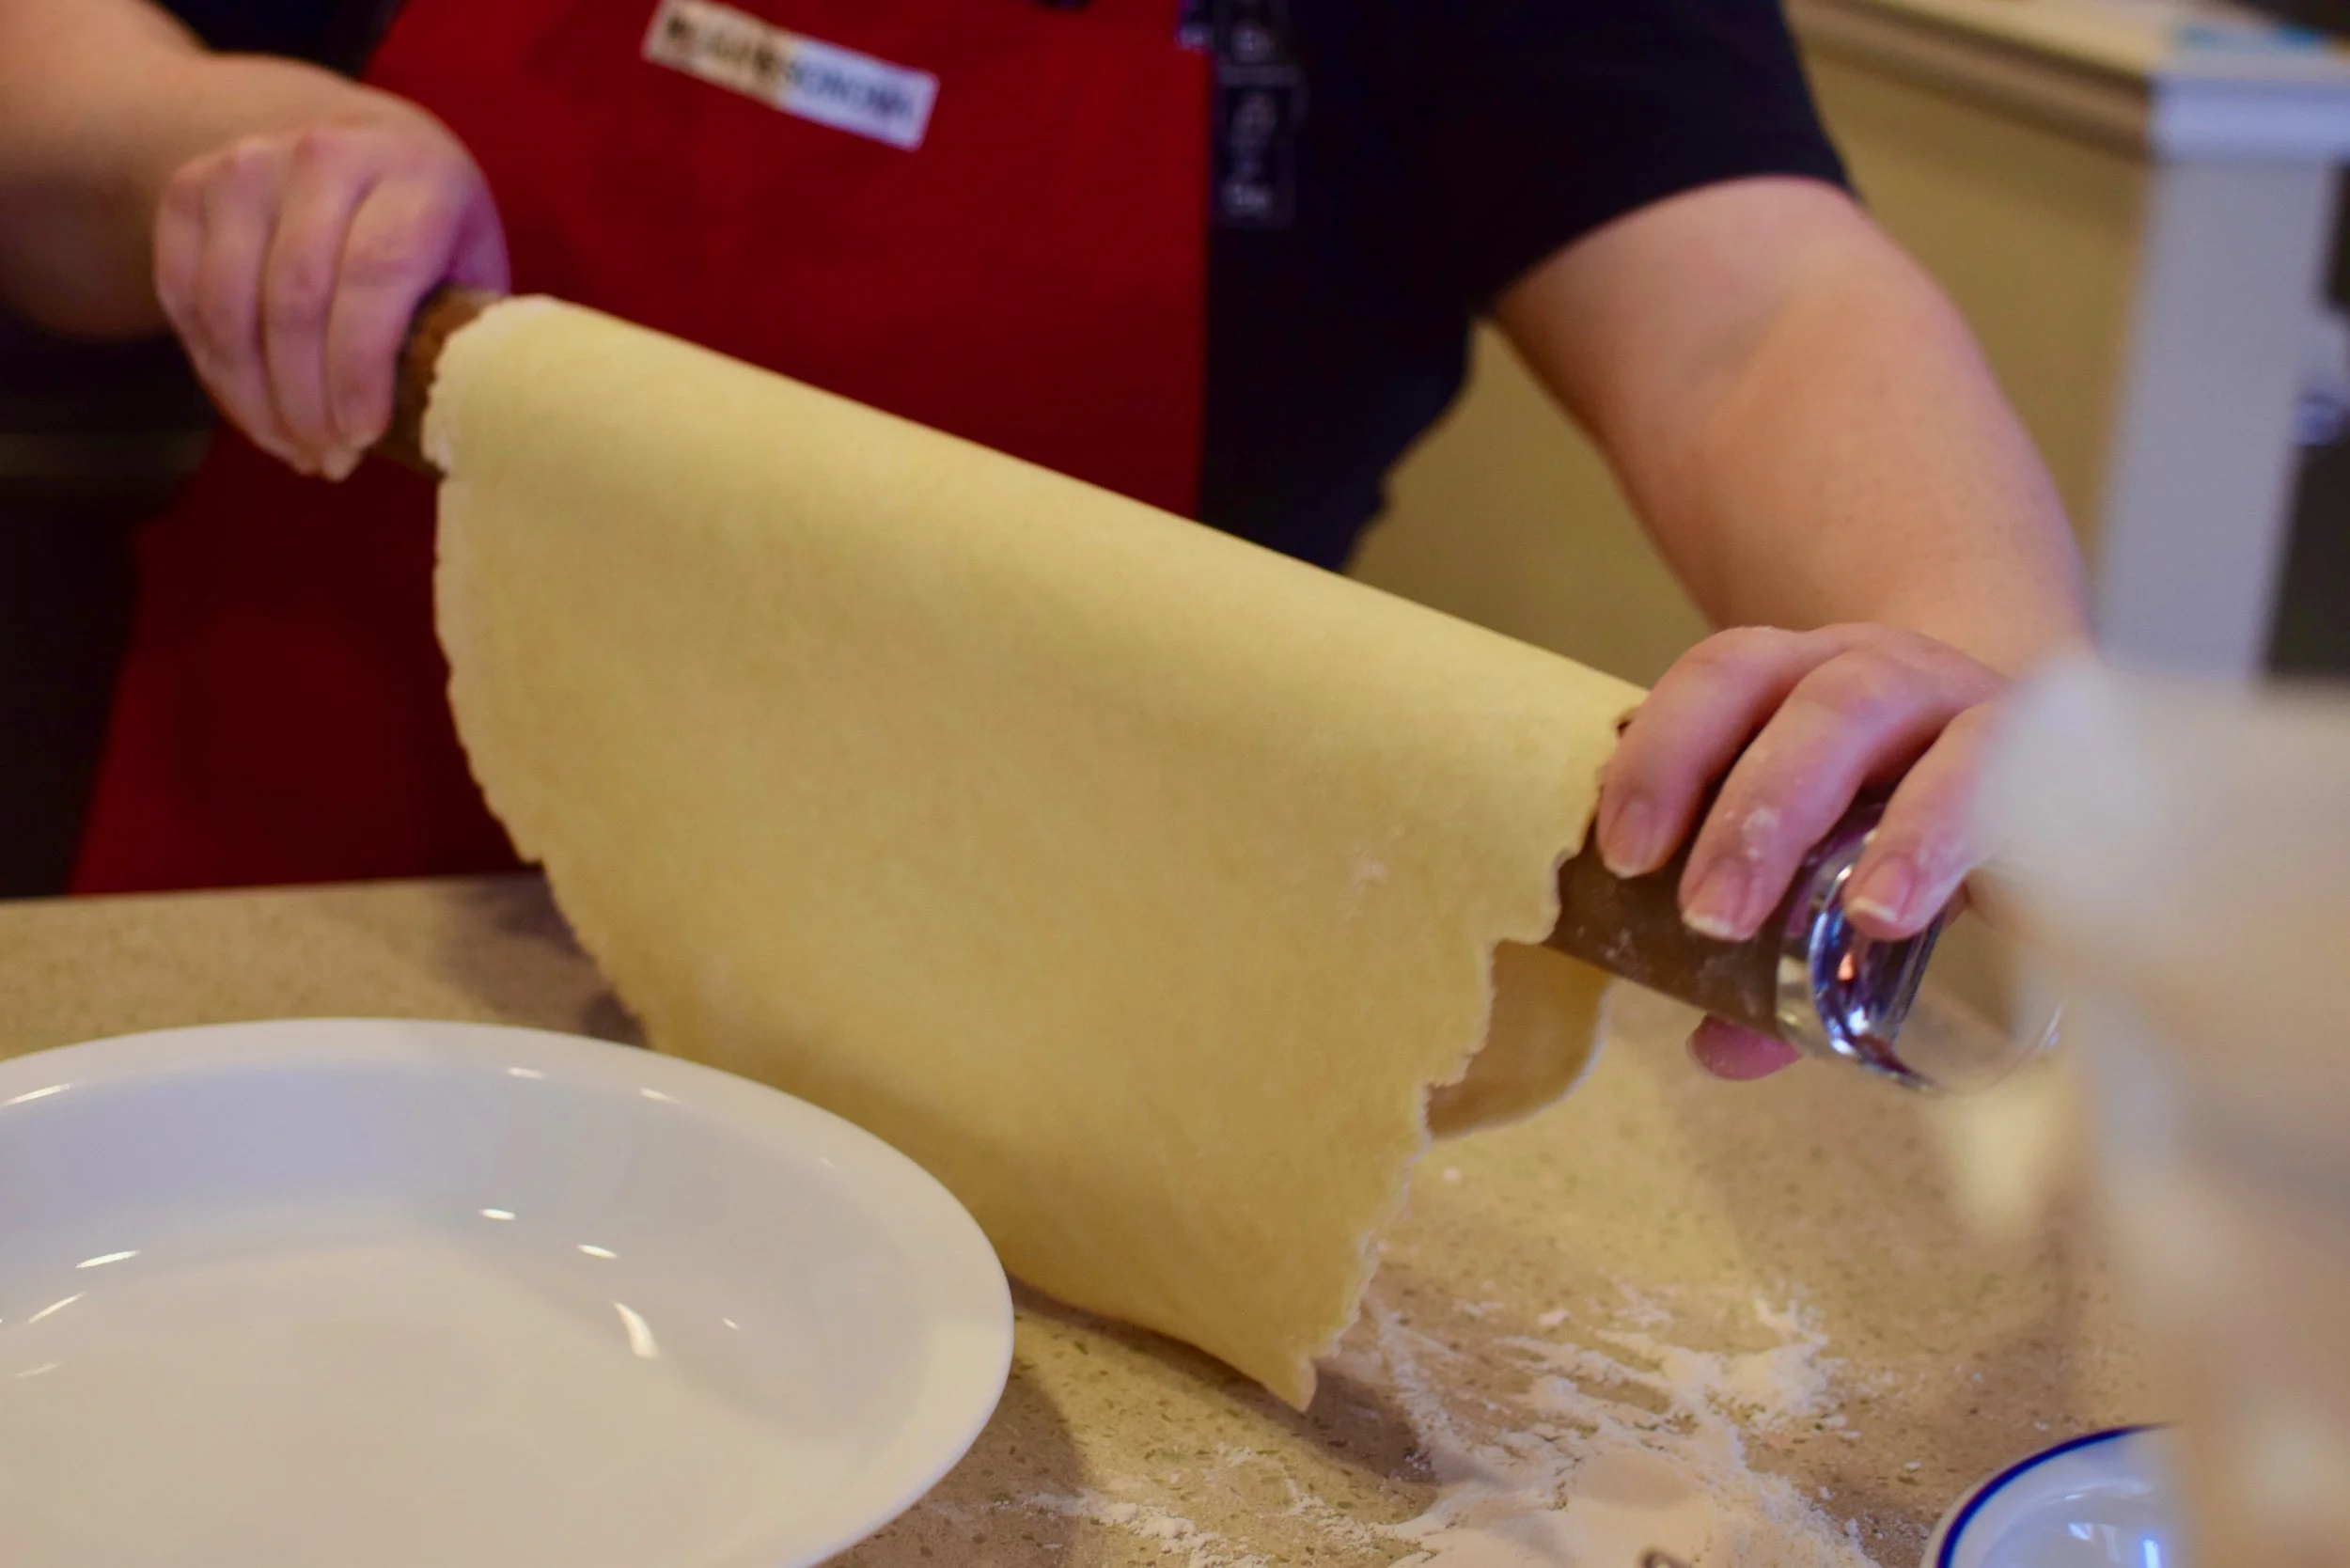
Step 3: Roll out your dough and assemble
This version of cherry pie completely covers the top of the pie rather than creating a lattice top. The ball of dough that has been chilling will be used for both the base and the top of our pie, so the first step is to cut it roughly in half. Rolling out just one of the two pieces of dough on a lightly floured surface, I alternated the direction of the rolling pin frequently in order to create an even distribution of dough. I also frequently flipped or rotated the dough. Moving or flipping the dough frequently keeps the dough from sticking to your surface and decreases the amount of additional flour that is required. I continued to roll out the dough until it was about 1/8 inch thick.


Picking up the rolled dough with the rolling pin to avoid tearing, I gently laid the dough over the pie dish. Lifting the edges of the dough as I worked my way around, I gently pushed the dough up against the sides of the dish. I then added and evenly distributed the now cool cherry pie filling.


I next rolled out the second half of the dough in a similar fashion in preparation for assembling the rest of the pie. Before placing the second piece of rolled dough on top of the pie, I made an egg wash of whipped egg and whole milk and coated the edges of the pie where the two pieces of dough would eventually meet. Gently placing the top onto the pie, I pressed down at the edges to seal the pie with the egg wash.


Once the edges were sealed, I used a sharp knife to trim the excess dough. I then crimped the dough around the outside of the pie by pushing it into the indent created by my thumb and middle fingers.


To create a nice golden browning effect, I egg washed the top and edges of the pie. After waiting three minutes for the egg wash to mostly absorb, I applied a second coat of egg wash.


Last but not least, I cut four vents in the center of the pie to allow for the release of steam while baking. Then the pie went into the oven until it was nicely golden brown out the outside.


And there you have it. A simply scrumptious cherry pie to celebrate 31 trillion digits!


Lessons Learned:
For this recipe, I used red tart cherries. The pie was definitely not as sweet as some other pies. I preferred this but for some taste buds, dark sweet cherries would have been more appropriate.
Some bakers will add large granules of sugar on top of the pie after the egg wash before baking to add some sweetness. Especially in combination with the tart cherries, I would likely try this next time as a nice way to balance the tartness.
A few of the edges of my pie crust caught and so I likely could have kept it in the oven for a shorter period of time. I was worried about the dreaded “soggy bottom” and so decided to keep the pie in the oven until the full 45 minutes suggested by the recipe. It indeed did not suffer from a soggy bottom!