
Baked: March 7, 2020
Happy Pie Day! I have to admit that this year my inspiration for my Pie Day bake came from a pretty grim place. If you are reading this post in real time, you likely know that we are currently experiencing an outbreak of the novel coronavirus around the globe, including in my back yard. Since the virus is affectionately called “Corona” for short, some have started to ponder whether it is Corona beer that is responsible for the outbreak. Amazingly, according to this article, 16% of Americans are currently confused about whether Corona beer is related to the coronavirus!
Well, what is the one thing that always goes with a Corona beer? A lime of course! So cheers to you coronavirus, may you fall victim to my endless lysol wipes and hand sanitizer. In the meantime, let’s enjoy a Zesty Lime Tart!

“Lime” feeling good about this bake.
Let’s get started!
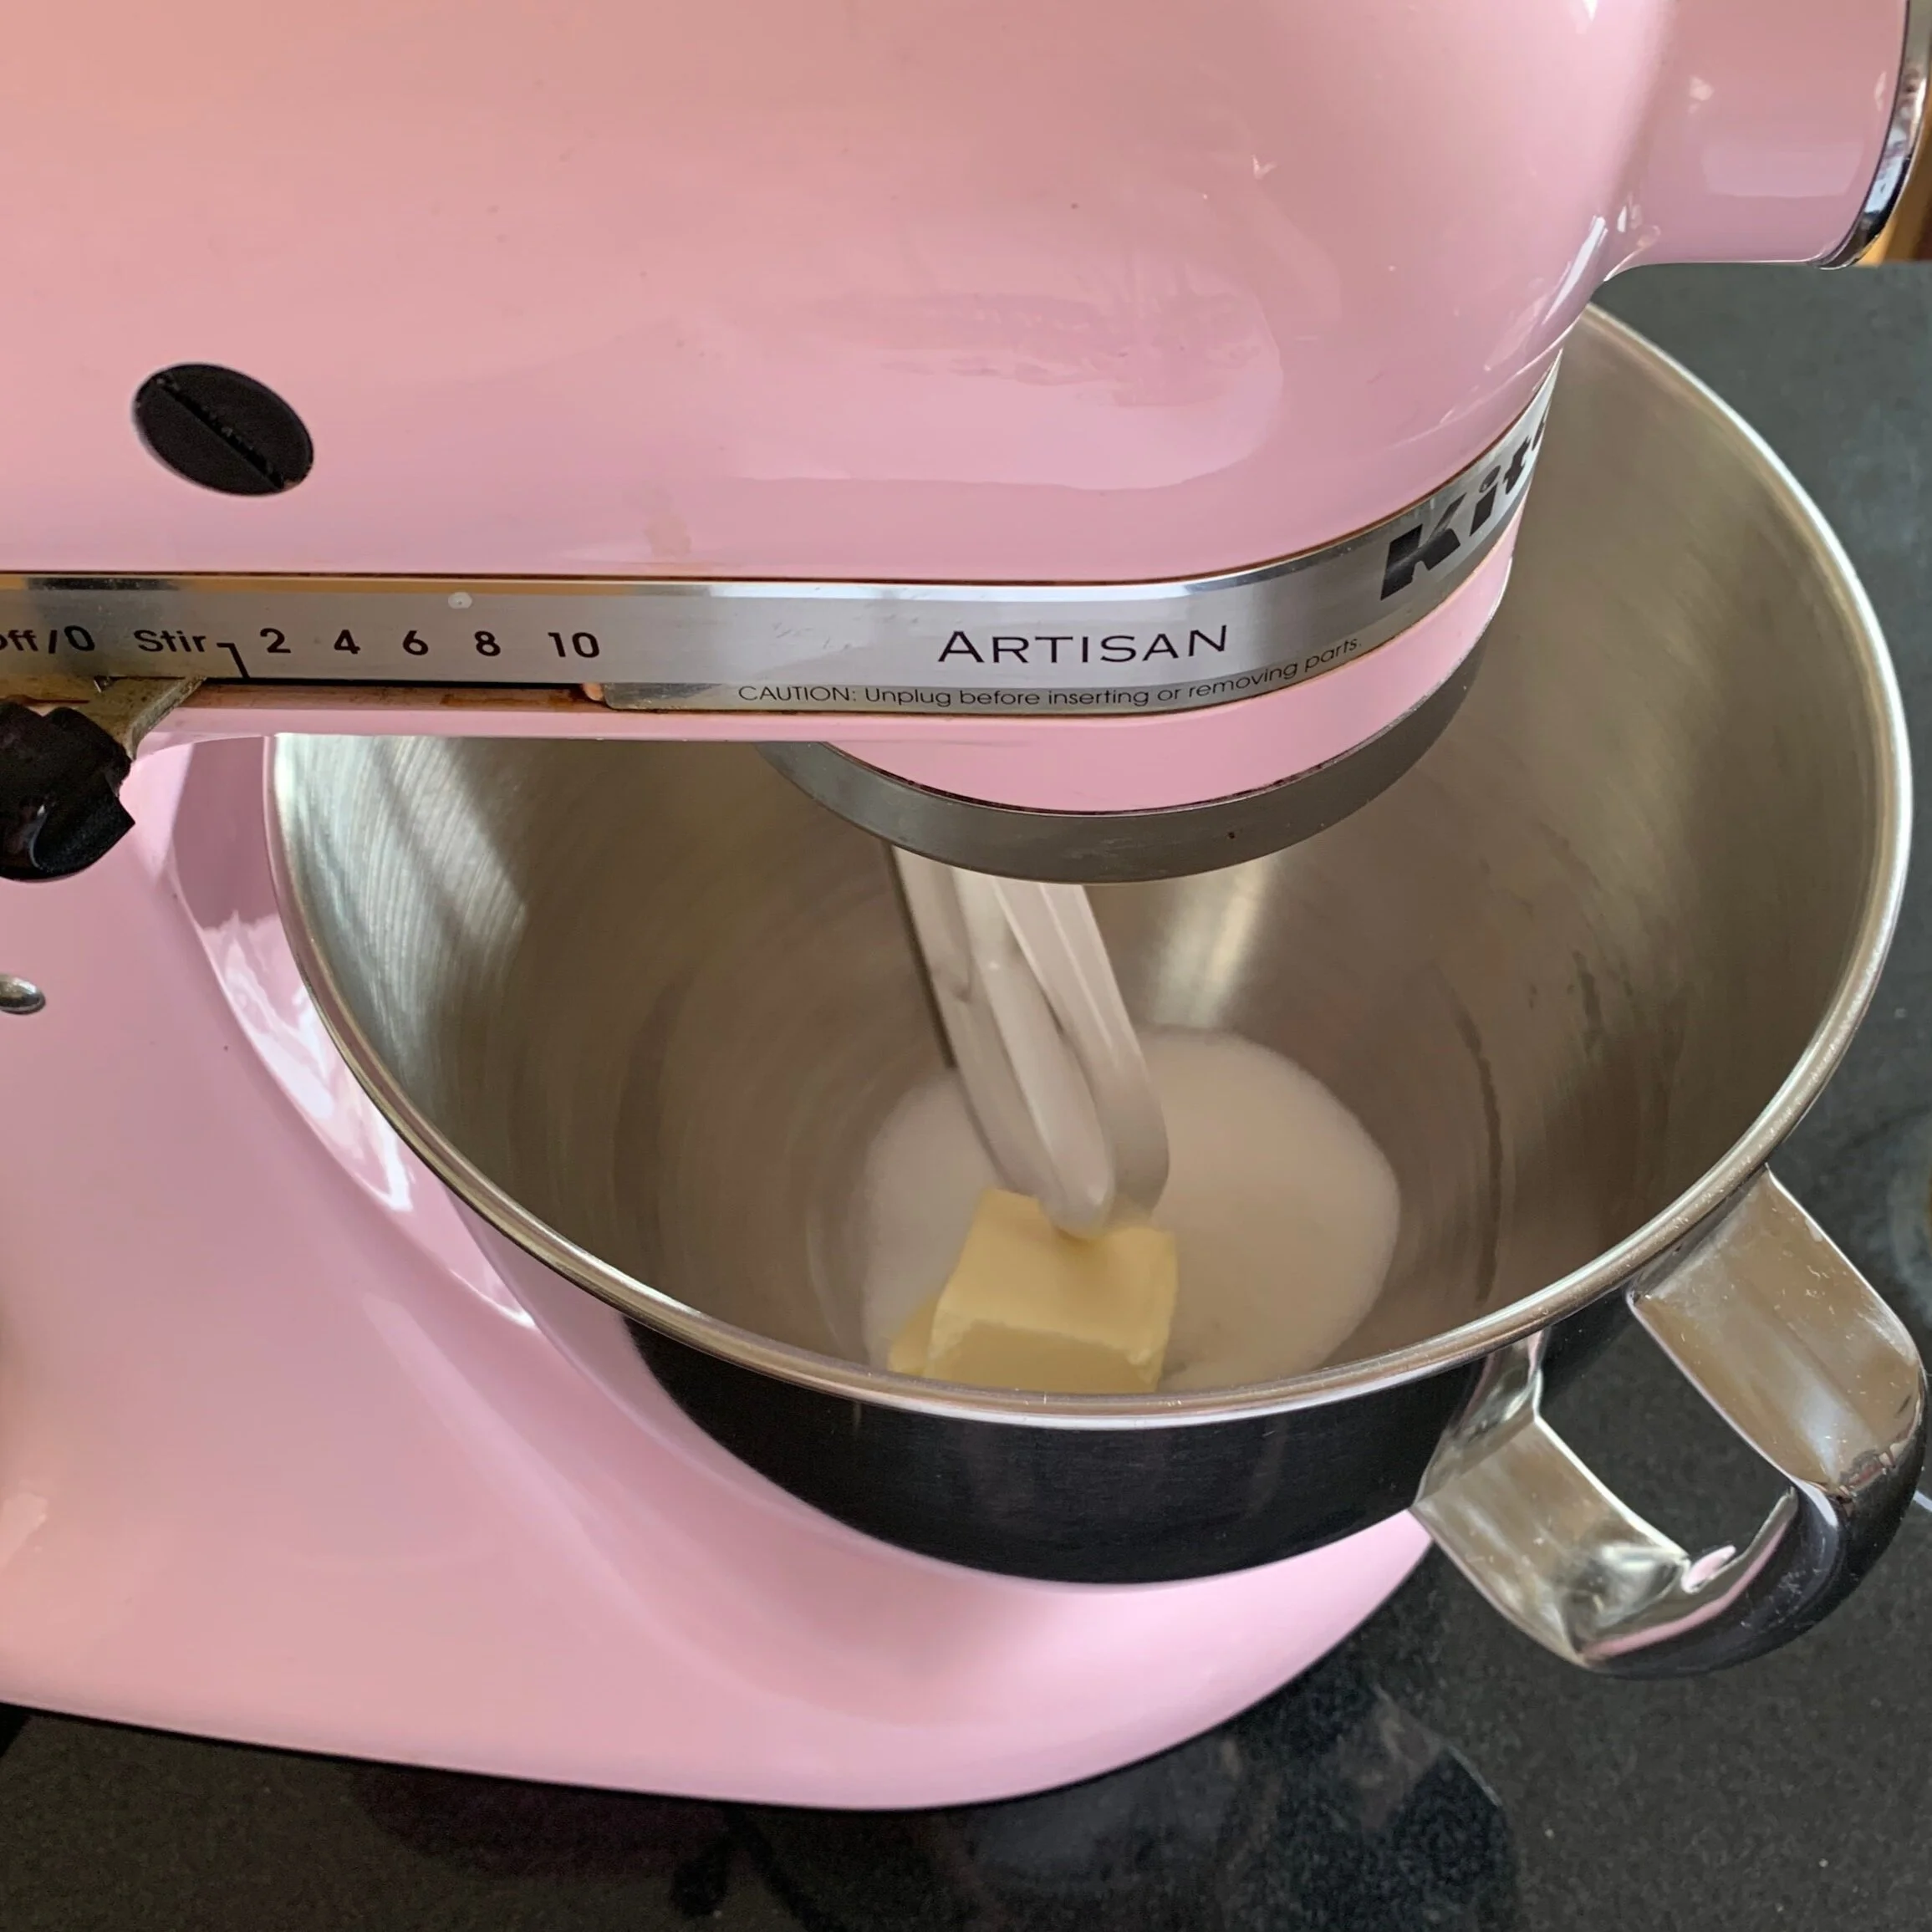
Step 1: Make the dough for the crust.
First I creamed together the butter and sugar until the mixture was smooth. Then, adding a small portion at a time, I mixed in the vanilla extract and eggs. Once fully combined, I turned off the mixer and added all the flour at once. I then turned on the mixer and continue to mix slowly until just combined. Finally, to chill the dough, I wrapped it in wax paper and refrigerated for an hour.


Step 2: Bake the shell.
Turning the dough out onto a floured surface, I rolled it into a 1/8 inch thick circle. Draping the dough over my rolling pin, I laid it into the tart pan and gently pressed the dough into the creases. Lastly I removed the excess dough from the sides and poked the bottom of the crust several times with a fork to allow steam to escape while baking.


The shell was blind baked, meaning that it baked while lined with parchment paper filled with beans to weigh it down. This method ensures that the crust bakes very flat. After about 15 minutes of blind baking, I removed the beans and continued baking for another ~5 minutes until the crust was just turning golden brown.


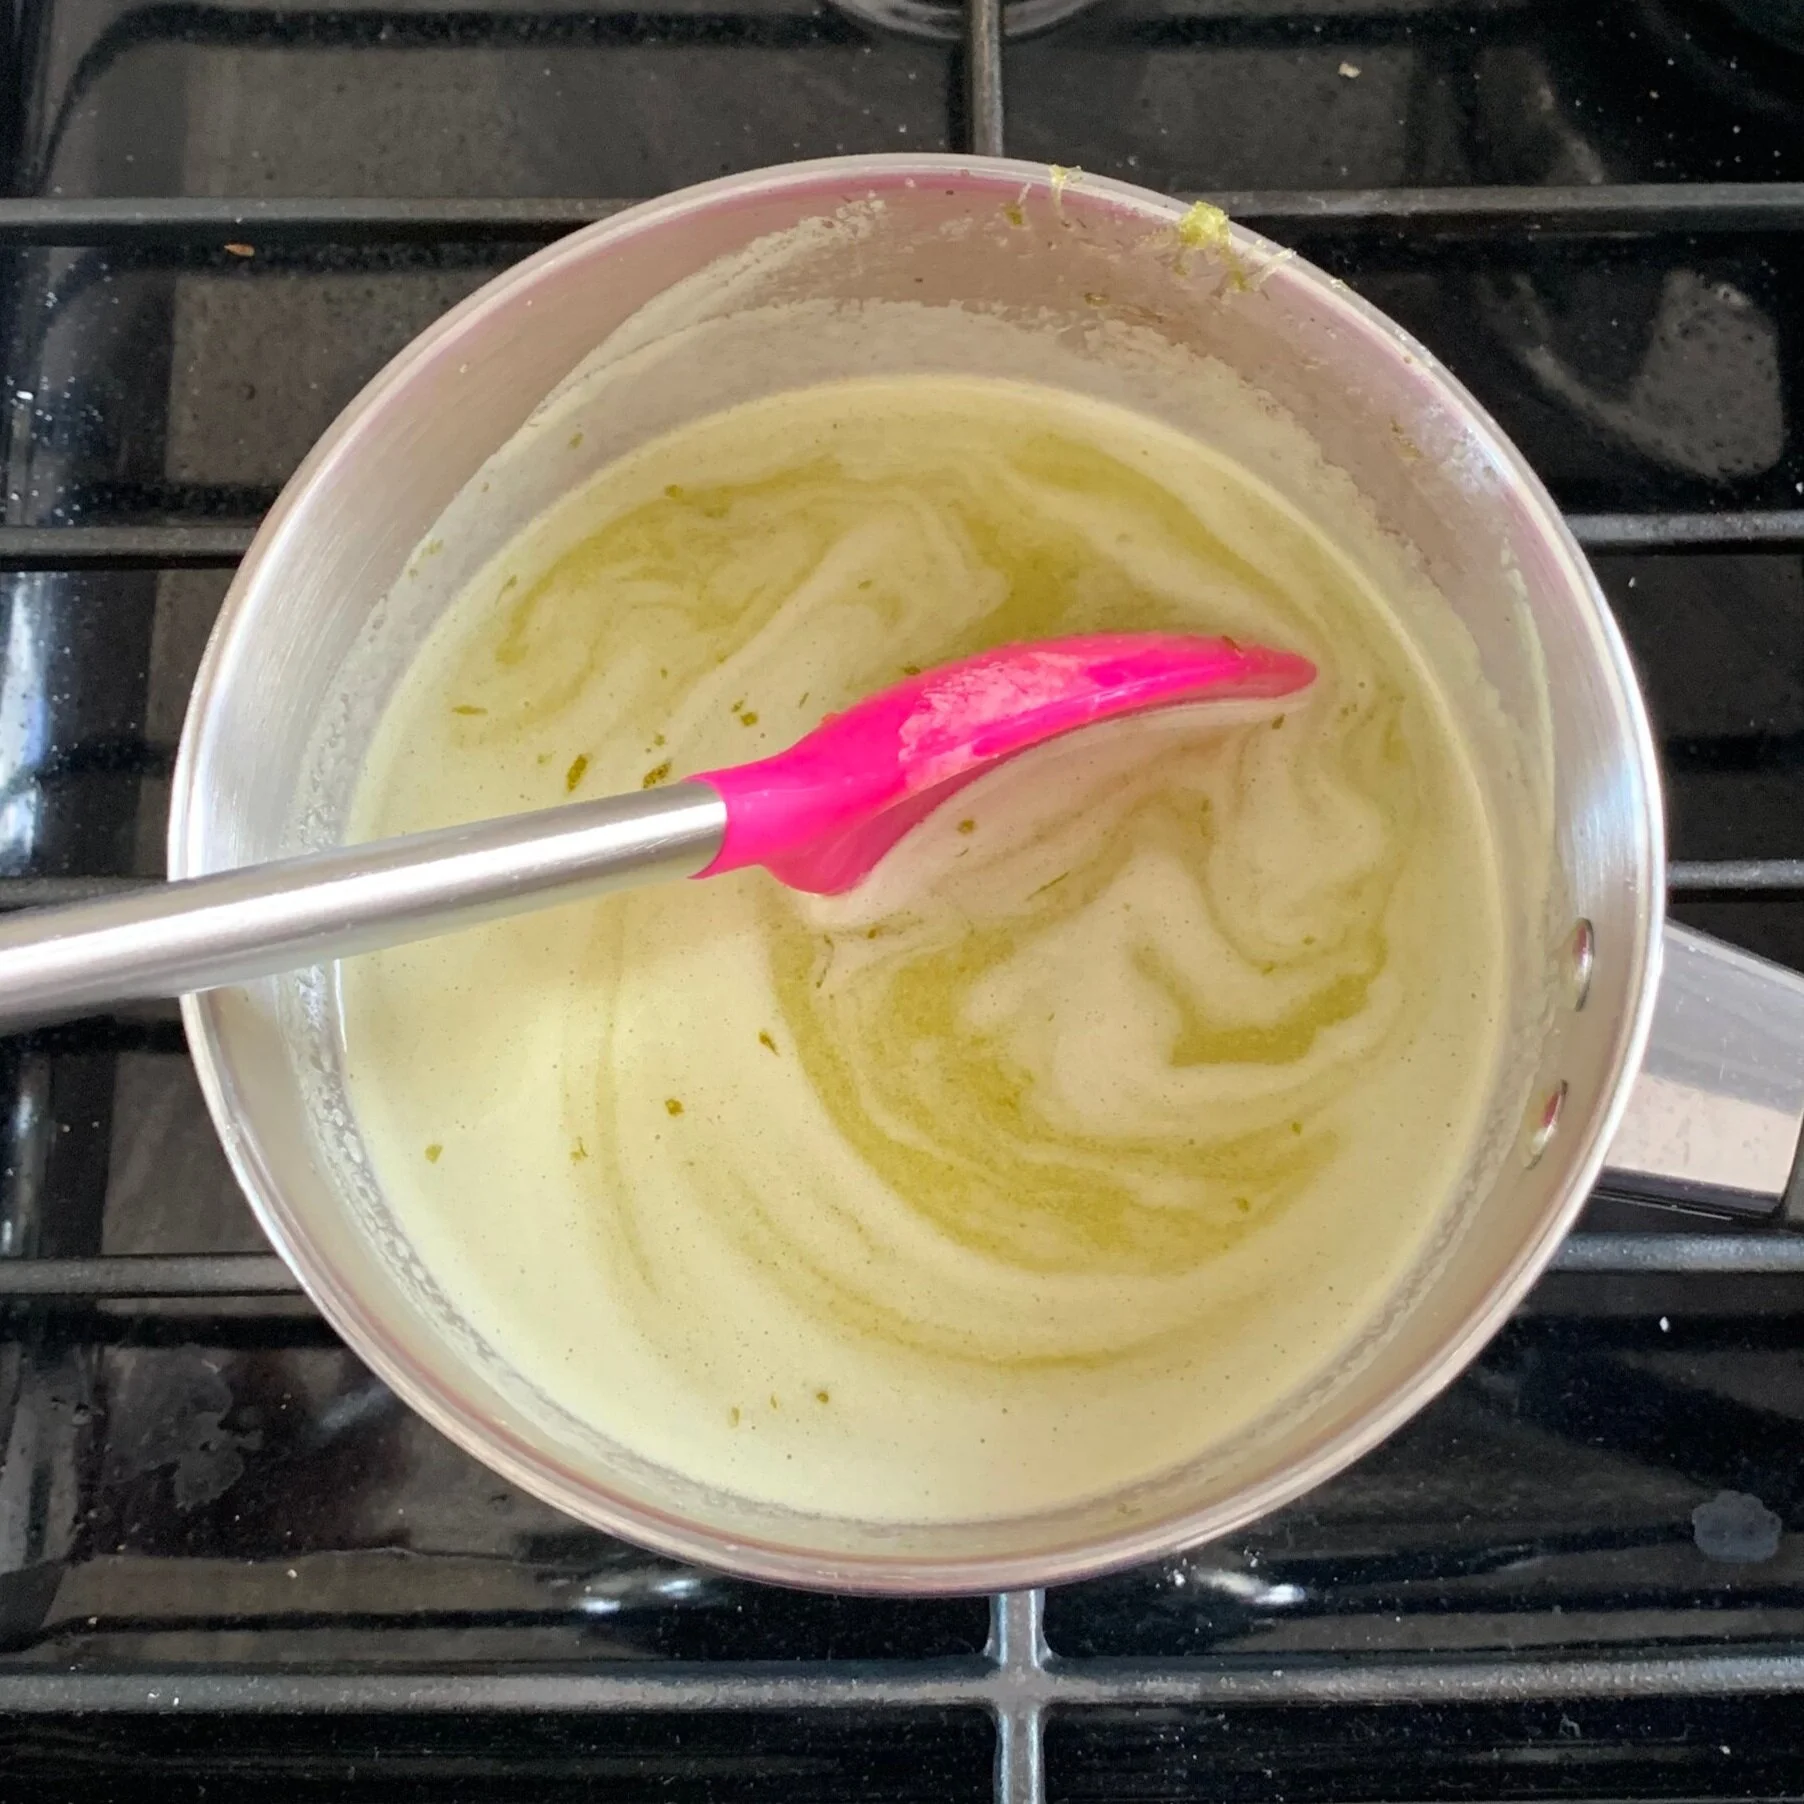
Step 3: Make the filling
So many limes died in the making of this tart… but they definitely did not die in vain! The filling consists of butter, sugar, lime zest, lime juice and egg yolks. I ended up zesting and juicing 6 limes for this tart!
The first step was to combine the butter, half the sugar, lime zest and lime juice in a sauce pan, bringing it to a simmer. Meanwhile I whisked together the egg yolks and remaining sugar in a separate bowl. To temper the egg mixture, I gradually added about 1/3 of the hot lime mixture, stirring constantly. I then added all of this egg mixture back into the sauce pan and returned it to heat. I continued to cook the mixture until it had thickened.


Step 4: Fill the shell
The last and very easy step is the strain the filling into the pie shell. This removes all of the chunky zest, leaving just a smooth filling.


And there you have it!
A Zesty Lime Tart to go with your “Corona”
please everyone stay safe and follow the directions of health authorities


Lessons Learned:
The recipe called for a 9” tart pan and all I had was a 9.5” pan. You wouldn’t think that the 0.5” would make much of a difference, but I think it did. I felt like I was really stretching the amount of crust I made and had JUST enough. In addition, I felt that the amount of filling was slightly less than there should have been to fill the tart in a way that is aesthetically pleasing. That said, the ratio of filling to crust was still quite nice.
The edges of my crust weren’t quite even. If I did this again, I would take greater care as I pushed the crust into the creases to make this pattern as consistent as possible.
Looking for more Pie Day inspiration? Check out my post from last year when I made a cherry pie for Pie Day!